
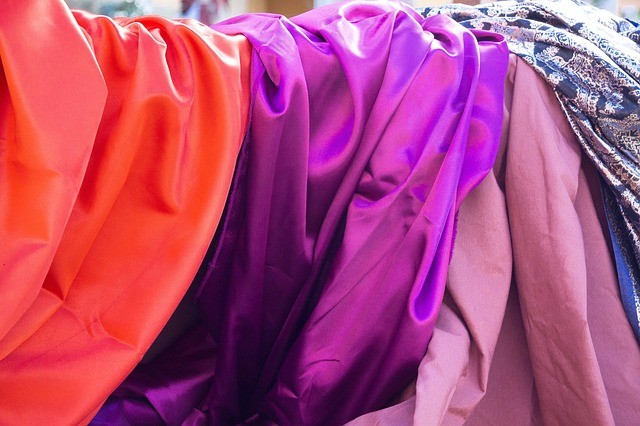
The process of sewing silk isn’t difficult, but it definitely takes time and patience. Silk is a luxurious fabric that, when weaved together, is deceptively strong.
Solitary silk threads, however, are delicate with ends that tend to fray easily. As such, sewing the material should be handled with care.
The process of how to sew silk can be rather daunting, and no one wants to chuck out silk because of a small oversight. We’re here once again to help allay your fears!
It’s best to set aside at least a full afternoon for this, especially if this is your first time working with the material.
The process of how to sew silk fabric is more of a series of stages that allow you to treat this magnificent fabric properly and minimize mishaps. Let’s get started!
Sewing Silk:
Properly sewing your silk fabric consists of:
- Pre-washing the fabric.
- Cutting the fabric.
- Prepping the fabric.
First, you’ll need…
Supplies:
- Bucket, sink or basin.
- ¼ cup of vinegar.
- Small sewing machine needle.
- Scissors (make sure they’re sharp!), sewing shears, pinking shears (optional).
- Sewing machine.
- Silk pins.
- A spool of cotton or polyester thread.
- Hairdryer (optional).
- Iron (optional).
Pre-Washing:
After gathering your fabric, it’s highly recommended you pre-wash your silk.
This is because silk tends to shrink, and a perfectly fitted garment can appear warped after it’s been washed for the first time if the silk hasn’t been pre-washed.
It’s also likely your silk will have excess color dyes and you don’t want that bleeding into other garments.
- In your basin of choice, hand-wash your fabric. Some silk fabrics can be put in the washing machine, but we recommend doing this by hand, as it’s safer – just in case!
- Use mild detergents (Woolite, Ivory Snow, free-and-clear versions of Tide, Purex, etc.) when washing. You can also use a mild shampoo (baby shampoos are a great option).
- Wash deep colors separately. Vibrant reds, dark blues, and the like can bleed into the water, discoloring other fabrics.
- From there, transfer the fabric(s) to a bucket or basin filled with 1/4th cup of white vinegar and a gallon of water. Vinegar helps remove any soap residue that remains on the fabric. Swish and move the fabric through the water to rinse the soap from it.
- Now, rinse the silk through water again to wash away the remaining vinegar odor and residue.
- Let the fabric dry. Note: do not wring/twist the fabric to remove excess water. This can distort the shape of the fabric or even cause permanent creases. Instead, set the fabric in between a set of towels to soak up the moisture. Or let it hang and air dry. You can even use an iron on a low-medium setting and iron it over the top towel. Alternatively, you can use a hairdryer.
Cutting the Fabric:
Before anything, be sure to wash your hands!
We’ve mentioned the delicate nature of silk, and our hands can hold oils and dirt that can mar the fabric.
- Lay tissue paper – or butchers’ paper, if you have it – underneath your silk to prevent it from slipping when you begin cutting it. Using a fabric stabilizer will also help with cutting the silk by stiffening the material.
- Pin your silk down with silk pins (particularly fine pins that leave minuscule holes in fabric, perfect for silk), so it’s secure for cutting out patterns. Be sure to cut each pattern one at a time! Other fabrics can be doubled up during this process, but remember, silk is a slippery fabric.
Preparation for Sewing on Silk:
- Once you have the pattern cut out, pin your pieces of fabric together using the silk pins. Make sure to pin them in the seam allowances, since the nature of silk reveals holes easily.
- Press the seams with an iron set to low heat or the “silk” setting. (Be sure to use a pressing cloth to avoid direct contact with the fabric.) Ironing seams make them more readily visible and helps keep them in place when sewing.
- Cut away any fraying edges. After pre-washing, it’s not uncommon to have a slew of frayed edges, so this is where those pinking shears can come in hand if you have them. Regular, sharp scissors will also work fine.
How to Sew Silk:
- To begin, we recommend hand-basting the fabric pieces together. The long, loose stitches will help hold the fabric together and aid you in sewing. You can use more tissue paper if your fabric is slipping too much. Placing a piece under your sewing area will allow the needle to sew through both layers and you can simply tear away the tissue paper when you’re done.
(For your sewing machine, it’s a good idea to use a flat-bottomed foot to prevent the silk from snagging as it moves through the machine.)
- Make sure your machine is free of dust, dirt, and general grime. This is generally important while sewing and especially important for silk, lest you end up with marks all over the finished product. Test a piece of silk on your machine, adjusting your thread tension and gauge. In general, aim for around 12 stitches per inch, though this isn’t a hard and fast rule.
- Pull the top thread and bobbin thread away from you. This ensures it doesn’t get accidentally wrapped in the machine foot, causing holes or pulling fabric while you sew.
- Manually bring down the needle into the fabric. This will ensure the sewing machine starts slowly, so as not to pucker/crumple the fabric.
- Gently flatten fabric to feed it into the machine. Be careful not to pull it taut, as this can pucker the final project.
- Sew a few stitches before securing them with backstitching to ensure they do not come out. From there, sew at a steady pace, going slowly. Ensure that your stitches are even and check your process frequently.
- Finish your seams with a serged finish or a French seam. The ease with which silk frays can ruin your project if the fray reaches the area of the stitches.
And there you have it! The process of sewing silk is rather long, but the finished product should make it all worth it.
Now that you know how to sew silk, you can try your hand at a dress! Here’s a video showing how to make a silk slip dress.
Have you tried sewing with silk?