
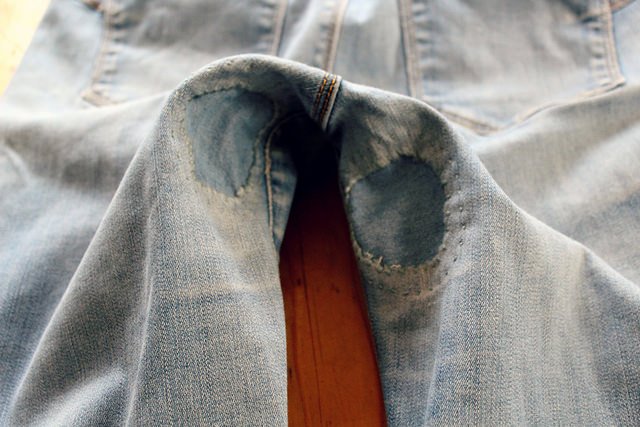
Whether you have an accidental tear in your denim, want to fix up old jeans, or just want to move on from the fashion of frayed jeans, there’s no need to throw a perfectly good pair away – especially when you can patch it!
It’s not that hard to learn how to sew a patch and there are several ways to do it. You can do it the old fashioned way, with a needle and thread, or you can opt for a no-stitch fix.

The latter uses a fabric adhesive and, depending on the type you own or buy, may not be a long-term solution.
Still, this may be the easiest option for some people, especially if you have trouble threading or doing fine-tuned work.
Keep in mind, while you’ll more likely see patches on denim clothing, that’s not all you can patch.
Since you’re at it, why not patch up that favorite hoodie of yours that has a hole in the armpit? Or your comfiest pair of pyjama pants?
What Materials Are Required?
Keep in mind when gathering your supplies, that you can match the patch to the color of the jeans, jacket, shirt, or whatever else you may be patching, but you don’t have to.
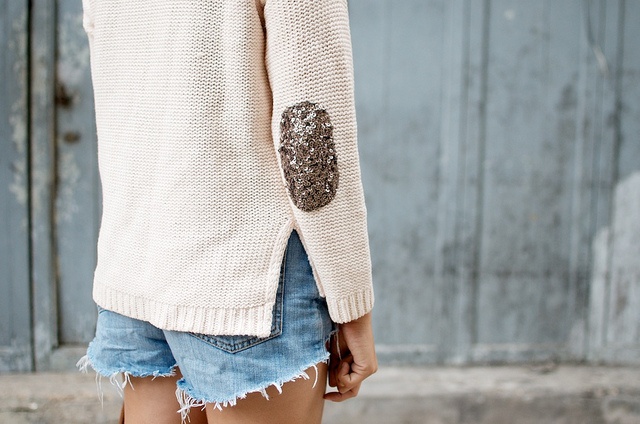
If you find a fun print at the fabric store or you have a couple scraps laying around, you can get creative.
There’s no avoiding the fact that your patch will look like a patch – there’s no returning to the original state of the clothing – but you can flaunt it instead of hiding it.
Materials For The Sewing Method
Obviously, you’ll need a little more to sew on a patch than when gluing it on, but if you already have a sewing kit or machine and you don’t have fabric adhesive, there’s no real need to go and buy adhesive that you might not need beyond this project.
All you’ll need is scissors to clear away frayed ends or loose threads, a sewing needle, fabric pins, fabric, thread, paper and pencil (or pen).
- Scissors
- Fabric
- Sewing needle
- Thread
- Pins
- Paper and pen
Materials For The No-Stitch Fix
- Scissors
- Fabric
- Fabric adhesive or fusible web
- Paper and pen
How To Sew A Patch
Universal Instructions
Whatever you’re fixing, whether it’s a jacket or jeans, take a sharp pair of scissors and clear away any frayed ends, then turn your article of clothing inside out.
Slip a piece of paper under the hole and trace it with your pen.
Remove the paper and draw an extra half inch around the border of what you’ve already traced.
This will allow you to have ample room to fix your patch fabric to the item of clothing. Cut out the stencil and lay it over your fabric. Once that’s done, cut out the patch.
Sew On A Patch With the Sewing Method
Lay the piece of fabric you’ve cut-out on top of the inside-out article of clothing, and use a few pins to secure it down.
If you can, measure the length of the area you’ll be working on and measure out thread more than double the length.
Thread one end through the needle and pull, so that the two ends of the thread are parallel to each other.
Holding both ends, twist them into a loop and push the ends through to form a knot.
Take your needle and thread, and sew your first stitch. For this project, the tighter the stitch, the better. Any manner of stitch should do the trick.
If you plan to use a slip stitch (in which your needle will exit or end on one side of fabric, and then go through the patch fabric in a diagonal angle rather than sewing along the edges) then keep the length of the stitch small, or you’ll run the risk of the fabric moving or the thread bunching out.
Once you’ve finished sewing, remove the pins and secure the end of the stitch by tying it off.
Here’s an example in the video below using denim.
With the No-Stitch Fix
With your clothing inside out, make absolutely sure that the item is flat and without creases. Then, insert a piece of cardboard or paper – leftovers from creating your stencil will work fine.
Apply the fabric adhesive along the border of the hole. Make sure there is enough covering the area for all of the overlapping fabric.
Carefully lay out the patch fabric and apply pressure to smooth out any air bubbles or accidental placing. Wait the appropriate period of time before use or wash, as directed by the adhesive’s instructions.
For the fusion webbing, make sure to follow the specific instructions of the kind you buy. As with the fabric adhesive, lay out the webbing along the border and apply the patch. Then use an iron to apply heat to the patch to activate the webbing between the fabrics.
Ta-da! You’re done.
Depending on what you used, you may want to consider also sewing down the patch for extra durability.
Any tips for sewing on a patch? Let us know in the comments!