
Wondering how to sew binding on a quilt?
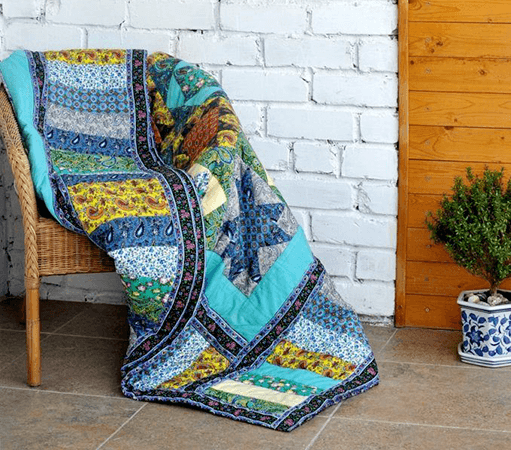
Quilts can come in all kinds of patterns, colors, shapes, and sizes, but one thing they all have in common is that the edges are bound in some way.
The binding is a ‘border’ for the quilt, containing all the rough, frayed edges of the sewn-together fabric squares, giving the quilt a clean, finished look.
And while putting the binding on a quilt can be tricky, having a few techniques in your sewing repertoire can help make things much easier.
Just follow these simple tips and you’ll have a finished quilting masterpiece in no time.
How Much Quilt Binding Will You Need?
You can either buy binding at your favorite fabric store or make your own. It all depends on the project you are working on and your preferences.
To figure out the amount of binding you need, measure the perimeter of your quilt – by adding the length of each side together and then adding an extra 10 inches for seams, corners, and any pesky mistakes.
You can divide the perimeter number by the amount of fabric you have – and this will indicate how many strips of binding you need. Round it up if you get a decimal.
Example: 30 in. + 30 in. + 20 in. + 20 in. + 10 in. = 110. Then 110/30 = 3.67. We need four strips of binding that fit around your quilt.
Now, let’s start sewing!
How To Sew Binding On a Quilt
Organise the Binding Strips
Take two of your binding strips and place the right sides together perpendicularly – or at a 90-degree angle.
Sew them together where they intersect at a 45-degree angle (or diagonally), and then trim the corner, leaving a 1/4 inch past the new seam.
Trim and Fold
Trim the start of the binding at a 45-degree angle and fold your binding – with the wrong sides together – before pressing it with an iron.
Now you are ready to attach the binding to your quilt!
Attach Binding to Quilt
Trim off any excess backing, padding, or fabric that is hanging off your quilt. We want the edge you’re attaching the binding onto to be clean.
Quickly check that you don’t have any seams which will end up at the corners (making it harder to sew).
Run your binding along the perimeter of the quilt. If you do get a seam (where two strips of binding will meet) at a corner, adjust the binding up or down your quilt.
Why make this harder than it needs to be?
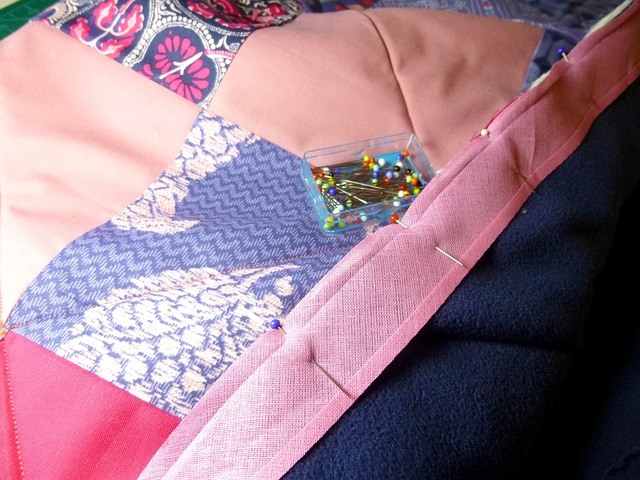
Pin Your First Strip
Place your binding on the front of your quilt – about 6-8 inches from the corner that is closest to where you are starting.
Leave a tail of about 6-8 inches off the side of the quilt. This will help later when you are connecting different strips.
Line up the open binding end with the edge of your quilt; the folded edge should be facing toward your quilt.
Pin your first strip of binding onto one side of your quilt.
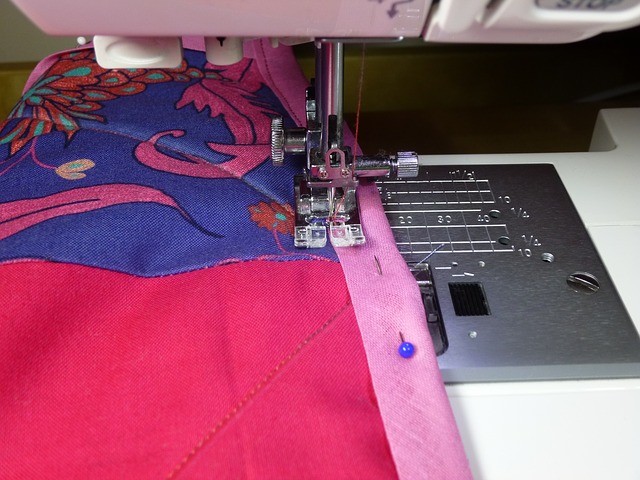
Stitch the Binding
Stitch the binding onto the front of the quilt, leaving a 1/4-inch seam allowance.
When you get to a corner, stop sewing about 1/4 inch away and sew off the side of the corner.
Remove and Fold
Take the quilt off the sewing machine to a clear area. Fold the binding (which hangs over the corner you just sewed off of) away from the quilt and over the binding you just stitched to the side.
Keep the edge of the binding in line with the edge of the quilt.
Bring the binding back down on the quilt. You will see a tuck of fabric. This is what you want.
Don’t worry! This will form the corner for the front of the quilt. Have faith!
Sew the Binding Down
Start from the edge of the quilt side you just worked on, and sew the next side of binding down until you reach a corner.
Repeat the corner process on all four corners.
Right before you are finished, leave a 6 to 8 inch tail of your final binding strip to hang off the quilt. Trim off any binding that seems excessive in length.
We want to have a few inches of binding that overlap each other. Remember: when we started, we left a 6 to 8 inch tail as well.
Cut and Trim
Open up the end of the binding. Place the tail from your starting binding piece inside it.
Mark where the angled end sits in the open binding and then remove it.
Cut ½-inch away from that measurement at a 45-degree angle. You cut ½-inch away to account for seam allowances on both ends of the binding.
Pin the Bindings Together
Unfold the two tails and then put them together perpendicularly, with the right sides facing each other. The diagonal ends should meet up.
Pin the two bindings together and then sew a seam that’s a ¼-inch in to complete the continuous loop.
You’ve completed the square.
Close Up and Finish Stitching
Now all you have to do is close up (refold) the binding and finish stitching it to the front of the quilt. Great job so far!
Now to the back of the quilt!
Final Quilt Binding Steps
Fold your binding over the edge of the quilt, making sure to pay special attention to the corners. You may need to use a seam ripper or a corner tool to ease the fabric into the corners of the binding.
Pin down the binding to the back of your quilt and then head over to your sewing machine.
Stitch the binding onto the back of your quilt, making sure to be extra careful around the corners.
The video below shows more details on quilt binding.
You bound your quilt! Celebrate!
Enjoy your achievement! You should be proud.
See more: The best home quilting machines.
For some excellent visual instructions on quilt binding, see this guide.
Do you have any tips on quilt binding?