
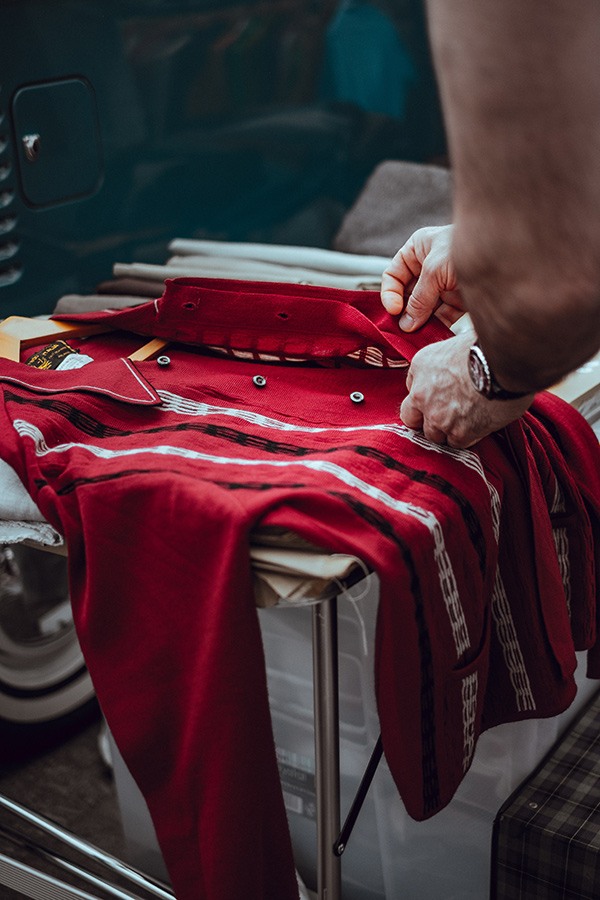
Finding out how to sew a buttonhole is a big step for beginner sewists.
No matter how much you’re sewing, if you keep at it long enough, you’ll almost definitely run into a project where you need to sew a buttonhole.
Though it can seem scary, and you may be tempted to just cut a slit and leave it at that, sewing a buttonhole is actually super easy!
Whether you’re sewing by machine or by hand, you can sew a buttonhole with just a few simple steps.
So, let’s see how — here’s our complete guide to sewing a buttonhole.
Sew Buttonholes with a One Step Machine

The buttonhole foot on a machine can be scary-looking, but once you figure out the process, it’s actually surprisingly easy.
Depending on what sewing machine you have, the machine will be equipped to provide either 4-step or 1-step automatic buttonholes.
Mark the Fabric
First off, you’re going to need to mark the fabric to ensure you get a buttonhole that’s positioned correctly and is wide enough for your button.
Decide where you’re going to want your buttonhole and mark a straight line about a quarter inch larger than your button with a ruler and fabric pen.
Sew the buttonholes before sewing the buttons on – it’ll make your buttons line up better with the hole.
Prepare Your Buttonhole Foot
In a one-step machine, the buttonhole foot will have a little plastic bit on the back that is meant to hold one of the buttons you’re using in your project.
This bit will let the machine know how long to make the buttonhole, so if you’re using particularly thick buttons, leave a little extra space on either side.
Attach the buttonhole foot to your machine, making sure the holder is at the back.
Sew the Buttonhole
Place the fabric under the buttonhole foot, positioning it so the needle is right above the bottom side of the marking you made — most machines do start at the bottom, but consult your manual to make sure your machine is the same.
Lower your presser foot and hand-crank the needle into the fabric, aligning the buttonhole marking to make sure it’ll be sewn straight.
Turn your machine on, select the automatic buttonhole stitch, and start sewing. The machine will automatically sew all four sides and stop when it’s done!
Open the Buttonhole
After creating the actual buttonhole, the last step is to open the fabric inside the stitching so you can put the buttons through the hole.
Pin each end to make sure you don’t cut through the stitching accidentally, then use a seam ripper to pierce the fabric on one edge, cutting very carefully to the middle of the buttonhole, and do the same in the opposite direction to create the hole.
Slide your button through to make sure the button actually fits; always err on the side of cutting too little rather than too much, as you can always cut more if necessary!
Sew Buttonholes with a Four Step Machine
Four-step machines are a little more difficult than one-step, but it’s nothing to get anxious over.
They still make beautiful buttonholes!
Mark the Fabric
You’ll still need to mark the fabric with four-step buttonholes.
The length is a little more important for four-step than it is for one-step; you’re going to be deciding the exact length with a four-step buttonhole, so make sure you account for how thick your buttons are!
An eighth of an inch on each side is standard, but if your buttons are thicker than most, you may want to do more.
Position and Prepare the Machine
Attach the buttonhole foot to your sewing machine and position the fabric so the square window at the bottom is showing the full buttonhole.
Position the needle at the top of the line you marked — most machines start buttonholes at the top, but a few do start at the bottom, so be sure to check your manual.
If applicable, set your stitch length to between .5 and 1mm, and hand-crank the needle until it pierces the fabric.
Sew the Buttonhole
Set the stitch selector to buttonhole step one and sew the entire left side of the buttonhole; your machine will make a zigzag stitch down the line.
Slow down as you reach the end, and make sure you stop exactly at the end of the straight line you marked.
End with the needle on the left of the zigzag; if it isn’t already, hand-crank the needle until it is.
Set the machine to step two, and sew five or six stitches for the bottom of the buttonhole, ending with the needle on the right.
Set the machine to step three and sew the right side of the buttonhole, then set it to step four and sew across the top.
If your machine has a step five, it will backstitch to make sure the stitches are secure; if it doesn’t, just set your machine to a simple stitch and do a few stitches and reverse stitches to secure the thread.
Open the Buttonhole
As with a one-step machine, you’re going to need to open the fabric; just slide your seam ripper from one end up to the middle, then down the other end to open the whole thing. Slide your button through to do a final check for any issues.
How to Sew a Buttonhole by Hand
Some people don’t own a sewing machine or prefer to sew their buttonholes by hand — a lot of people like the personal touch hand-sewn buttonholes give a project!
Sewing buttonholes by hand definitely isn’t impossible, it’s just a little more time-intensive than with a machine.
Mark and Cut the Fabric
With hand-sewn buttonholes, you’re going to want to cut the fabric before you start, rather than after.
Measure the same way, with about an eighth of an inch extra on each side, and cut the opening with a seam ripper.
Be very careful to make the opening straight and long enough for the button; it’s especially important with hand-sewn buttonholes, as the length of your opening will be how long your buttonhole is.
Sew the Buttonhole
Thread a needle and bring it up from the back side of the material about an eighth of an inch from the opening.
Loop the thread into the buttonhole opening, bringing the needle up through the back again and through the stitch you just made.
Repeat this stitch around the perimeter of the buttonhole, each stitch close to the last one.
Once you get back to the beginning, backstitch a few stitches and then cut and knot the thread.
Here’s a handy video on how to sew a buttonhole by hand:
Final Thoughts on Sewing Buttonholes
Sewing a buttonhole can seem scary, but at the end of the day, they’re beautiful and simple to make.
Sewing buttonholes by hand is just as easy as sewing buttonholes with a machine, and they’re both a great part of anyone’s sewing repertoire.
See more: How to sew a button.
Any questions on how to sew buttonholes?