
You have a dress. This dress is perfect, with or without the presence of pockets, and you love it.
There’s just one problem. You want the waist tighter. Using elastic is the obvious answer, but who wants to struggle through winding together a casing and the elastic? No one. It’s time-consuming and frustrating, often increasingly tedious, and sometimes the directions are complicated.

With this method, you can set aside the annoying casing. You don’t need it!
You’re going to learn to create a fitted waist to give you that perfect hourglass shape without the extra step we’ve all come to loathe.
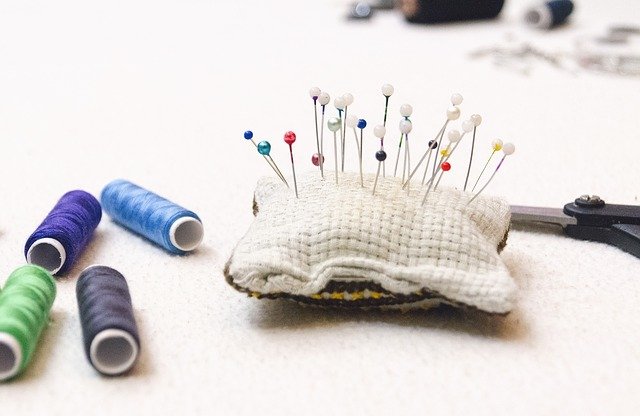
All you need is a sewing machine, scissors, pins, some thread, a length of elastic around 1/4 inch wide – and some time. That’s it!
How To Sew Elastic Waistband On a Dress
This method can be adapted to be used at the back of a bodice, the hems of sleeves, and even as a decoration for handbags, but while it’s a versatile technique, we’ll be using it here to create a fitted elastic waist in a dress.
Depending on the type of dress you have, the approach will vary. If the dress has a waist seam, turn the article inside-out and stitch the length of elastic to the interior seam allowance (that small bit of raised seam inside the dress).
For a dress without a seam, you’ll attach the elastic directly to the material.
Supplies
- 1/4 inch wide elastic, about a yard in length
- Dress
- Pins
- Thread
- Scissors
- Sewing Machine
Instructions for Sewing Elastic
Step 1: You need to figure out the length of elastic you’ll need to use. To do so, wrap the elastic around your waist while wearing the dress.
If you’d like to tighten other places as well, measure in the same way at these areas. Then adjust until it’s comfortable and cut the elastic to that desired length.
Step 2: You’ll grab your pins and place them at the center front and center back of the garment to mark them.
Add additional pins to mark each side seam. Then fold the length of elastic in quarters (you’re folding the garment on top of itself), and place a pin at each of those points.
It may look like a porcupine instead of an article of clothing, but don’t fret. You’ll fix it.
Step 3:
The work kicks into high-gear now! Grab your sewing machine and get comfortable. Settled in? Good.
Now place one end of the elastic down at a side seam and be sure to pin it into place. Bar-tack that elastic into its stationary place with a wide zag stitch.
Step 4:
Switch your machine over to an elastic stitch with a stitch length of two.
This will look like a zig-zag stitch, but there are three stitches in each portion that anchor the elastic into place.
You’ll continue to use this stitch for the rest of the time.
Step 5:
Match the next pin on the elastic to the next pin on the garment. Be sure to secure everything.
Stretch the elastic to fit the fabric. It’s okay if you struggle to stretch it and hold it in that position; that tautness will be perfect for later.
Stitch until you reach the center front or center back of the garment (which depends on which way you started).
Step 6:
This will take you on to the next pin in the elastic. Take it and match it to the next side seam.
Stretch the elastic to fit to the fabric and stitch it into place.
Step 7:
Continue this process until you reach the end of the elastic. Remember to continue to use the zig-zag elastic stitch with the same thread length until the end.
Tug the elastic tight; if it’s too loose, you may have made an error in deciding the length. That’s okay. If you need to, cut it out and shorten the length of the elastic, and then began again.
Otherwise, continue to stretch and sew. Once everything is stitched, bar-tack the end into place and cut all the spare threads.
And there you have it! You’ve added elastic band into your garment. Whether that’s just an elastic waist to make a dress just a bit more form-fitting, or you’ve also tightened the sleeves, this method is straightforward.
The only difficult part is holding the stretched fabric!
Once you adopt a routine for doing so, however, the time flies by and it’s a simple project, especially since you don’t have to deal with the struggle of an elastic casing.
The video below gives a little more detail on the task.
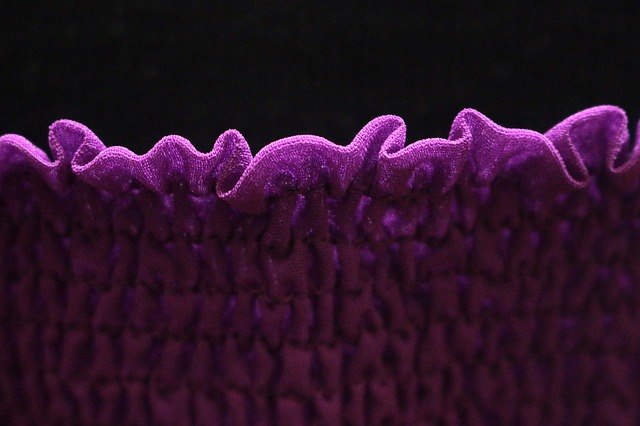
You really do want to stretch that elastic while you’re holding it, though, because once you let go and stitch it into place, it creates that pulled-together look.
Your fabric will shrink up and gather up when you’re done – creating a slim look. If you use similar thread, this fix is all but invisible.
Have you tried this method for sewing elastic?