
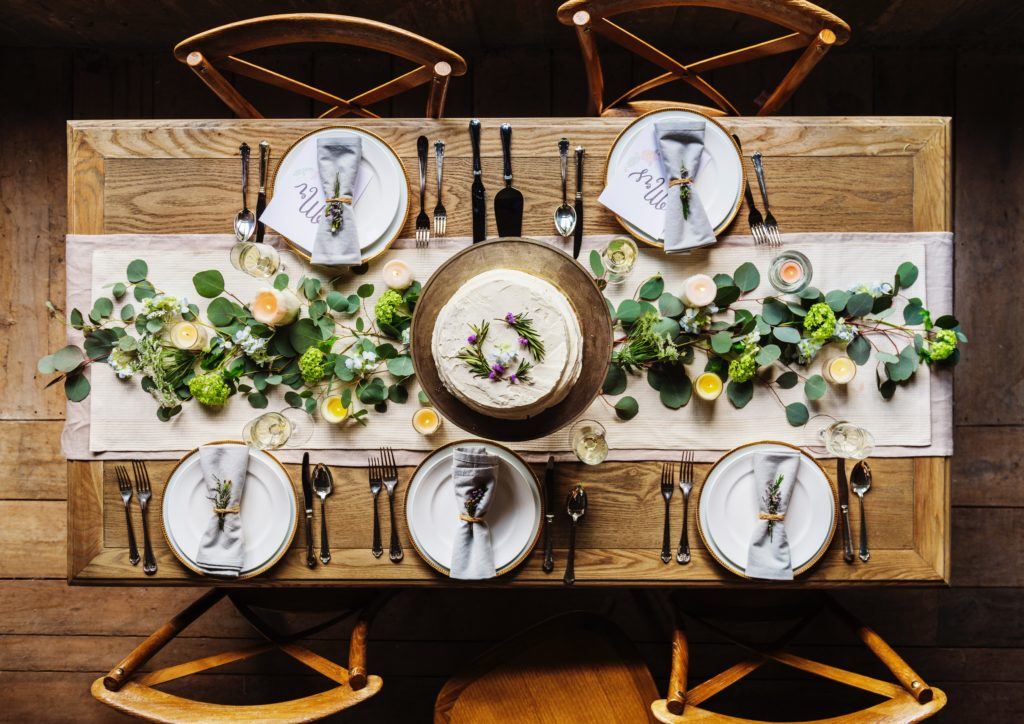
A table cloth is a great way to protect and decorate a table. Table runners, on the other hand, add an extra dimension to your table setting.
Since it’s easy to switch out one runner for another, you can easily use them to create a theme for your table setting or tie together the décor of your home.
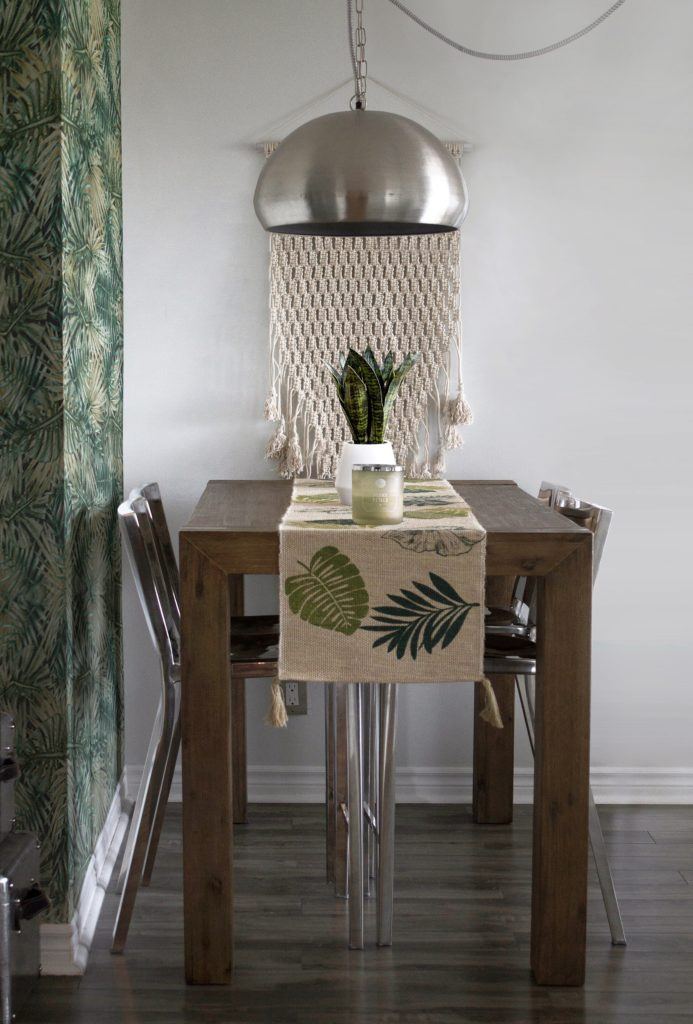
Why not put on gold and white for the holidays or something bright and sunny during the summer?
Other than being decorative and functional, table runners are also a great project for beginner sewists. The only difficulty with table runners is their length; for longer versions, this can be a problem.
However, with the right measurements and a good sewing machine, even complete beginners can make a table runner in no time!
What Is A Table Runner?
A table runner refers to a piece of cloth that runs across the length of a table. They can be placed on top of table cloths for added flair; they can also be put on a bare table or take the place of table cloths.
Traditional table runner dimensions are about fifteen inches longer than the table on each side. The width is around fourteen to seventeen inches.
Most table runners are simple pieces of fabric, but you can get creative. In this article, we’ll talk about how to make a simple table runner, as well as a quilted table runner.
Best Fabric for a DIY Table Runner
When it comes to table runners, the sky’s the limit. You can develop one from traditional cotton fabrics, jute, or even burlap.
When it comes to the usual DIY table runners, any material that you like works well, so long as you can use it with a sewing machine. However, quilted table runners are best used with 100% cotton fabrics.
How to Make a Table Runner
Table runners are straightforward projects, and you can easily make your own! This 10-minute table runner is a sure-fire way to create a quick and easy decoration for your table.
Materials
- Fabric.
- Thread.
- Scissors.
- Sewing Machine.
- Iron and ironing board.
- Measuring tape.
- Pins.

Procedure
- Measure the amount of fabric that you need. For the width, you can pick somewhere around fourteen to seventeen inches. You can also measure out your table and desired width to estimate what exact dimensions you’d prefer.
- For the length, measure about ten to fifteen inches from the edge of your table. This measurement will be how much your table runner will drop off the edge. Take this measurement and multiply it by two, one for each end. Then, measure the length of your table and add this to your measurement. Once you have your measurements, add one inch to both the length and the width.
- Using your measuring tape, create marks on the fabric. Then, cut your fabric to size.
- Iron your fabric piece to help it stay flat. Then, after ironing, create a zig-zag stitch around the edge of the entire fabric to prevent fraying.
- Now it’s time to add the seams. Go along all four sides of your fabric, folding ½ inch from the edges. Iron it flat, and add pins as necessary to keep it in place.
- Now it’s time to create the corners. The corners of a table runner are mitered; to do this, unfold the corners slightly. Then, create a 45-degree angle with a corner of the cloth. After that, fold in the sides of this into the center, so that it creates a mitered edge. Alternatively, you can use the folded sides as a guideline. Take the overlapping hems of the corer, and tuck them inside their folds. Align the tuck so that they create a 45-degree angle from the edge of the cloth.
- Sew around all the sides of the runner. This stitch will be one continuous stitch on the entire length of the table runner. When you reach the corners, you will need to pivot the fabric to sew continuously. To do this, hand-wind the bobbin down when you reach a corner; this will keep your fabric in place. Then, release the presser foot, and pivot your fabric to the new length.
- Trim away any excess threads, and voila! You have your new table runner!
DIY Table Runner Variation: Tube Technique
Another way of making table runners is to essentially create a tube of fabric, then turn it inside out.
This is a less traditional sewing approach to table runners but can be an easier method.
Materials
- Fabric.
- Iron.
- Ironing board.
- Sewing machine.
- Thread
Procedure
- Measure the length of your fabric. Your length should be at least twenty inches longer than the length of your table. The width can be anywhere from fourteen to seventeen inches.
- Cut out two pieces of fabric at this length and width.
- Place the fabric pieces on top of each other. The two right-sides of the fabric should be on top of each other while ensuring the sides are flush. Pin the edges of your fabric, leaving about five inches between each pin.
- Pick one side of the length of your fabric, and leave somewhere around the center of this length unpinned. This unpinned portion should be large enough to fit your hand, with a bit of leeway. This gap will be where you will pull your fabric when turning it inside out.
- Now it’s time to sew the edges! Start from the unpinned portion and sew outward, leaving about a ¼ inch from the edges. Sew with a backstitch. Continue sewing along the length, so that you reach the other end of the unpinned area.
- When you’re done, it’s time to do the corners. Trim off your corners at an angle; you can do this without measuring, but you can also measure an angle to keep your corners uniform. Try to cut about 1/8 inch from the sewed edge; leaving a bit of leeway between the sewed edges will give you sharper edges.
- Now turn your fabric inside out! When it comes to the corners, it’s safest to reach inside the fabric and poke out the corners while pinching it from the outside. You can also poke this out with the eraser end of a pencil or the blunt end of scissors.
- Iron your fabric flat to remove creases and prepare it for the last bit of sewing.
- Pin the gap. Make sure that the ironed hem is tucked evenly between the fabric. Place it back in the sewing machine, and stitch again along the whole perimeter of the cloth, starting from the unstitched gap.
- Iron it again to remove all creases. Ta-da! You’re done.
This video shows another example of how to make a table runner.
How to Make an Easy Quilted Table Runner
Another great method for creating a table runner is by quilting. This easy quilted table runner is an excellent way to use up all your scrap fabric.
If you have a lot of fabric lying around and can’t pick just one design, you can incorporate all your favorite pieces and turn them into a table runner!
Materials
- Fabric strips, about fifty pieces, at least twelve inches in length.
- Backing fabric, size equal to your desired table runner size.
- Batting fabric, a size equal of the backing fabric, preferably low loft batting.
- Sewing machine.
- Scissors.
- Thread.
- Needles.
Procedure
- Gather your fabric, making sure that each of them is composed of 100% cotton fibers. When it comes to quilting, its best to choose fabrics with colors that go well with each other. Sticking to a color scheme can ensure that your project ends up looking the best that it can be.
- Prepare at least 50 strips of fabric, about twelve inches long. You can have varying widths for each strip, so long as they are at least one inch and no more than two and a half inches in width. You can play with varying widths to add a dimension to your project or stick to the same width for uniformity.
- Create a few more fabric pieces with 2 ½ inches in width, as you will use these strips for the binding.
- After cutting your fabric strips to size, you may pre-wash and iron them. Washing and ironing will prevent bleeding in the future, as well as shrinkage.
- Prepare your backing. Your backing fabric should be the same size as your entire table runner, with an inch added to the length and width for leeway. The size of your table runner should be equal to the length of your table, plus twenty to thirty inches. The width can be about fifteen inches.
- Prepare your batting. Low loft batting is ideal for this project, as high loft batting will make the runner too thick, and won’t cover a table well. The batting fabric should be cut to the same size as the backing fabric.
- Lay the backing fabric on your table, right-side down. Then, put the batting fabric on top and line up the edges. Smooth down the batting, and pin the edges.
- Now it’s time to lay down our quilting fabric. First, find the approximate center of your table runner. Then, take a square piece of quilting fabric. Place this at the center of your runner, so that it forms a diamond. Pin it in place.
- Take another piece of fabric that’s a different design. Cut it so that its length is equal to the side of the square you just laid down. Place this strip on top of the square, right sides together, lining up the edges.
- Sew along the overlapped edge. Make sure to start a bit above the edge and end a bit below it, so that you also include the batting and the backing fabric. Cut off the excess thread. Then, flip the fabric open and finger-press along the seam.
- Now go clockwise. Measure the length of the two fabrics, and cut your next piece into this size. Add this strip the same way you did the second strip. At this point, you may want to check if your new fabric strip works well with your quilt before sewing it. Lay the fabric strip and check if other designs work better with what you already laid down.
- Continue adding fabric in a clockwise manner until you reach the outer edge of your batting. When you reach the edges, you won’t need to cut the fabric to measure. Some fabric will hang over the edge.
- When you’ve covered the length of your runner, flip it over and trim the excess fabric. Sew the edges with a running stitch to keep it in place.
- Now it’s time to add the binding! Take the remaining strips, preferably those that are 2 ½ inches in size. Attach them so that you have a piece of fabric that’s at least twelve inches longer than the perimeter of your table runner.
- Attach the binding to your table runner. Do this with the same technique you used when attaching the fabric pieces earlier.
This video shows another example of an easy quilted table runner.
Quilted Table Runner Alternative
Diary of a Quilter also has a quilted table runner tutorial. Rather than creating a quilt that has a diamond design, this tutorial develops a quilt with fabric pieces that run along the width of the table runner.
This tutorial uses the same technique as the previous quilted table runner tutorial, with slight variations. Rather than starting with a square patch, this tutorial begins with a strip at the center of the fabric.
Additional strips are added by sewing the edges and finger-pressing the seams, going from the center of the runner to the outer edges.
This tutorial can be quicker than the previous quilting design. However, long strips of fabric can be harder to keep in place, and you will need a lot of ironing and pinning.
Of course, it depends on the design you want to achieve with your table runner, and both tutorials are a great way to create a table runner.

Conclusion
Table runners are a great way to add a splash of color to your dining area, and they’re pretty easy to make, too.
Hopefully, this article has helped you create great table runners to serve every occasion. Happy sewing!
Have you tried making an easy quilted table runner?