
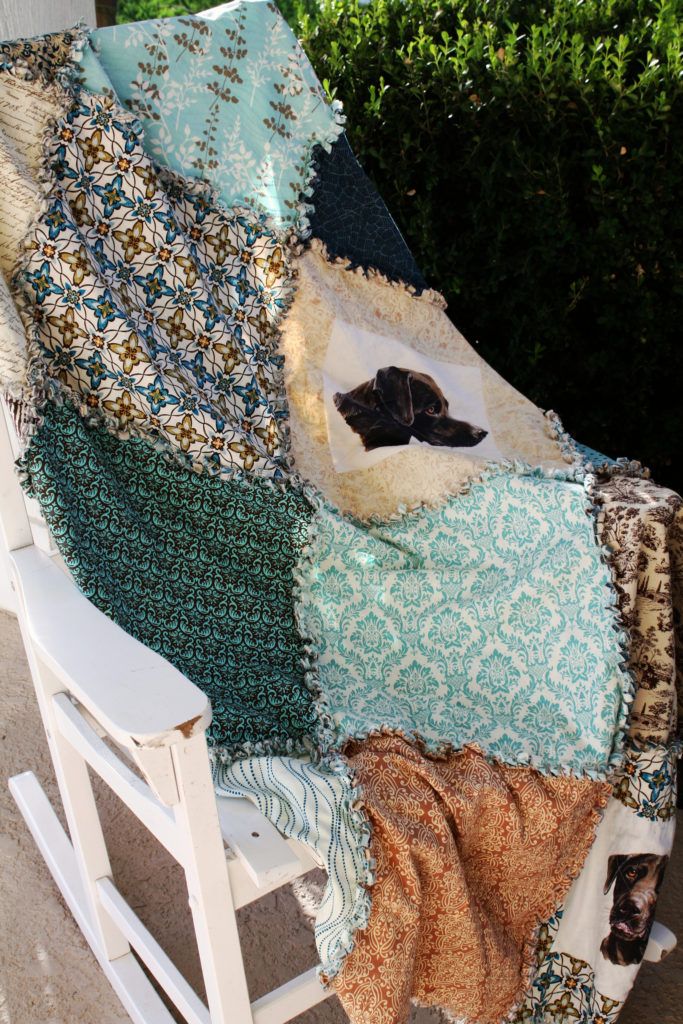
Rag quilts may not have the most pleasing name but they are wonderful to curl up with on a cold day.
The three layers of material, plus fluffy seams, make for the best companion come rainy day movie marathons. Not to say that regular quilts aren’t good snuggle buddies! Rag quilts just seem extra… “foofy,” making them great for naps, kids, and sleeping in on chilly mornings.
Rag quilts are also great craft projects because of how easy they are to slap together!
Yes, you heard that right! Making a rag quilt isn’t hard. Truthfully, they are easy to get a handle on, and due to their design, they are forgiving of mistakes.
Rag quilts are the perfect craft project to work on if you are busy or like working in smaller sections, as they don’t require a great amount of sewing skill or know-how.
If you’re seeking rag quilt instructions, you’ve come to the right place! But first…
What is a Rag Quilt?
So you overheard someone at the craft store chatting about making a rag quilt and thought, ‘What in the Martha Stewart are they talking about?’ Let’s clear up your confusion.
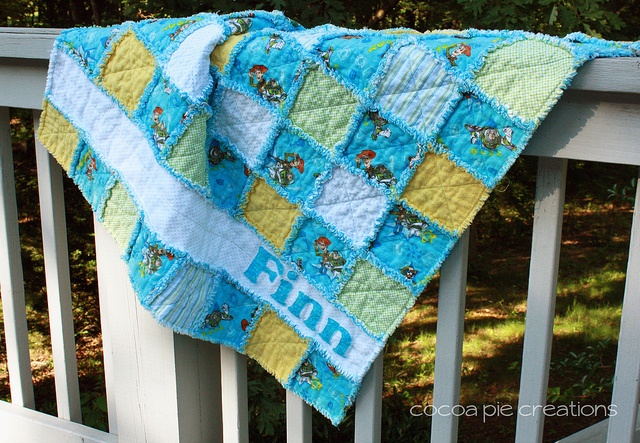
A rag quilt is unique in that it has the hanging edges of seams exposed on the front of the blanket. These edges are frayed to create a fluffy look.
How a rag quilt is made is somewhat unique as well! Sectioned into blocks, these blocks are squares of three different types of fabric sandwiched together – a top, a batting, and a backing.
When all of the blocks are ready, they are sewn together, leaving the edges of the fabric exposed so that they can take on the fluffy, rugged quality the quilt is named after.
So, now that you know what a rag quilt is, surely you must be wondering how to make a rag quilt? Good news then, as a full guide that walks you through a rag quilt tutorial is below!
Making a Rag Quilt
Rag quilts are simple in construction. They are very easy to make for those new to sewing or quilting and are projects that can be picked up and put down without fuss.
Good for hobbyists that like to shift from project to project on a whim, and good for those who like to kick back for an hour or two with a sewing machine on Sunday afternoons.
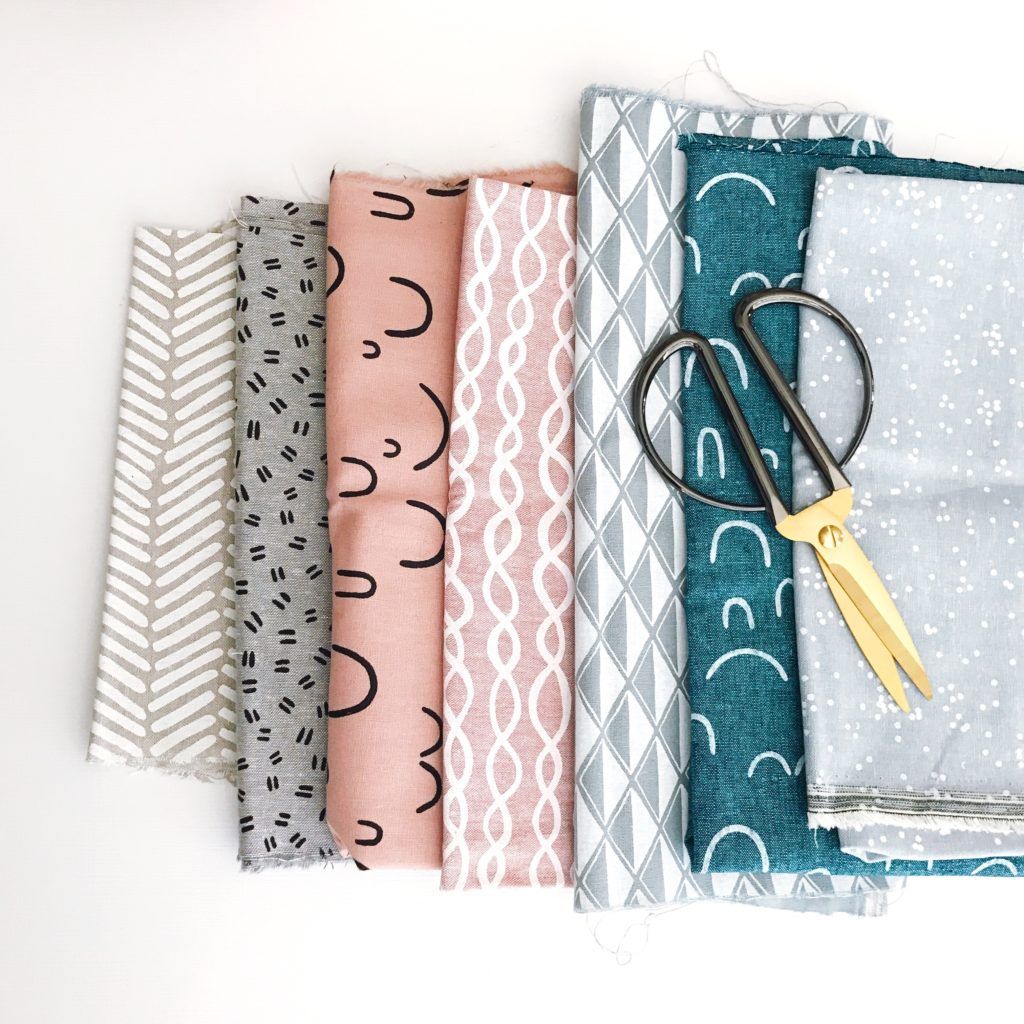
Now, before you start making a quilt, you are going to need to decide on what fabrics you want to use.
Materials Needed
Depending on the type of rag quilt you want, different kinds of fabric may be required.
If you want a soft, warm quilt, then flannel, cotton, and minky fabric blends are a good choice.
If you want a heavy quilt that holds a lot of warmth, then cotton, wool blends, and any homespun fabrics will be perfect.
If you want a decorative quilt or one with a quirky appearance, then denim or patterned cotton are good choices, as they fray wonderfully for the rag effect.
When it comes down to it, you can make any fabric work so long as it frays for the ragging edges. Even lighter fabrics are manageable, though delicate and shorter-lived.
There may be some trial and error, but that is part of the fun, no?
Aside from the fabric, here’s what you’ll need to make a rag quilt:
- Thread.
- Fabric scissors.
- A ruler.
- Your trusty sewing machine. You can sew it all by hand if you really want to, though it will take a lot longer to do so!
Now, let’s get into the guide!
How to Make a Rag Quilt
Step One
Using fabric chalk and a ruler, measure out the fabric. With that done, cut the fabric. Try to be as neat as possible when cutting out the squares, as once the quilt is fully assembled, any uneven edges will be noticeable.
The best way to cut the fabric is to sever the larger piece into strips and then cut that strip into the squares of fabric.
For example, if your piece of material was 3 x 3 feet long and you needed 4 x 4-inch squares, the best way to cut even squares would be as follows: measure and mark out the squares with fabric chalk and then cut the material into ten 4 x 40-inch strips, from there, cut the strips into the 4 x 4-inch squares.
Using this method, you can avoid cutting uneven edges, accidentally tugging the material out of shape. This does create a minor inconvenience, but perfectionists will certainly not appreciate wonky squares on a completed quilt.
Step Two
This is a fun step that you can get the kids involved with!
Take all of your lovely piles of squared material and start making sandwiches. Top, batting, and backing – lay them all together.
(Just in case you need the reminder, the top square of material will be the decorative, outward facing layer of the quilt, the batting is the insulating layer on the inside, and the backing is the inner layer of the quilt.)
If you are going with a solid colored rag quilt, then this will not be an overly complex step. However, if you are mixing things up with multiple patterns or colors, then it is a good idea to lay each sandwich out in a mock-up of the assembled quilt – kind of like you are doing a puzzle.
This helps keep track of your materials and gives you a good idea of what the overall quilt will look like.
At this point in time, you will want to ensure there are no open windows either! One stray breeze and woosh, there goes all your work. If necessary, get some books to weigh the fabric down.
Step Three
Break out the sewing machine and pop a bobbin of your chosen thread in.
Take each sandwich of fabric you’ve just made and stitch a large X through the center of each. Not quite corner to corner, but close to the edge. This will keep the three layers altogether and will make the next few steps easier.
This is a bit of a repetitive task. An afternoon of mindless sewing is hardly a taxing day, though!
Step Four
Now it is time to start sewing the rows together!
After deciding on a seam allowance (which will depend on how much of a rag you want) take your first two squares of fabric sandwiches and place them back to back. Sew them together according to the seam allowance you chose.
Work along each row and start sewing until you’re done. Remember, rag quilts kind of work in reverse. It may seem odd to be sewing with the seams on the face of the quilt, but once you’ve added the final touches, it all really comes together!
Step Five
So now you have a few rows (or quite a few, if you are making a large quilt) of fabric squares sewn together.
Take the first two rows and place them back to back; use pins if you feel that the fabric is slipping too much (This is the exciting part, where the whole quilt starts coming together and actually looking like a rag quilt!)
Try to align everything to the seam allowance you’ve already sewn along, and sew the rows together. Keep chugging along, row by row, until all of the rows have been sewn on.
Step Six
With the squares and rows all assembled, you have yourself an almost rag quilt! Before adding the final touches, though, you will need to do one last bit of sewing.
Using the same seam allowance that you did when sewing the squares together, sew a border around the edges of the quilt.
After this, you can put the sewing machine away! Good job!
Step Seven
Break out the scissors and shake your shoulders loose – you are almost done!
Remember that seam allowance you sewed into the squares and border? It’s time to snip and fray them!
Taking your scissors, snip the hanging material into sections. The width of a centimeter is a good size.
Snip every hanging edge there is, including the border edge. But be careful! Don’t snip all the way to the seam, otherwise, you will undo all your hard work.
Once you are done, all that’s left to do is wash the quilt to encourage fraying along the ragged edges.
Step Eight
Fraying the edges you so carefully snipped is actually quite simple. Throw it in the washing machine!
As the edges you have cut are open to the water, even a gentle wash cycle will encourage fraying. Depending on how frayed you want the rags to be, rinse, dry, and repeat until they are as fluffy as you desire.
Popping a few towels into the washing machine is a simple way to catch all of the fluff that will peel away from the quilt during this process too.
Now, take a step back and admire your work!
Here’s a video showing an example of how to make a rag quilt.
Conclusion
Rag quilts are fantastic weekend projects for novice and expert hobbyists! Despite appearing like a complex effort, rag quilts are simple (somewhat time-consuming) blankets that make for wonderful gifts.
A huge array of patterns can be created and made incredible with a frayed edge. It’s such a small change to make, yet its impact on a finished quilt is undeniable!
There is no limit to rag quilt sizes or rag quilt patterns, it’s all up to you. Try making a rag quilt for yourself and see what you can create!
Have you tried making a rag quilt?