
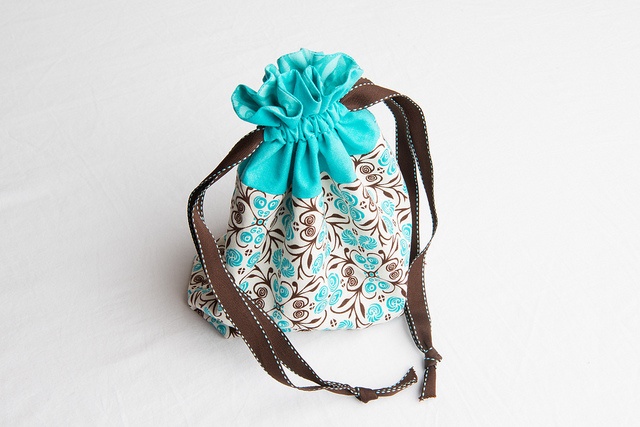
Drawstring bags are simple and easy to make, while providing multiple uses. You can design larger bags to serve as impromptu toy boxes or to contain your sewing materials.
With some added flare, they can become gym bags, traveling toiletry bags, lunch bags, gift bags, or even dice bags (for you boardgame players out there).
Drawstring bag patterns are simple to follow, and the project shouldn’t take more than an hour from start to finish!
Let’s get started.
What Do You Need to Make a Drawstring Bag?
When it comes to DIY drawstring bags, they require very few materials.
- Fabric of your choice.
- Ribbon (or other lengths of material for your drawstring).
- Thread for sewing the seams.
- A non-slip ruler.
- A rotary cutter or fabric scissors.
- Chalk or pencil for marking fabric.
- Iron.
Sizing Chart
When it comes to the amount of fabric and ribbon necessary, it all depends on the desired size of the bag. Here is a list of bag sizes to follow:
- X-Small: 5 ½ inches wide x 3 ¾ inches tall x 2 ½ inches deep.
- Small: 8 ½ inches wide x 6 ¼ inches tall x 2 ½ inches deep.
- Medium: 11 ½ inches wide x 9 inches tall x 4 inches deep.
- Large: 14 ½ inches tall x 11 ¼ inches wide x 5 inches deep.
- X-Large: 17 ½ inches tall x 13 ¾ inches wide x 6 inches deep.
Fabric and Ribbon Amounts
Fabric
- X-Small bag – ¼ yard of fabric.
- Small bag – ¼ yard of fabric.
- Medium Bag – ½ yard of fabric.
- Large Bag – ½ yard of fabric.
- X-Large Bag – ½ yard of fabric.
Ribbon (two lengths)
- X-small bag – 2 yards.
- Small Bag – 2 yards.
- Medium Bag – 2 yards.
- Large Bag – 3 yards.
- X-Large Bag – 3 yards.
Drawstring Bag Pattern
In the first step, it’s just a matter of cutting the ribbon and fabric to the right sizes.
Remember what your old shop teacher used to say: measure twice and cut once. This is very important! Once you make a cut, you can’t take it back.
The Ribbon
Cut two pieces of ribbon and set aside for now.
- X-Small: 20 inches each.
- Small: 26 inches each.
- Medium: 34 inches each.
- Large: 42 inches each.
- X-Large: 48 inches each.
The Fabric
Using the rotary cutter or fabric scissors as well as the non-slip ruler, cut a rectangle of fabric measuring:
- X-Small: 6 in. x 12 in.
- Small: 9 in. x 18 in.
- Medium: 12 in. x 24 in.
- Large: 15 in. x 30 in.
- X-Large: 18 in. x 36 in.
Take your rectangle of fabric and fold the rectangle in half longways (with the pattern on the inside), with the sides together to make a square.
Your square should measure:
- X-Small: 6 in.
- Small: 9 in.
- Medium: 12 in.
- Large: 15 in.
- X-Large: 36 in.
Once you have your square of fabric, iron the bottom fold to help keep the edges lined up.
How to Make a Drawstring Bag
When it comes to sewing your drawstring bag, you can either hand stitch or use a sewing machine.
If you trust yourself to sew in a straight line, then you’ll also need pins to hold the edges together while you sew. However, using a sewing machine makes the project go by much faster.
Step One
Turn your square of fabric so the folded edge is at the bottom.
Starting at the fold, sew up the left and the right sides of the bag – a quarter inch from the edge of the fabric.
Stop two inches from the top of each side. These are the sides of the bag.
Step Two
On the top edge, working on one side at a time, fold the two-inch section down a quarter inch, and iron flat.
Fold it over again, another ¾ inch, and iron flat.
Sew the bottom edge of the hem with a 1/6-inch allowance. Do this on both sides.
And now you’ve made the drawstring channel!
Boxing Out the Corners
Now that you’ve sewn the side seams and the drawstring channel, it’s time to box out the bottom corners of your bag.
This step isn’t strictly necessary, but removes tension off the bottom corners and can help prevent your seams from tearing later on.

Step Three
Take your bag and turn it on its side, so your side seam is now in the center of the fabric. Take the side seam and line it up with the fold on the bottom, creating a little triangle.
Now you’ll draw a line perpendicular to the top point of your triangle.
How far down the point of the triangle do you draw your line?
- X-Small: 1 inch.
- Small: 1 ½ inch.
- Medium: 2 inches.
- Large: 2 ½ inches.
- X-Large: 3 inches.
Step Four
Sew a seam along the line. Now repeat this process with the other corner, ensuring you measure twice, and make sure your line is level to match the angle of your first one.
Step Five
Now that you’ve boxed your corners, cut off the point of the triangle pieces below the seam, so you don’t have the excess fabric left inside your bag.
Finally, turn your bag right-side out!
The Drawstring
The easiest method of threading your ribbon through the channels is to attach a safety pin to the end.
This prevents you from losing the ribbon-end in the middle of the channel.
Step Six
Now, thread your first ribbon piece through one side, and then around the other side as well, so both ends are on the same side.
Do this again with the other ribbon, but starting at the opposite side. Tie the ends of the ribbons together and knot tight! When you grasp the knots and pull, your bag will cinch closed!
Here’s a video showing how to make a drawstring bag.
Conclusion
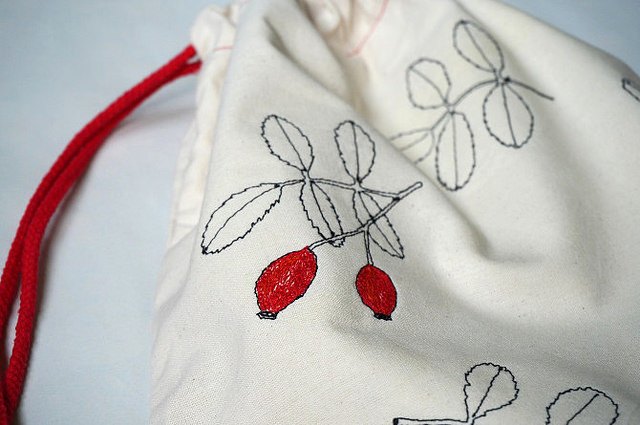
Now you’ve made your first drawstring bag!
They’re simple, fun, and offer a range of creative avenues. As a nice way to personalize any gift, they can be reused again and again!
Have you tried making your own drawstring bag?