
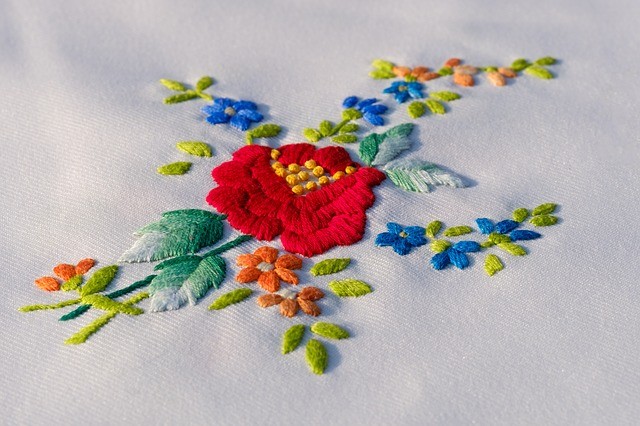
Embroidery is a delicate sewing craft which produces beautiful designs and even more lovely embellishments on pillows, clothing, or other accessories.
If you’re thinking about getting into embroidery for the first time, embroidered flowers are a great place to start, as one of the most simple and well-loved designs.
In this article, we’ll equip you with all the necessary tips on how to embroider flowers by hand.
Let’s get started!
Tools for Embroidering Flowers
All you will need are a few tools, which can be purchased at your local arts and crafts store, or even some big box grocery stores.
- Embroidery needle.
- Fabric of your choice.
- Embroidery hoop.
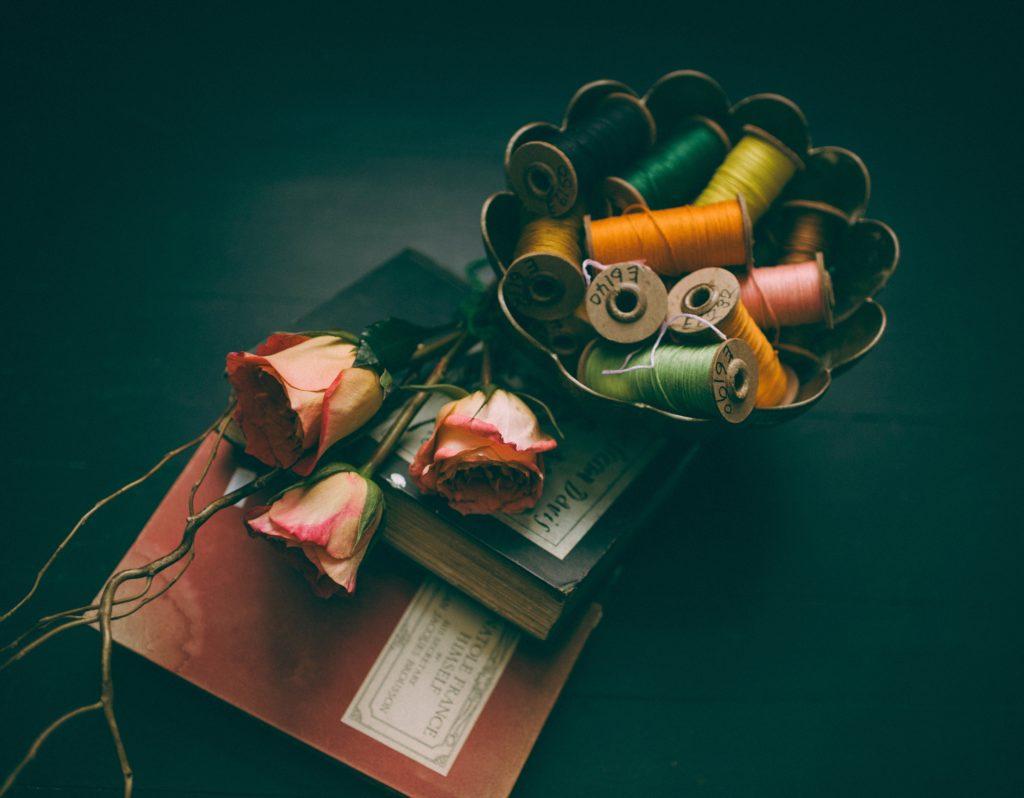
- Embroidery floss or yarn in multiple colors.
- Water-soluble markers.
- Sharp scissors.
Directions to Embroidered Flowers
Set Up Your Embroidery Hoop
The first step is to arrange your embroidery hoop. Embroidery hoops come in both wood and plastic — both of which will work for embroidering flowers onto any number of fabrics, be them a pillowcase or a pair of jeans.
The hoop’s purpose is to ensure that your fabric is secured in place while you stitch the pattern.
To set up your embroidery hoop, loosen the screw which holds the two rings together, and then place your fabric of choice onto the smaller hoop.
Popular fabrics for embroidery projects include linen and cotton-linen blends. You should choose your fabric based on the intricacy of the design, as certain fabrics hold up better than others. For example, cotton will be more durable than satin, and also easier to work with.
Next, you should ensure the fabric is pulled taut. Then, place the larger ring on top of the fabric and re-tighten the screw.
Draw Your Pattern
Whether you’re new to embroidering flowers, or have been doing it for years, it’s best to start with a good foundation. In this case, that would be a simple sketch of your intended design.
Take your water soluble marker and make very light markings on your fabric to outline the floral pattern. It doesn’t need to be very detailed, as you will only use it as a guide to keep things in line.
Though the stitching should cover up the outline, you may find that parts of it still show through by the time you complete your project. That’s okay!
Running the fabric under a gentle stream of cold water will remove any leftover markings.
Decide Which Stitching Technique You Will Use
There are various stitching techniques to choose from, and each will affect the look and feel of your final project.
You may discover that you prefer one stitching technique throughout the entire design, or that combining a variety of techniques better suits your style.
For the purpose of this article, we’ll focus on three different stitches: the running stitch, the stem stitch, and the satin stitch.
These three techniques, used in conjunction, will allow you to create simple embroidery flowers that also have a great deal of flare.
The running stitch, which consists of pushing your crafting needle into and over the fabric in a continuous motion, should be used to outline the design you’ve already traced on the fabric.
After you’d outlined your hand embroidered flowers, you should then fill them in. For this, the satin stitch (which consists of using the needle to create stitches that extend over the entire surface of the object) is great for filling in your designs.
Think of satin stitch as the paint on your canvas. It’s during this time that your embroidery project will start to come to life.
If you decide that you want to keep one continuous color throughout, then using only one kind of thread is fine.
However, if you decide that you want multi-colors, then you should be prepared to have a variety of colored threads on hand (and the patience to thread or rethread multiple needles) to achieve the desired effect.
Lastly, if your design calls for it, it’s time to stitch your stems or vines. As you probably guessed, this is where the aptly-titled ‘stem stitch’ comes in.
To execute this stitch, you should begin with one straight stitch forward. Next, you should line the needle and floss directly underneath your fabric, then bring the needle up just to the side of the stitch. Continue this until you reach the end of your stem.
After you’ve completed your design, make sure to tie the knot tight to prevent any unravelling.
Congratulations! Your hand embroidery flowers are now ready to be gifted to loved ones or sewn into a larger project such as a quilt or a sweater.
Here’s a video showing how to embroider a rose.
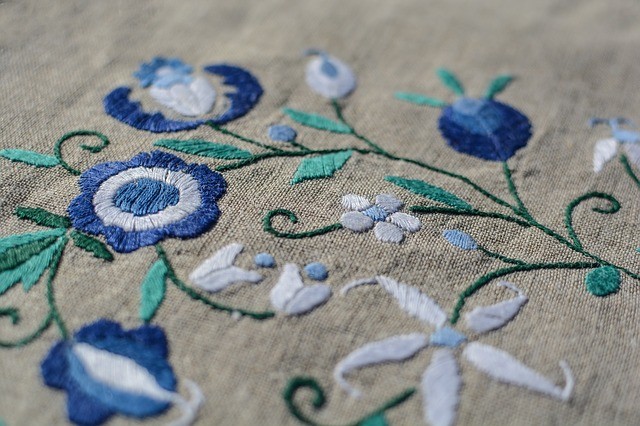
If you’d like to create a large bouquet of embroidery flowers, then simply repeat the above process with adequate spacing between each, and remember: the more colors or stitching techniques you leverage, the more unique your final result will look. Have fun!
Do you have any tricks for flower embroidery?