
Complete sewing kits are wonderful tools to have.
However, unless you know how to properly use them, they are of little value. If you are a beginner, learning basic stitches is not a difficult task, and you can master these types of sewing stitches in record time. These stitches will teach you how to complete basic stitches by both machine and hand for greater flexibility.
Hand Sewing
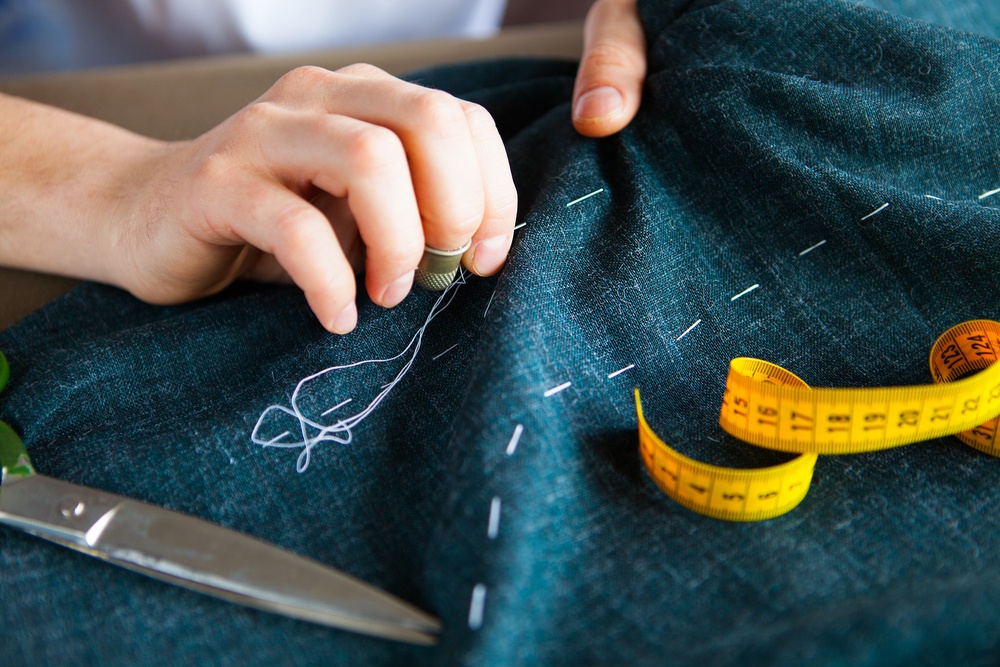
These stitches are designed with the beginner in mind and become more progressive. Some of the hand stitching demonstrated are for more intricate work while others are more practical.
The Running Stitch
Beginning with the most basic stitch, this is ideal for mending clothes and doing small jobs. It is easy to learn while hand stitching, and you can master it in a few minutes.
- Begin by taking a threaded needle (make sure you knot the ends so that the hand stitch will hold) and poke it through the underside of the fabric.
- Once the knot has reached the fabric, create a stitch by placing the needle down into the fabric by one centimeter in the direction that requires stitching. The stitch length can be changed accordingly based on whatever is needed. Pull it completely through.
- Bring the thread up through your fabric and repeat the following steps until done.
- Once completed, cut the threads on the wrong side of the fabric as you don’t want to see the knot. Leave enough room that you can tie each end together so that the stitch won’t unravel. Then, you are finished!
Basting Stitch
The basting stitch is like the running stitch, except it is a longer stitch length. Instead of creating stitches that are one centimeter apart, these are ½ to ¼ inches apart. Basting stitches tend to go faster than the running stitch once a rhythm is established, and you cover more area with this stitch in a shorter time.
Backstitch
Prior to machine sewing methods, people used the backstitch to make all clothing. They would create several layers of back stitches using a pattern of threads for clothing. The stitch is incredibly durable for thick fabric and doesn’t unravel easily.
- Start by creating a small stitch in your fabric
- Place the needle back into the end of the stitch you just made (exactly where you pulled the thread out)
- Create another stitch, then repeat the same sequence until you are done
- The result should be that the stitches appear as if they were overlapping
Cross (Catch Stitch)
Many people have heard of cross stitching wherein embroidery pictures are created using thread. Cross stitching is used for front-facing designs and finishing a hem. This decorative stitching pattern is nuanced over basting or running stitches, but is still one of the basic sewing stitches to master.
With a cross stitch, you are creating x’s in your fabric.
- Thread should be pulled up through the back of your fabric until your knot hits the fabric.
- Create a diagonal stitch to the left of where you began. It should be one centimeter away.
- Bringing the needle up through the rear of the fabric, approximately one centimeter backwards from where your thread last went in, and one centimeter just to the left of where your last stitch began.
- Place your next stitch diagonally across your previous stitch. It should look like an x.
- Pull your thread completely through and repeat.
- All stitches should be even and loose.
Slip Stitch
Use a slip stitch when you are attempting to sew hems so that you are unable to see the stitching. Additionally, this stitch type can be done for patchwork as well.
- Slip stitches are designed to go through the fold of your fabric. Even if you are working with one type of fabric (as in hemming jeans), you take your fabric and turn it inside out. Then, it is folded up from underneath on the wrong side, so you won’t be able to see the stitches.
- Always pin your hems so you know how much the item needs to be shortened, and to assist you in establishing a straight line.
- Bring your needle through the hem’s fold and up through your top crease of the fabric.
- The needle is pulled through by a few threads at the same point. Refrain from pulling the needle fully through the fabric as in other stitches.
- Put your needle back into your fold close to where it was drawn from the first time. Stay parallel to your fold.
- Repeat the above steps until completed.
Stitches should be half an inch apart on a slip stitch and loose.
Buttonhole (Blanket) Stitch
This stitch is used for finishing edges of a blanket or generating buttonholes in a garment.
- From the back of the fabric, push the needle in and pull it completely through.
- As opposed to bringing your needle through the front, bring it through the rear of the fabric once again.
- A loop should have been created by placing the needle through the backside of the fabric twice. The needle should be pulled right through your loop.
- Repeat the steps outlined above. If you are working on a blanket, stitches need to be one centimeter part.
There is also a buttonhole stitch for sewing machines as well. Zigzag stitches can be used to create a buttonhole; however most machines have a feature that allows you to create a button hole by using a special foot attachment/programmed buttonhole setting.
- Place the buttonhole foot on your machine.
- Measure where the buttonhole should go on your fabric. Then, mark the placement.
- On one end of the buttonhole, put down your presser foot.
- Create a zigzag stitch down/up to the side of the buttonhole where stitching was started.
- Using a steam ripper, open up the areas that reside between your stitches and you have created your buttonhole.
Sewing Machine Stitches
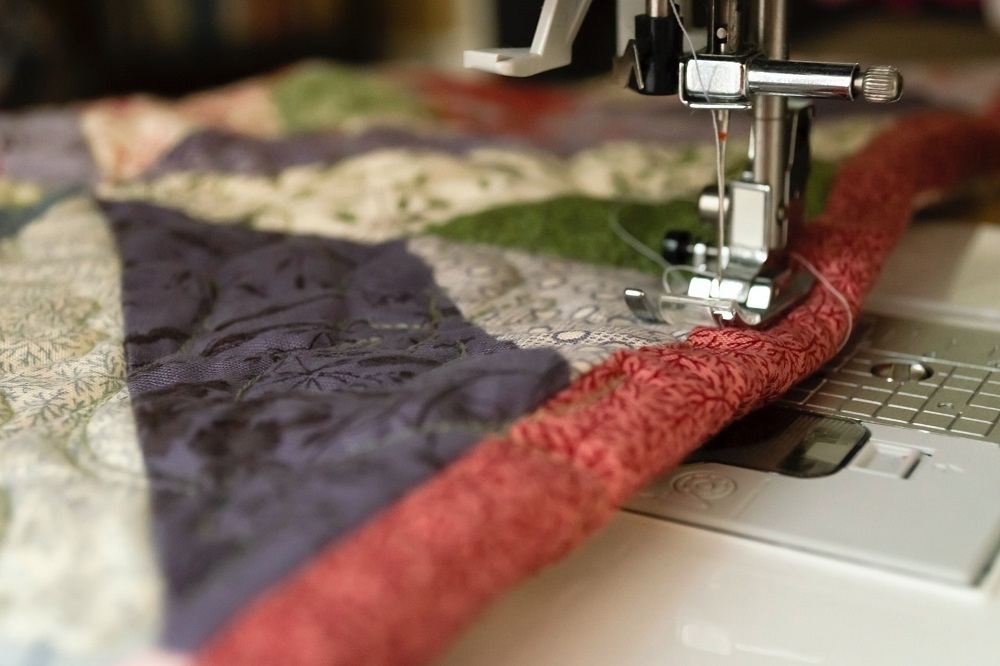
Once you have completely mastered hand sewing, you can now comfortably move on to using a sewing machine. Here are a few basic stitches that can be used to make almost anything.
Standard Backward/Forward Stitch
This is the most basic sewing machine stitch and is the most used when creating clothes.
- Begin a straight stitch 1/8-3/8 of an inch away from your fabric’s edge.
- Backstitch using the forward stitch over a pinned seam.
- Complete the step by using the reverse.
- Repeat the first three steps.
This stitch is used to begin a project as it reinforces your stitches and is done once more at the end of the project for the same reason. The rest of your stitches should be a straightforward stitch.
Blind Hem Stitch
The blind hem stitch is a mixture of zigzag stitches and straight stitches. This stitch is done for mending and hemming since the stitches are close to invisible to the eye. The purpose of using it is to sew two fabric pieces together or sew your fabric’s fold together as in hemming.
To do this stitch:
- Generate two to three straight stitches.
- Make a wide zigzag stitch or cross stitch.
- Repeat until completed.
While this isn’t a full list of all the different types of sewing stitches, it provides a good reference point. It will allow you to do a variety of simple projects until you become more comfortable with hand and machine sewing.
Once you become more familiar with sewing, you can expand your knowledge to include more complicated stitches and use different patterns. Your only limit to what you can create in your imagination when it comes to stitches.