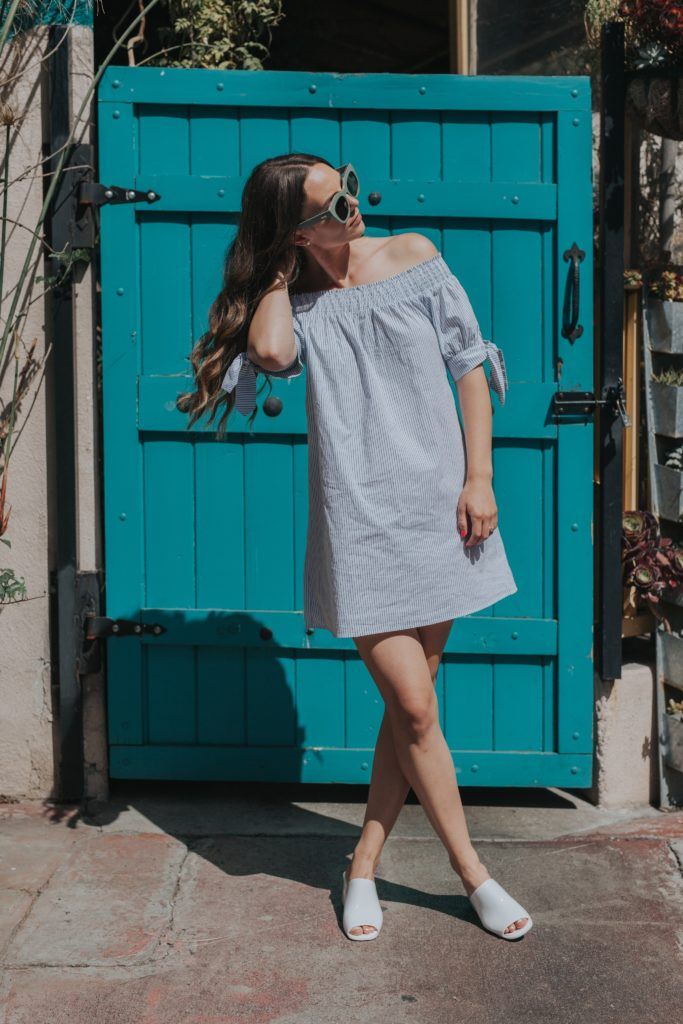
Tent dresses are currently all the rage. Known also as trapeze dresses, tent dresses are versatile – making them perfect for a stroll in the park, an outdoor dinner, or warm summer evenings, thanks to their breezy design.
While you can buy your own from stores, there are many ways to create your very own tent dress. A quick search online will provide you with numerous patterns, and if you’re confident enough in your sewing skills, you could even make one without a pattern.

However, for the purposes of this tutorial, we will be taking you step-by-step through how to create a simple pattern and make a tent dress tailored to your own measurements, or for someone else.
As a basic pattern, it’s ideal for modifications. If you want to add sleeves to your dress or even pockets, you can easily enhance this pattern with extra features.
This design is also great for all sizes and can even be adjusted for a plus size tent dress.
Materials for Your Tent Dress
To begin, first prepare the materials needed for your pattern. This would be your craft paper, a pen or pencil, and scissors or a cutter. Of course, you’re going to need enough space to cut out your pattern.
Then, prepare at least three yards of fabric. If you would like your dress to stop below the knees, two yards is fine. However, for a floor or ankle-length dress, three to four yards is a good measurement.
The great thing about tent dresses is that you can play around with the type of fabric you use. Choose a material you like, as long as it is not stiff. Light, fluid fabrics are great for this design. The lighter the fabric, the flowier it will be, which is great for those who want dresses they can twirl around in.

When making dresses for a more formal occasion, it’s best to opt for fabrics that are a bit heavier but are still fluid. Dark, solid colors, like red, blue, and black, are also perfect for formal wear.
For beginners, and those who want to create a dress without too much hassle, it’s a good idea to use material that doesn’t fray, such as knit fabric. This will allow you to leave the edges as-is so that you don’t have to sew a hemline.
How to Make a Tent Dress
Take Your Measurements
There are four measurements you need to take when creating a pattern for your tent dress. First, measure from the midpoint of your shoulders to your bust point. We will call this measurement A.
Second, measure the circumference of your bust at the fullest point. Make sure to allow some breathing space; tent dresses don’t hug the figure, after all. Divide this number in half. This will be measurement B.
Third, measure from this point (the bust point) to your desired hemline. This will be measurement C. For reference, tent dresses often fall just above the knee, but you may opt to create one that is much longer.
Finally, choose the circumference of your dress. Tent dresses often have a circumference of about 36 inches. The longer the dress, the bigger the circumference. Divide this in half; this is measurement D.
Create Your Pattern
Now you’re ready to create your pattern. Lay out your craft paper lengthwise. Create a vertical line in the middle of your paper.
Then, from at least two inches from the top of your paper, create a vertical line equal to measurement A, perpendicular to your first line. We will call this point A. This will be your neckline.

From this point, create a horizontal line equal to measurement B, so that point A is at its center.
From point A, create a horizontal line equal to measurement C. From here, create a horizontal line equal to measurement D. This will be your hemline.
Then, connect the shape of the dress so that you have a roughly trapezoidal shape. Create another copy of this pattern, with the neckline slightly raised. This second pattern will be the back of your dress.
If you want to add any modifications to this pattern, now’s the time to do it. If you want to create a tent dress with sleeves, it’s very easy to add on a sleeve pattern.
You may even opt to have a pocket in your tent dress, which can now be added as well.
Sew Seams
Now that you have your pattern laid out, complete with any modifications you have chosen to add, it’s time to add the measurement of the seams. If you are using a fabric that doesn’t fray, you could skip this step entirely.
A good rule of thumb is to add two inches to the hemline, and half an inch to the rest of the pattern. When adding seams, make sure that your measurements are even to save you trouble in sewing them.
Make sure to add seams to the hemline, the neckline, and the sleeves. You can now piece your dress together.
Here’s a video showing an example of how to make a tent dress.
It’s that easy! Now head out and have fun in your new tent dress.
Have you tried making a tent dress?
