
When you feel like your home is beginning to get a little drab, have you considered changing up your curtains?
Curtains are a wonderful home décor option that many people overlook. Not only are they stylish, but they can be great for privacy!
If you’re the type to DIY, you’ve probably thought about creating your own curtains. And who wouldn’t? After all, they’re fun pieces that are both functional and stylish.
Unfortunately, curtains tend to be more complicated than they look. What if you just want a quick set of curtains, using a piece of fabric you like?
For a fun, easy, curtain project, look no further than Roman shades.
What Are Roman Shades
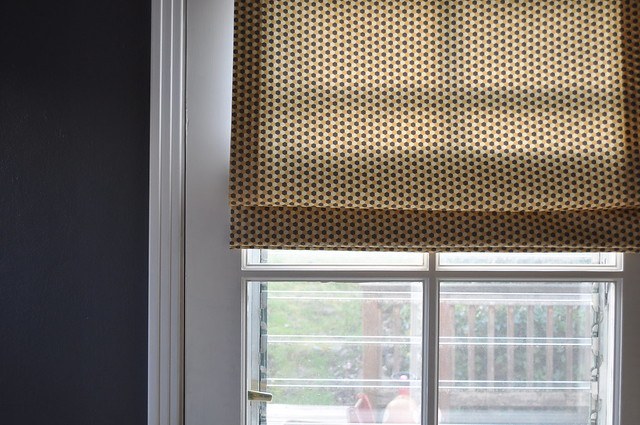
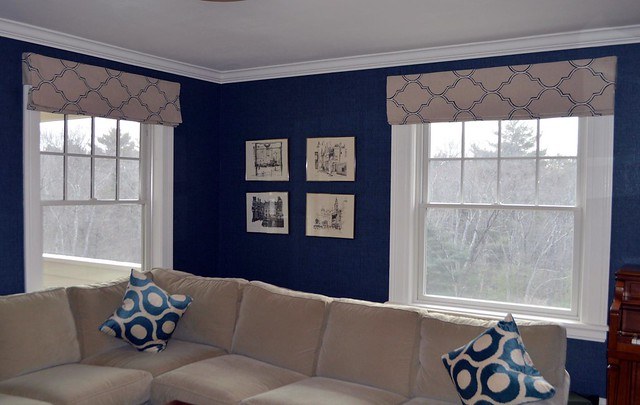
You’ve probably seen them; Roman shades are a simple curtain design that looks like a single piece of fabric used to cover windows.
Unlike the usual window shade, however, Roman shades can be stacked up, usually by pulling on cords found on either side of the curtain.
In this way, they function like vertical shades and blinds. However, unlike blinds, a Roman shade lays flat, displaying your chosen fabric wonderfully.
The Best Fabric for Roman Shades
When it comes to curtains, fabric choice is very important. Perhaps even more so when it comes to Roman shades.
Pattern
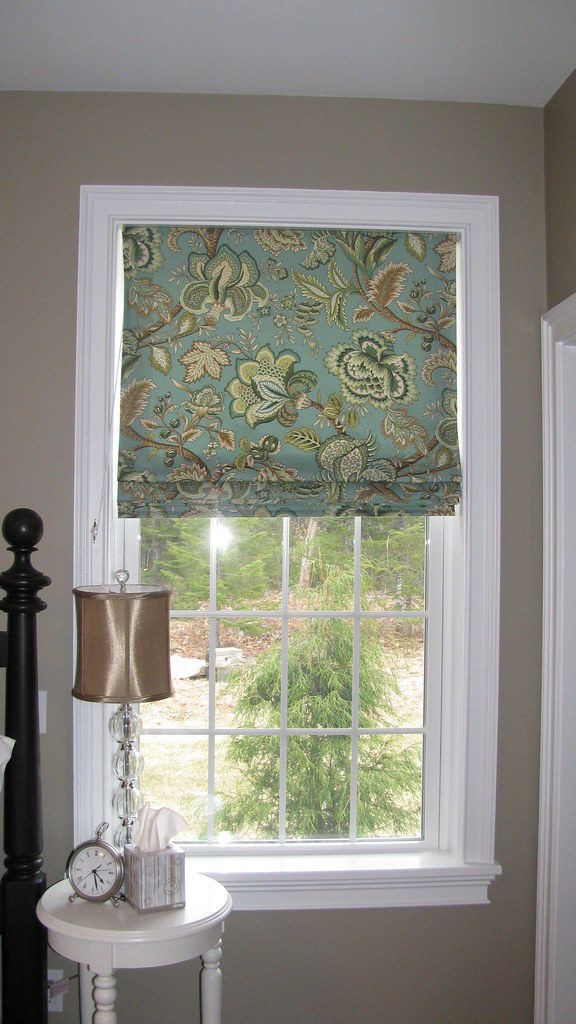
Because of its design, the fabric takes center stage in Roman shades. People who love a fabric’s appearance will often go for this design because it can highlight a pattern wonderfully.
Translucency
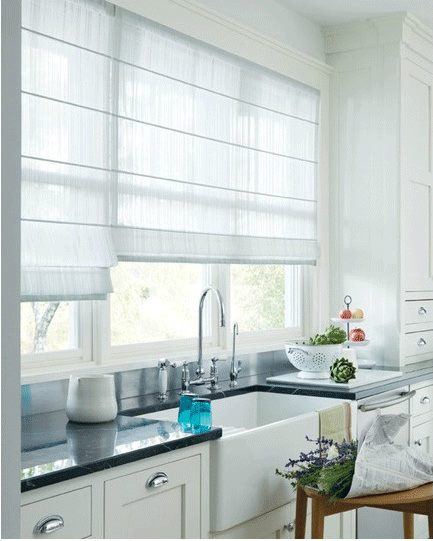
Other than patterns, however, a great aspect to consider in fabric choices is translucency. After all, they’re intended to grant you privacy!
For mild privacy and better light exposure, choose thin material. To completely black-out a room, go for a thicker fabric.
Pliability
After this, be sure to consider pliability. Fabrics for Roman shades should be able to stack when you retract them. If a fabric is too thick, it won’t fold properly or even fold at all.
As such, be sure to test how material choices fold by manually folding them yourself; in this way, you can be certain how it behaves when retracted.
Fabrics to Avoid
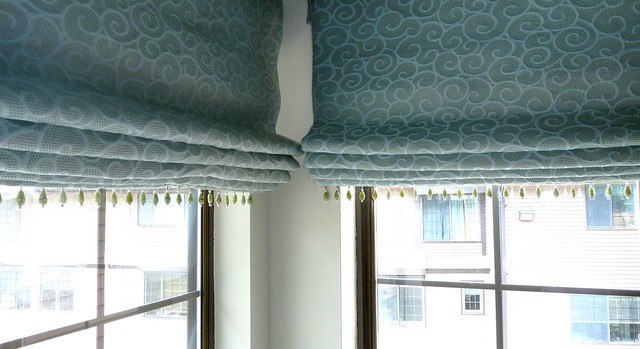
Any type of fabric will work great for Roman shades, except for heavy-weight fabrics. It’s best to avoid fabrics with a lot of embellishments or thick patterns, as these won’t fold well.
Fabrics that are made of two layers woven together also should be avoided, as they don’t sit well when pleated.
How to Make Roman Shades
Roman shades can be incredibly pricey, but you can easily create your own. If you want to make Roman shades from scratch, you can easily use dowels for this venture.
Easier versions include using mini blinds, or just making a faux Roman shade!
Here’s all you need to know about DIY Roman shades.
DIY Roman Shades With Dowels
This tutorial will teach you how to make Roman shades with dowels and cords, completely from scratch!
Materials and Supplies
- Fabric. (Width should be equal to the width of your window, plus 6 inches. Length should also be equal to the length of your window, plus 16 inches.)
- Traverse cord or Roman shade cord, two pieces. (One piece should be equal to the height of your window, plus the top length, with some inches for allowance. The second piece should be equal to the height of the window, plus allowance.)
- 30-inch wooden dowels.
- One piece of 1 x 2-inch wood. (Length should be equal to the width of your window.)
- ¼-inch screw eyes.
- Chalk, or something to mark your fabric width.
- 1 cleat.
- Screwdriver.
- Sewing machine, plus heavy-duty thread.
- Staple gun with 1/3-inch staples.
Procedure
- Once you’re sure that your fabric has the correct measurements, hem the sides. Press the fabric ½-inch from all sides, and fold in another ½-inch. Do the same for the bottom edges, but fold 2 inches upwards. Sew along all the edges.
- Now we can develop the folds of your shade. To do this, measure 10 inches from the bottom of your finished hem. Take your chalk, or whatever you’re using to mark your fabric, and create a line. Measure another 2 inches, and create another line. You have now marked your first fold.
From the second line, measure another 10 inches upwards, and mark the line. Make a line 2 inches above this to finish your second fold.
Create more folds with these same measurements until you end up with five folds, or until you run out of space.
If you run out of space, stop measuring at the last fold. The length of the leftover fabric from the top of the fabric doesn’t matter, as long as the rest of the folds are measured right.
- After marking the lines, be sure that the back part of the fabric is facing you. Then, take the first line from the bottom and pin it to the second line, ensuring that the markings line up. Stitch them together. Then, take the third and fourth lines and do the same. Keep doing this until you have stitched all sets of lines together. Each set of lines should create small sleeves, 10 inches apart from each other.
- Set your curtains aside for a moment, and take your piece of wood. On the underside, find the center of the wood along its length. Measure 5 inches from the center, and mark these two points. From these two points, measure 10 inches to both sides. Keep doing this until you run out of space. Attach screw eyes at each of these points. Now, you can attach the wooden board to your window using nails or screws.
- Then, attach the Roman shade to the wood. Line up the edge of the top hem of your shade to the top side of the wooden board and fold the fabric. Attach using a staple gun.
- Take your wooden dowels, and attach screw eyes to each end. Insert a dowel in each of the sleeves you created earlier.
- Now take the longer length of your cord. Find the screw on the left side of the bottom dowel, and tie your cord on this screw. Thread the cord upwards through the rest of the screws on this side of the shade, as well as through the screws on the underside of the wood.
- Take the second length of cord, and begin from the bottom dowel, at the right side. Thread it upwards, and thread it through the rightmost screw attached to the bottom of the wooden board. The first length of cord should already be threaded through this screw.
- Now attach the cleat to the right of the Roman shades, so that you have somewhere to tie your cords around.
- Congratulations! You now have your own Roman shades!
This video shows another example of how to make roman shades.
DIY Roman Shades Variations
Faux Roman Shade
Blinds are a great way to keep the windows closed, but let’s be honest — the hardware that comes with them isn’t the most eye-catching.
Cords, headrails, and brackets aren’t the prettiest, and people often run to Roman shades to hide them.
But what if making a Roman blind is too much work, and you really want to hide that hardware ASAP? Enter the faux Roman shade.
It’s not a real functioning Roman shade, which means that it doesn’t stack up. However, it’s a great way to quickly hide the hardware of your blinds.
Materials and Supplies
- Fabric. (Width should be equal the width of your window, plus 9 inches. Length is up to you, depending on the look you’re after.)
- Fabric for lining. (Width is equal to the width of your window. Length should be equal to the previous fabric measurement, plus 3 inches.)
- Coordinating thread.
- Straight edge and rotary cutter.
- Hem tape.
- 1 x 3 piece of wood. (Width should be equal to the window, minus 3 inches.)
- Drill.
- Measuring tape and level.
Procedure
- First, we’ll sew the side and bottom edges of your Roman shade fabric. Measure one inch from the edges, and iron. Then, measure another two inches from this fold, and iron. Sew the edges with these folds.
- Now, you’ll sew the fabric lining. Arrange one edge of your lining to the top edge of your shade fabric. Sew it along the top edge, leaving it raw. Now, attach hem tape to the underside of the lining fabric, so that it attaches to the back of the shade fabric. This will keep it in place when sewing the folds.
- Now, flip the fabric over, making sure that the lining fabric is smooth under the shade fabric. You may want to weigh down the top of the fabric to keep it in place.
Measure three inches from the top edge, and make a mark. This will be part of the fabric that is attached to the wooden board. From this mark, measure out your folds.
The size of your folds, as well as their spacing from each other, fully depends on you. Just make sure that the folds, and the spacing, is even. Mark each fold, making sure to keep straight lines.
- Unfold your shade, save for the top-most fold. Sew a straight line along this fold, making sure you’re only sewing through one layer of the shade fabric and the lining fabric. Repeat for the rest of the folds.
- Now it’s time to hang your Roman shade! First, take your wooden board, and place your screws. Don’t screw it flush to the board; leave about 3/4 inches for the screws at each end. The middle screw should have about an inch jutting out from the wood.
- Then, lay your board on top of the wrong side of your fabric. Line up the edge of the board and the top edge of the fabric. Continue your screws through the board until they include the fabric. Some of the screws should be left over—we’re going to use this to screw the wood and the fabric to the wall.
- Now, lift the board with the fabric attached and line it up to the wall. Take the side edges of your shade, and tuck it behind the wooden board.
- Continue the screws, ensuring that the wood is centered and even.
- Adjust the folds of your fabric, so that they fall neatly. And you’re done!
Using Mini Blinds for DIY Roman Shades
If your heart is set on making Roman shades that are fully-functional, but you don’t want to create them from scratch, this tutorial is for you.
Rather than using wooden dowels, this instead uses mini blinds to make your project far quicker and easier.
Materials and Supplies
- Fabric. (Width should be 6 inches wider than your window. Length should be 6 inches longer.)
- Fabric lining.
- Mini blinds that fit your window.
- Fabric glue, or any other type of permanent fabric adhesive.
- Flat artist’s paintbrush or foam brush.
- Ruler.
- Pins.
- Sewing machine or hem tape.
- Scissors.
This video shows an example of DIY roman shades with mini blinds.
Procedure
- Extend your blinds to their full length and cut the ladder cords. The ladder cords are usually found toward the sides of your blinds; these cords will be wrapped around the vanes, instead of being threaded through holes.
- Now, pull out the caps on the blind’s bottom bar, and cut the knots.
- Now, measure the number of vanes that you need. First, measure how long you want your shade to hang over your window, and divide by seven. This will be the number of slats you need. Take this many vanes from the blind, and set the rest aside. Retie the string on the bottom vane.
- Now, take your fabric, and sew an inch-long vertical inseam on both sides of the fabric.
- With the back of the fabric facing you, align on your mini blind on the top of your fabric, placing the headrail of the mini blind 2 inches from the top edge of the fabric. Mark the edges of the blinds to keep them in place.
- Apply glue to the head rail, and wrap the fabric around it.
- Once the fabric is firmly glued to the headrail, apply the glue on each of the vanes, making sure to avoid the pull cord. Try to have the glue dry on each vane before moving on to the next one, so as to ensure proper spacing.
- Let the bind dry overnight. And you’re done! Congratulations!
Have you tried making your own DIY roman shades?