
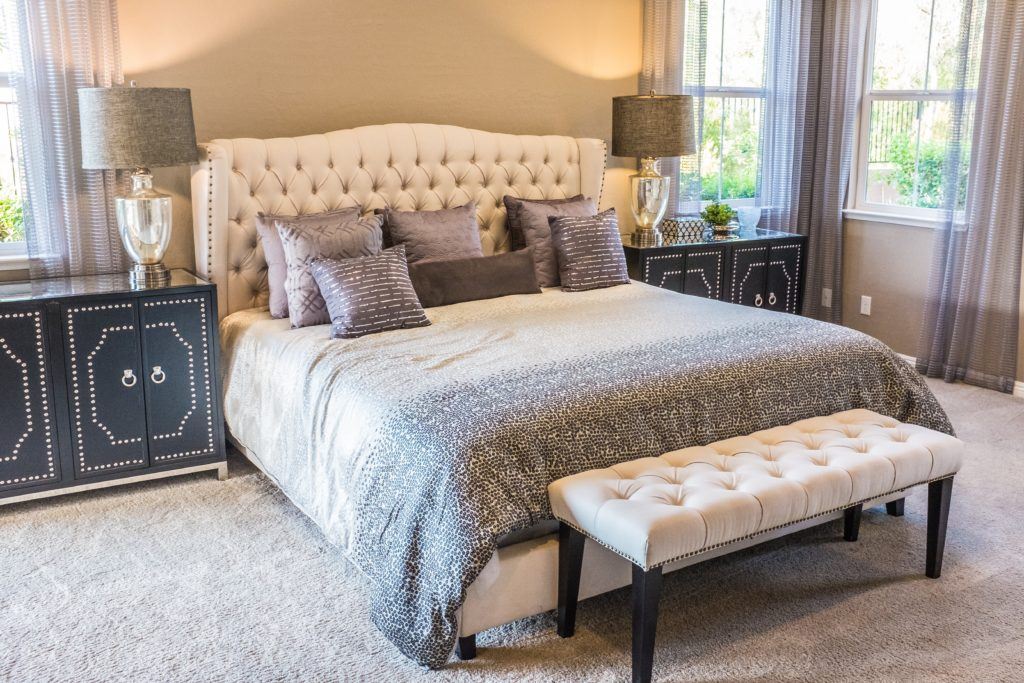
Want to learn how to make a tufted headboard on your own time? Then you’ve come to the right place.
Creating a DIY upholstered headboard is easier and more exciting than you may think. As a bonus, it lets you imbue your bedroom furniture with a unique look that can’t be replicated by anyone else.
How Hard is it to Make Your Own Upholstered Headboard?
Headboards can pull the look of a bedroom together. With that said, because they come in all different colors, shapes, sizes, and styles, you may be fooled into thinking they’re extremely difficult to make.
While your first DIY headboard may pose a challenge, you’ll soon find the process of building your own is actually straightforward.
The skills you already have as a crafty person will come into play in this venture. If you need help cutting the wood base, tufting material, or learning how to sew buttons, that’s no trouble at all. You can always ask a friend or loved one for help.
After all, it’s still DIY if there are two or three of you working on the project at the same time!
So where do you start?
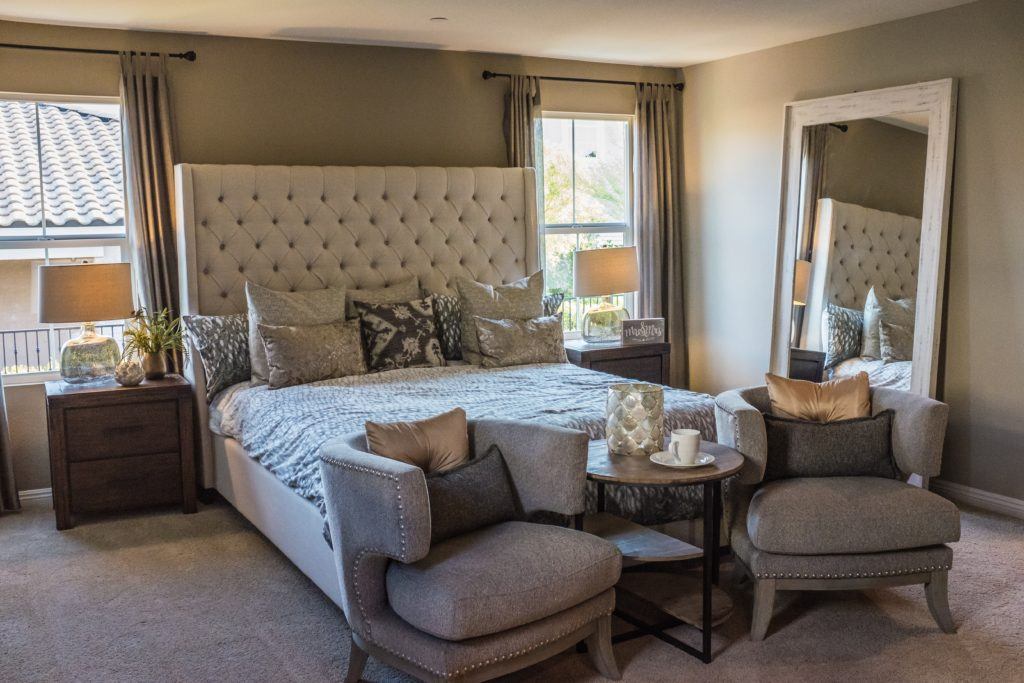
Choosing a Fabric Headboard Design
There are a number of headboard designs out in the world. Some are minimalist, others are grandiose, but most of them have the same base structure.
Your DIY upholstered headboard, no matter how simple or elaborate will have the same backing, batting, and foam in place as the headboards you see in commercial stores or on Pinterest.
So, let your imagination run wild. Here are different types of headboards you can make.
Blanket Headboards
A blanket headboard is one of the simplest varieties you can make on your own.
This is accomplished by picking up a thick blanket from your local thrift store or bringing one down from your attic if it’s not seeing use. They can be reconverted with ease.
So long as you start with the standard cloth headboard base – wooden frame, padded foam, and batting – you’ll be able to add a pop of unique graphics or familiar warmth to your bedroom.
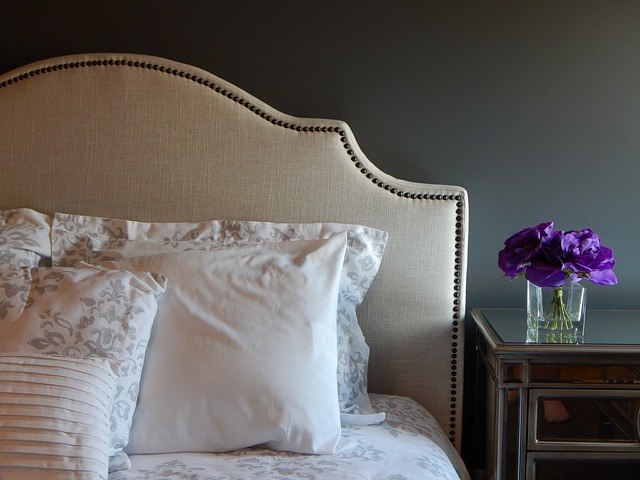
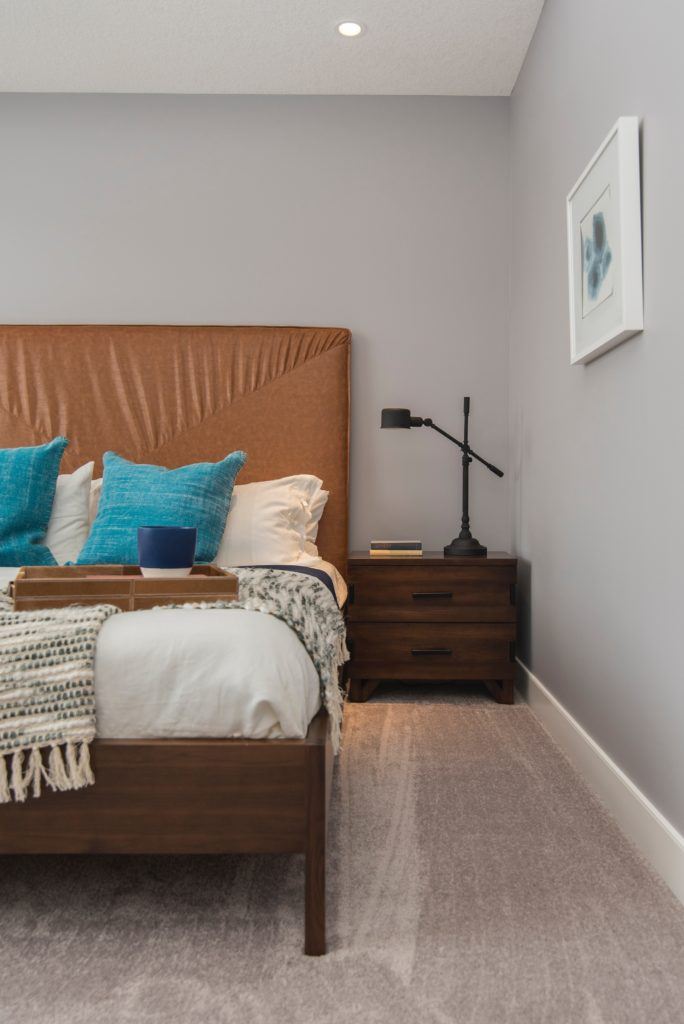
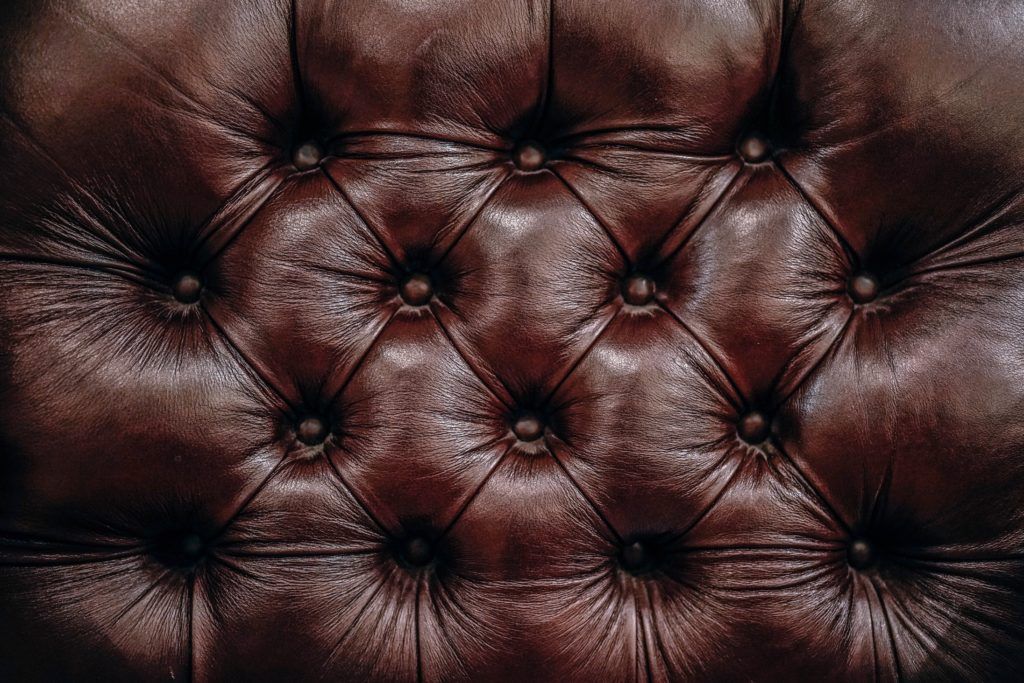
Faux Leather Headboards
Faux leather isn’t as easy to manage as a standard cotton blanket, but that doesn’t mean it isn’t fun!
Pick up some pleather from your local fabric store, and you’ll be on your way to introducing a dark, sexy headboard to the rest of your bedroom furniture.
FYI: You may have to wrestle with the pleather to make it stretch across the frame you’ve built. As such, make sure you buy a little more fabric than necessary.
Hanging Headboards
Want a headboard that forgoes legs? Hanging headboards are made in exactly the same way as a regular fabric headboard.
Rather than including legs in your initial framework, however, you can rely on canvas stretcher bars to create hanging loops on the back of your board.
Using a combination of leather or fabric hanging loops and a curtain rod, you can elevate your headboard to new heights and bring a truly unique appearance to the head of your bed.
How to Make a DIY Headboard
When you’re preparing to create a DIY headboard, be sure to set yourself up for success with the following steps:
- Brainstorm your headboard design – cloth, pleather, or quilted headboard? Something else entirely?
- Bring together your tools, materials, and potential helpers.
- Cut and build a wooden frame for your headboard and its legs.
- Cover the wood with foam and batting.
- Staple the fabric of your choice to the back of your headboard.
- Attach the legs to your board.
- Securely position the headboard against the wall or attach it to the frame of your bed.
When you break the process down into basic steps, it seems a lot less intimidating, doesn’t it?
Let’s dive into these steps one at a time so you can get a better idea of what kind of headboard you want to introduce to your bedroom.
Getting Started With Your Cloth Headboard
When learning how to make a headboard of any kind, what does that process look like?
You’ve already learned a few of the basic steps, but in order to make the padded headboard that’s best for you, it’s important to understand exactly what materials you’ll need and what each stage entails.
To help you begin here’s an easy step-by-step guide.
Materials You’ll Need
Before you start cutting up your favorite blankets or sewing together band t-shirts for a rock’n’roll headboard, go out to your local hardware store or your garage.
It’s time to locate the tools and materials you’ll need to get this project started!
A shortlist of tools and supplies include:
- One sheet of pegboard or lightweight wood.
- One sheet of 1-inch padded foam, which is as large as your pegboard or alternative backing.
- Lightweight batting.
- Spray adhesive.
- Upholstery weight fabric.
- Trellis wire.
- Picture hangers.
- Buttons and thread.
In your tool kit, be sure to include:
- A chop saw.
- A circular saw (alternatively, ask a representative in your local hardware store’s woodworking department to cut your wood backing prior to buying the material).
- Measure tape.
- Wire cutters.
- Fabric glue.
- A staple gun and staples.
Step 1: Measuring Your Materials
Once you’ve brought all the necessary materials and tools together, you can start on your DIY tufted headboard adventure.
Begin with measuring out the dimensions your headboard will need to match. The best way is to measure the width of your bed first. The width of your headboard should match or slightly exceed the width of your bed.
The height of your headboard depends entirely on your own preferences. Use your measuring tape to determine the exact distance between the top of your bed frame and the point on the wall where you’d like your headboard to crest.
With that, you’ll have your necessary dimensions.
Important Note: If you don’t have a circular saw readily available to you, you may want to measure out the ideal dimensions of your headboard prior to purchasing your pegboard or another wood backing.
You’ll be able to provide a representative at your hardware store with the dimensions, and they can cut the backing for you at a little extra cost.
Step 2: Creating Your Frame
Once you have the height and width of your headboard determined and cut, you’ll be able to move on to the actual assembly of your headboard’s base. Don’t be intimidated!
Start by cutting your pegboard or wood of choice down to the dimensions you found in Step 1.
When your backing looks to be the appropriate size, you can frame it. This gives the entire structure extra support – which is very useful when rambunctious kiddos bounce on the bed.
You can use 2×4s to serve as picture-frame-esque containment for the foam you’ll lay in the near future.
Secure this framework into place using wood screws, if you’re working with pegboard or standard screws for an alternative material choice.
If you want your headboard to have legs, you can use the 2x4s at your disposal to create extensions. These should reach down past the bottom of your headboard.
Trim these down to one-inch in width, if you’d like, and secure them with standard screws. You can either rest these on the ground or attach them to your bedframe, depending on its make.
Step 3: Determining Tufting Distance
And just like that, the hardest aspect of the process is done! Now you can move on to the fun part: choosing where your tuft divots will go.
Most tuft headboards work in divisions of six. That is to say, once you’ve created your frame, use a pencil to divide it into six equal parts. Use a measuring tape to mark the width of each of these sections.
Then, subtract from that width from the space that your mattress covers prior to your tufting. Basically, subtract the thickness of your mattress from the height of your backboard. This is necessary since tufting will use up more fabric than simply laying your cover of choice over a padded backboard.
Once you’ve completed your subtraction tables, divide that number by the number of vertical buttons you’ll include. As you can see, the mathematics of this process relies almost entirely on you.
Want to use three buttons on each vertical stretch? No problem. Want to use five or more? Totally doable. This stage of the headboard creation is entirely your own.
The number you get from this division is the distance you’ll place between each of your buttons. Start at the top of your board and measure down, using the variable you’ve created.
Repeat this process in each of the six sections of your headboard, until you know where each of your buttons is intended to go.
Step 4: Foam Work
With math out of the way, you can move on to cushioning your headboard. Take the length of foam that you have at your disposal, and line it up with the internal edges of the 2×4 frame you built earlier.
Cut the foam as necessary, but keep the bulk of it in one piece. This will help prevent seaming.
Once you’ve determined the foam has been cut to the proper size, lay the frame on the floor, front-side up.
Use your spray adhesive to attach the foam to the front of the frame. Don’t hesitate to use an ample amount, as this will increase its lifespan.
Step 5: Secure the Batting
With the foam in place, you can layer your batting on the other side of the headboard. Flip your headboard frame over, so it’s resting on the foam.
Cut your batting down to the appropriate size. At this point, wrap it around the edges of your frame.
Once you have everything cut down, wrap the batting and staple it into place using your staple gun. Treat this process like extreme present wrapping; you should ensure the batting lays flat in the corners of your headboard, or else it will bunch and mess with your aesthetic.
If you notice fabric sticking up in places it shouldn’t, use your fabric glue to press it into place.
Step 6: Buttoning the Board
From here, you move onto what may be the second hardest part of the entire DIY headboard experience: securing your button tufts. You can do this one of two ways.
You can, with the help of another person, use a large needle and thread to pierce the batting and foam. Understand, however, that securing your buttons with this method will take a pretty long time. You may also need to start over now and again.
Alternatively, you can use trellis wire instead of thread. Make sure your wire fits in your buttonholes, then maneuver as you would while sewing normally.
Poke the wire through your batting, and when it comes through the front of the headboard, secure your button. Repeat until the button is securely pressed into your fabric and the fabric creases just so.
You can doubly secure your buttons by stapling the wire or thread you use into the board. This will reinforce their hold and prevent falling off later.
However, be sure to do this on the back of your board, so as to preserve the appearance of the front. You’ll be good to go!
Step 7: Final Set-Up
Once you’ve completed all these steps, it’s time to hang your headboard into place – using picture hangers, a curtain rod, or leather straps. Alternatively, if you’ve built feet onto your headboard, you can secure it to the base of your bed frame.
Hanging the headboard with picture hangers is a great option for DIY-ers putting together their first headboard, as it removes the need for you to include feet, and doesn’t require you to drill any holes into your wall.
Here’s a video showing another example of how to make a DIY upholstered headboard.
And just like that, you’ve created your own cloth headboard! The process may take a few days, but once it’s finished, you’ll have an entirely unique bedroom set-up that you can brag about to your friends.
What’s your favourite DIY upholstered headboard style?