
One of the questions we get asked a lot is how to sew a pocket.
And it’s easy to see why…
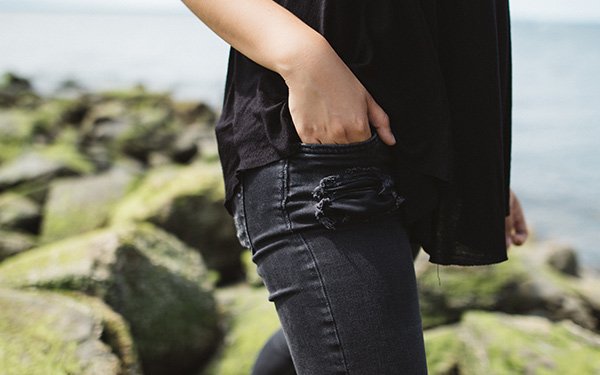
What’s the worst part about shopping for clothes?
For women, it might be finding the perfect pair of pants, only to discover there are no pockets. Where am I supposed to put my wallet? My phone? Chapstick? Anything if I don’t want to keep my hands full?
Not everyone wants to carry a purse everywhere, so what’s a girl to do?
Do it yourself!
If you’re making your own clothes, it’s easy to add on a pocket. If you’re adjusting something off-the-rack, make sure to buy yourself a seam ripper.
Sewing pockets can be done with or without a sewing machine, but we’re laying out the easiest way – with a machine.
There are a couple of different pockets you can make, and here we’ll talk about the side-seam pocket.
Let’s get straight into it.
How to Sew a Pocket
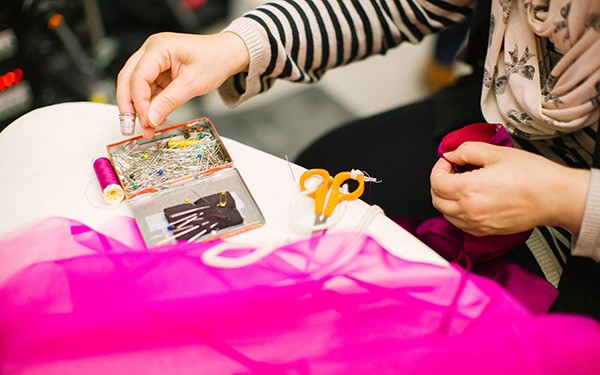
What Will You Need For Sewing Pockets?
First, you’ll need to get a few tools together. Along with whatever garment you’re adding the pocket to, you’ll need:
- Some scrap fabric to make the pocket
- Sharp scissors
- Pins
- A ruler or measuring tape
- A piece of paper and a pencil to make the pattern
- A sewing machine
- Needle and thread
6 Simple Steps
Create Your Pattern
With your paper, make a pattern for your pocket.
You can cheat and trace around a pocket in an existing garment, which is the easiest and quickest method.
If you don’t have a good one on hand, remember that the shape of a pocket is almost like a teardrop with a straight side, or a half heart — deeper on the bottom to hold your belongings, then angled down and out of the way on top.
Make sure your pocket pattern is deep enough for your liking by seeing if your hand will fit comfortably in the drawing, then add an extra ¼ inch all the way around. This is your seam allowance.
Once your measurements all look correct, cut out your pattern.
If you think you’ll be making lots of pockets in the future and you find the size you made works well, it might be worth duplicating the pattern on something sturdier than paper, either cardstock or cardboard, so that it can be used many times over without falling apart.
Pin and Cut the Fabric
Once you are ready with your pattern, fold your fabric in half, pin it to the pattern, and cut it out.
It is important to pin it and not just freehand trace, as it keeps the fabric from slipping and giving you an irregular cut. Repeat this, and you should have four pocket pieces, enough to make two pockets for your garment.
Preparing the Garment
Now, it’s time to make space in your garment for the pockets.
This will be the most tedious part — using your seam-ripper to take out the seam.
While it is tempting to just use the scissors to cut it open, you’ll need the extra fabric inside the seam to attach the pocket, so take the time to do it correctly.
Mark about one inch down from the waistband of your garment with a pin, then measure the length of the opening side of the pocket pattern. This is the distance you’ll want to rip the seams, so mark the bottom with another pin.
To rip the seam, pull the two edges of the fabric apart slightly until you can see the thread holding them together. You should be able to stick the edge of the seam ripper in there, and pull back to snip the thread.
Some garments may have multiple seams to give it extra strength. You will have bits of thread everywhere when you’re done, but cut all the thread between your two marking pins, and be careful not to rip the actual fabric as you work.
Placing in the Pocket
Once you have your pocket openings on both sides of your garment, it’s time to make the pocket!
Lay your garment right-side out so that the seam you just opened is looking up at you.
Take two of your pocket pieces, and lay them on top with the right sides of the fabric touching each other (so the wrong side of the fabric will be facing you.) The pocket pieces will sit in the seam-hole, with the opening sides lined up to where you ripped the seam.
Pin these together – your pocket piece to one layer of the garment. Flip your garment and repeat!

Sew Away
Now it’s time to sew.
You’re going to sew one straight seam attaching each opening side of the pocket to the side seam.
Make sure when you start and finish a seam, you sew a stitch or two forwards, backwards, then forwards again. This will help seal the seam and prevent fraying and ripping. Snip off any extra threads.
If you have a fabric that has a tendency to rip or fray, or you’re going to be putting a lot of weight and strain on your pockets, it’s worth it to go over the seam again with a zig-zag stitch to strengthen it.
Seal the Pockets
Now, to seal the pockets. They won’t do you much good if they’re still hanging open, right?
Turn your garment and the pockets inside-out, and pull the pocket pieces out so they look like little ears hanging out. You should be looking at the wrong side of the fabric. Pin the pocket pieces together, lining up the whole round edge of the deep pocket side.
Pull out your pocket pattern again, and mark the little pocket-notch on the opening side with another pin.
With a straight stitch, start on the side seam just above the top of the pocket. Travel down the side seam and then take a hard turn at the top of the pocket.
Leaving that seam allowance around the edge, sew around the deep pocket side, and when you come back to the seam, turn down the side seam and sew until you join up with an un-ripped seam. Go back up the side seam, past the bottom of the pocket, until you hit the pocket notch.
Sew out about an inch into the pocket, and go forwards and back to seal the seam. You can seal it with a zig-zag stitch if you like, just as you did the other seam. Repeat on the other pocket.
Here’s a really good video on the entire process:
How to Sew a Pocket Without a Sewing Machine
What if you don’t own a sewing machine?
Fortunately, the steps remain the same, the only difference is that it will take significantly more time.
A zig-zag stitch is hard to duplicate by hand, but a simple straight-stitch is easy, if not time-consuming to keep it straight and even.
Luckily, most of your stitches will be completely hidden inside the pocket itself, so it doesn’t need to be too pretty.
The most important thing to remember is to still do extra stitches to finish off your seam, traveling back and forth at the edge to seal it. Without this, you’re likely to see fraying and ripping.
Pockets! Pockets Everywhere!
Turn your garment right-side out, try it on, and voila!
Pockets!
If you hit this point, and something doesn’t seem right, don’t despair.
You can always take your trusty seam-ripper and remove the threads and start over. This happens with many sewing projects, but the more you practice, the more comfortable it will be.
From here, add your pockets anywhere!
Skirts, dresses, pants—no more shall you be forced to tuck your money into your bra, hold your keys in your teeth, and juggle your cell phone between two already full hands.
Bask in your newly pocketed glory.
Now you know everything about how to sew pockets — any questions?