
Learning how to sew a zipper can be one of the most intimidating skills to learn when you’re just starting out with sewing — and invisible zippers sound even scarier!
But once you actually learn how to sew in a zipper, you’ll find that they’re actually not that difficult: they just need a little bit of specialized knowledge.
Never fear — we’ve compiled everything we know about sewing zippers (including sewing an invisible zipper) to make sure that you get a running start.
Let’s take it away…
How to Sew a Zipper

What Will I Need to Sew A Zip?
There are a few important pieces to the puzzle when sewing on a zipper.
It’s not much, but you’re definitely going to want to make sure you have these things before getting started with your project.
Proper Zipper
Obviously, you’ll need a zipper.
However, there are many different colors, styles, and sizes of zippers, so make sure you choose one that will work the best for whatever you’re attaching it to.
If you can’t find one that’s exactly the right length, choose one that is a little longer than the opening you’re looking to put it in.
For these instructions, you’re going to need to use a zipper with metal teeth, rather than plastic teeth, as you’ll be ironing the zipper and you don’t want it to melt.
To prepare the zipper for the project, use the lowest setting on your iron to press the fabric sides of the zipper, making sure it’s as flat as possible.
Zipper Foot
Sewing machines have a specific foot to the needle for sewing zippers.
See more: The best sewing machines for making clothes.
There are two different zipper attachments: a general zipper foot and an invisible zipper foot.
Usually an invisible zipper foot doesn’t come with the machine, so if you’re planning on making invisible zippers, make sure you buy the invisible zipper foot first.
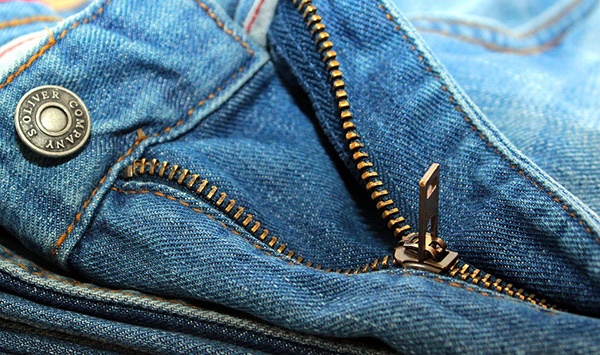
Sewing a Regular Zipper
Regular zippers are easier to figure out than they look.
They really only take a couple of minutes, and it’s a very simple process that’s easy to do on whatever fabric you’re using.
Ready the Fabric and Zipper
First off, pin the edges you’ll want to be able to zip together and do a basting stitch (generally just a simple stitch with a long stitch length) to sew them together.
Use the seam allowance you’ve used for the rest of the project. Next, turn the fabric wrong side up and iron the edges so they open flat and are pressed as close to the basting stitch as possible.
Put your zipper, zipped up and face down, on the open seam and pin it in place, being very careful to keep the center of the zipper lined up with the seam.
Sew the Zipper
Position your needle all the way over to the left so it will go through the left hole in your zipper foot and slide your fabric under the needle, aligning the edge of the zipper with the side of your zipper foot.
Your needle should be as close to the toothed edge as possible. Sew all the way down your zipper, horizontally across the very bottom, and back up the other side to the top again, making sure your needle continues to stay as close as possible to the toothed edge of the zipper.
Make a few backstitches to secure the thread and remove the fabric from the sewing machine.
Finish the Zipper
Take your seam ripper and carefully rip the basting stitches on the center seam, exposing the zipper.
Remove the remaining threads and unzip your zipper to be sure there are no issues with the zipper itself.
If you’re using instructions, you’ll very likely add a hem at the top end of the fabric to cover the raw edge of the zipper.
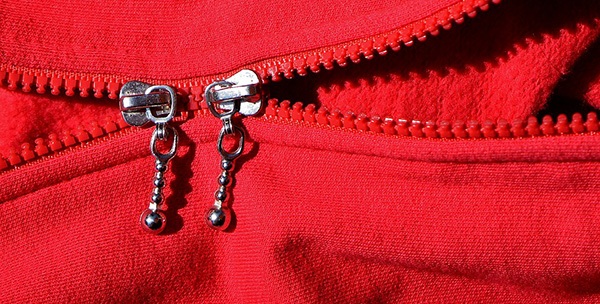
Sewing an Invisible Zipper
Invisible zippers sound even scarier than regular zippers, but in reality they’re just as easy!
They take a little more getting used to, but look a lot more professional and hidden, just like their name implies.
Ready the Fabric and Zipper
Open your zipper, place it wrong side up, and unroll the teeth of the zipper away from the fabric, then iron it on the lowest setting, pressing it flat; do this on both sides.
Pin one side of the opened zipper to the front of the fabric — make sure it’s wrong side up, with the far right edge of the zipper flush with the edge of the fabric.
Sew the Zipper
Position the fabric under your zipper foot, putting the teeth of the zipper under the groove furthest away from the edge of the fabric; it will make sure your needle sews as close to the zipper’s teeth as possible without harming the needle or the zipper.
Sew all the way down the zipper until the foot hits the slider at the bottom and backstitch a few stitches.
With the zipper still unzipped, pin the zipper to the opposite side of the fabric, following all the same steps and taking care to make sure the zipper doesn’t become twisted when pinning.
Position this side of the zipper under the zipper foot, still in the groove furthest from the fabric’s edge, and sew all the way down to the slider, then backstitch.
Zip the zipper up entirely and sew from the edge of your stitching under the edge of the zipper and down the rest of the seam, overlapping the stitching as close as you can from the seam to the zipper.
Finish the Zipper
Flip your project right side up and iron gently to make sure the edges are sharp.
Zip the zipper up and down a few times just to make sure there aren’t any issues you haven’t noticed.
Here’s a great video on how to sew an invisible zipper:
Final Thoughts on Sewing Zippers
Zippers can seem hard, and the first few times, they may be somewhat difficult.
A lot of people have to rip the zipper out and try again a few times — this is totally normal and nothing to be ashamed of!
No matter what types of zippers you’re doing – regular or invisible – they are easy to learn, and with enough practice, you’ll be doing any zippers like a pro.
Now you know how to sew a zipper — any questions?