In your sewing adventures, you may have come across an instruction in a pattern that reads: “stay stitch neck edge” – or otherwise uses the phrase “stay stitching,” without actually explaining what that means.
What is a stay stitch?
And just what is stay stitching? How do you do it? When do you need to use it?
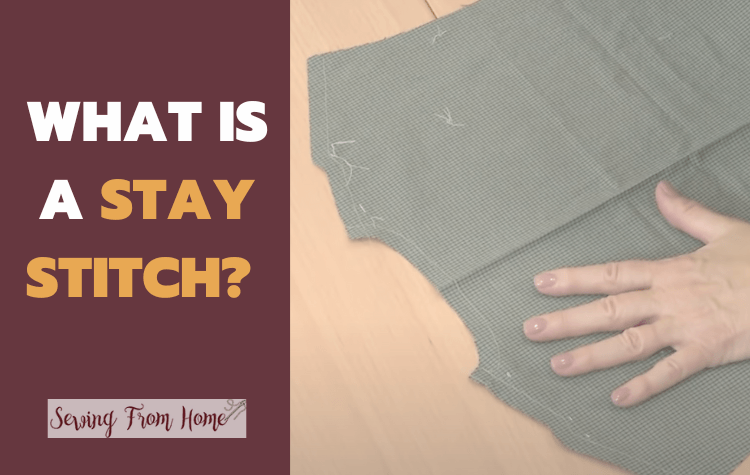
Stay stitching is a straight stitch sewn along the raw edge of a fabric piece, before construction begins. It’s called a “stay stitch” because its primary purpose is to “stay” (or stabilize) the fabric, preventing it from stretching out of shape.
But why do you need to stay stitch?
You might need to stay stitch a curve or slanted edge that will be subject to stress during construction – such as a neckline or armhole. By stabilizing these areas with stay stitching before you sew them into your garment, you can help prevent them from stretching out of shape later
Let’s take a look at what stay stitching is, as well as some tips on how to stay stitch, so you can add this useful technique to your crafting repertoire!
What Is A Stay Stitch?

A stay stitch is a row of stitches on a single fabric layer. They are regular length sewing stitches, around two millimetres long, but you don’t remove them like you remove basting stitches.
Stay stitches are sewn about an eighth of an inch outside the seam-line, within the seam allowance, and are sewn with the grain.
Because these seams are hidden by the seam, and therefore not visible in the finished product, it might seem like a waste of time and a step easily skipped.
This is not the case – especially when you’re working with fabric that may stretch during the construction process!
When Should You Stay Stitch?
Stay stitching ensures that a curved or bias edge in your sewing project does not stretch while you construct the garment.
They are not visible in the finished project, but not using stay stitches can alter the overall final appearance of your creation! As such, stay stitching is an unsung hero of the sewing process, and a valuable skill to have in your toolkit.
Use stay stitching when you are concerned about maintaining the size, shape, and grain-line of your garment pieces – a concern that you should keep in mind with almost any project that requires multiple pieces made of any fabric that is easily stretched.

You want to be sure that a piece you measured in the cutting-out phase remains as the same dimensions afterwards, no matter how stretchy the fabric type might be!
Not all patterns will tell you to stay stitch, but it is a good thing to do if you have any concerns about your fabric remaining the shape it was when you first cut it.
Stay stitching is especially important when creating a neckline for a garment; there’s nothing more uncomfortable than a too loose or too tight neckline!
What About Ease Stitching?
You may also have heard the term “ease stitch” before, which is similar to stay stitching. Unlike stay stitching, an ease stitch is not fixed at the ends.
The ease stitch will temporarily hold the fabric in place, but you will eventually remove it from the finished product.
Ease stitching is commonly used while creating fitted sleeves or garments that will include a decorative gather, ruffle, or any other decorative piece that requires one part to have more fabric in it than another part that it’s connected to.
How to Stay Stitch
First, check the sewing pattern you’re using to confirm any instructions that it has. The pattern should indicate at what point you should use stay stitching.
When in doubt, use stay stitching immediately after cutting your fabric pieces, before any stretching can occur. You should stay stitch the fabric pieces before attaching them to each other!
Stay stitching can be done with a sewing machine, just like any other kind of stitching. While stay stitching, use a marginally shorter stitch length than you intend to use for your seam-lines.
This means that the stitches will be closer together, allowing for a slightly stronger hold on the fabric’s shape. Remember to stitch about one-eighth of an inch inside of your stitching line, parallel from the edge of the fabric.
To keep the stitching symmetrical, be sure to sew in the same direction on either side of the center of the fabric – from the outside to the middle.

If you are stay stitching around a curve, such as while stitching a neckline, be careful not to straighten out the fabric as it approaches the presser foot. Straightening could easily turn into stretching, which is exactly what you are trying to avoid!
Stitch the fabric slowly, gently turning the fabric as you sew, keeping the stitches at an even distance away from the edge of the material.
When you have finished stay stitching, double-check the dimensions of your fabric against the original pattern.
If you find that there has been some stretching despite your best efforts, gently pull the piece back into shape by taking a pin and pulling every third stitch, until the piece resumes its original dimensions.
If the stay stitching is still a little too tight, consider clipping a few stitches here and there to loosen it up a bit.
Here is a helpful video that walks you through the stay stitching process.
Stay Stitching FAQs
What Kind of Stitch Is Used For Stay Stitching?
There are a few different types of stitches that can be used for stay stitching, but the most common is the straight stitch.
This type of stitch is simple and easy to do, and it will hold the fabric in place well. An alternative that can be used for stay stitching is the zigzag stitch. The zigzag is more complex and can be harder to do, but it will provide a stronger hold on the fabric.
Whichever type of stitch you choose, just make sure that it is tight and secure so that the fabric stays in place.
What Length Is A Stay Stitch?
It’s normally around 2mm in length.
The length of a stay stitch will depend on the type of fabric you are using and the amount of stretch in the fabric.
For example, if you are using a knit fabric with a lot of stretch, you will need to use a longer stay stitch so that it can hold the fabric in place.
On the other hand, if you are using a woven fabric with very little stretch, you can use a shorter stay stitch. It’s a good idea to experiment with different lengths of stitches until you find one that works well for your particular fabric.
Should You Backstitch When Stay Stitching?
Up to you!
It’s not necessary to backstitch when stay stitching, but you can if you want to.
Backstitching will help to secure the stitches in place and will prevent them from coming undone. If you are using a machine to do your stay stitching, you can set it to backstitch at the beginning and end of the stitch for consistent results.
