
If you are new to sewing or self-taught, you may want to learn how to thread a bobbin on a sewing machine.
Sewing machines can sometimes feel like daunting pieces of machinery, but if you take the time to learn how to use your machine, it can save you many headaches.
Threading a bobbin is usually fairly simple, once you know how to do it.
Let’s get into it…
How to Thread a Bobbin on a Sewing Machine
Before You Get Started
You will want to make sure that the bobbins you have purchased are right for your machine.
A Singer sewing machine bobbin may not work in a Brother sewing machine, for instance, unless they both use standard bobbin sizes.
If you use a bobbin that is too small for your machine, it can cause tension problems, which means you may get clogged stitches or missed stitches.
Having the wrong bobbin size can also damage your machine over time, so it’s best to double check that your bobbins are the right fit for your machine.
What You Will Need
You will want to have a few tools handy when you thread a bobbin.
Thread and an empty bobbin are essential, but you also may want to have a scissors handy. You can use a pair of small scissors to cut the thread after your bobbin is wound.
Bobbin for Sewing Machine Essentials
Basic Steps for Bobbin Threading
You’ll want to start by familiarizing yourself with your machine. Most sewing machines have a similar layout for their functions and different parts.
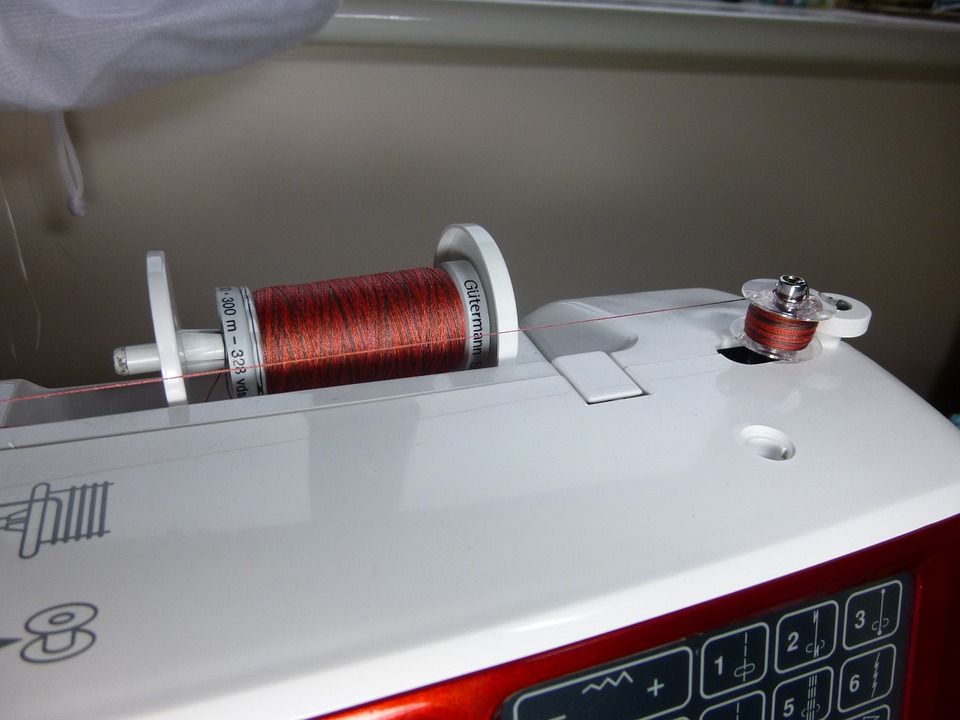
If your machine has an automatic bobbin threader, it’s usually on the top right part of the machine. You will also want to locate where the spool pin is on your machine, which is where your thread sits on the machine.
Once you’ve got your tools ready, here are the steps for threading a bobbin on a machine with an automatic bobbin threader:
- Place your spool of thread on the spool pin.
- According to your manual’s instructions, pull the thread through the required areas to get it to the automatic bobbin threader. There may be a guide on your machine, many machines have either a dotted or colored “thread guide” to show you how to get the thread from the spool pin to the bobbin winder/threader.
- Once you have the thread pulled through the right parts of your machine, you will want to pull a bit extra through so you can thread your bobbin. On most standard bobbins, there will be a small hole on either the bottom or top of the bobbin. Guide your thread through the hole, pull a 2-3 inches of thread through the hole.
- Once your bobbin is threaded, check to make sure that your thread is still on the thread guide and then put the bobbin on sewing machine winder. Make sure that the thread end is sticking upwards, out of the bobbin, and not downward toward the machine.
- When you bobbin is in place on the winder, gently push the winder over toward the thread stopper. The thread stopper is a small, circular, plastic piece. Once the bobbin is fully wound, it should actually stop your bobbin from winding further if you have an automatic bobbin winder on your machine. If it does not automatically stop, just watch the bobbin carefully so it does not overflow.
- If everything is in place, turn on your machine and gently press down on your presser foot. Your machine should start winding the bobbin slowly. Make sure to watch the thread as it winds, to make sure it winds evenly and does not end up going off of your bobbin.
- You can cut the stray thread at the top of the bobbin once the bobbin is partially wound, or you can wait until the process is complete to cut it.
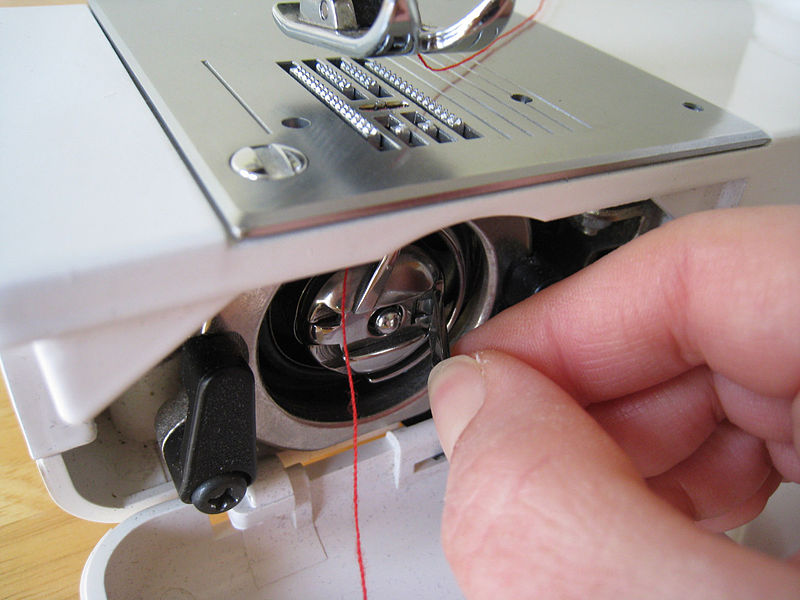
And you’re done! Now you can place your bobbin in your machine, re-thread your machine and you will be ready to start sewing.
If you prefer a more visual instruction guide, here’s a handing video on working with a sewing machine bobbin:
Troubleshooting Your Sewing Machine Bobbin
Often, you’ll be sewing along on a project with no problems, but then the thread will get stuck or winded around the bobbin.
Even though it may seem like the bobbin caused the problem, there may be another culprit lurking in your sewing machine. The tension in the upper thread may actually be off, so you may want to re-thread your machine, to ensure it is holding the right tension.
If you still have issues after that, there are two other things that might cause a bunching bobbin: the wrong kind of thread or the wrong kind of needle. Make sure your bobbin thread matches the upper thread and that you use the correct size/kind of needle for the fabric you are sewing on.
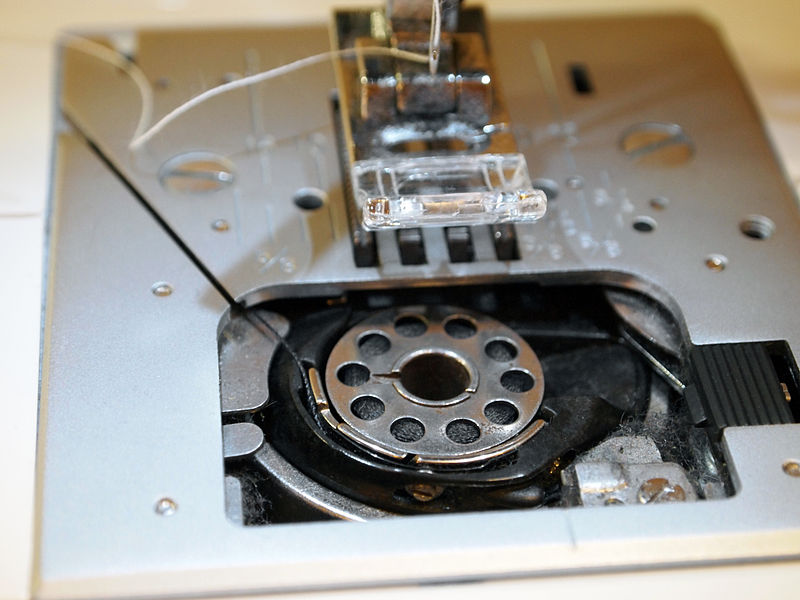
You can also re-wind the bobbin and clean the area the bobbin sits in, if no other solutions work. A tiny piece of lint could be throwing off your tension, so make sure to keep your machine clean, to avoid any issues with lint.
Sewing machine bobbins can be tricky, but if you know how to problem solve, you can definitely save yourself a lot of time and effort.
Now you know exactly how to thread a bobbin on a sewing machine.
Any questions?