
Canvas is a material that has commonly been used in painting for a long time, but that doesn’t mean that it can’t be used for other purposes. This is a sturdy material that will hold up well over time, and this is why lots of people are choosing to take their needle and thread to it and create something completely different.
Canvas is a great material to use for a variety of different projects, and if you are someone that loves all things embroidery, then maybe you should give it a go.
Whether you want to make someone a gift, or you simply enjoy doing this as a hobby, as long as you have all the right supplies, then there is nothing stopping you from taking part.
The only thing that you might be left wondering is how to embroider on canvas. In this article, we are going to tell you everything that you need to know about embroidering canvas, so you don’t have to miss out on all of the fun. All you need is an interest in embroidery, some free time, and a good amount of patience.
- How To Embroider On Canvas
- Preparing To Embroider On Canvas
- Transferring Your Design Onto Canvas
- Thread The Needle
- Start Stitching
- Don’t Be Afraid to Use Pins
- Flip Your Fabric
- The Finishing Touches
- Types Of Canvas Embroidery Stitches
- How Can You Embroider A Canvas Bag?
- The Final Touches
- How Do You Mount Embroidery On Canvas?
- Things To Remember When You Are Embroidering On Canvas
How To Embroider On Canvas
If you want to find out how to embroider on canvas, then you have come to the right place. Embroidering is a great hobby to have, but there are so many different ways that you can apply this technique, depending on what you are trying to create.
One method of embroidery involves working with canvas, and this is the method that we are going to be exploring below.
It is generally quite easy to embroider on canvas, and this is mostly due to the fact that the material pretty much already has holes for you to use as embroidery hoops. This makes it much easier for you to count the hoops and stitches on your canvas as you work.
When it comes to the method of embroidering on canvas, this will depend on the type of stitches that you intend to use.
Canvas can be used for any type of embroidery, and your project itself is likely to dictate the style of embroidery that you use. Whether you are putting your design onto a canvas bag or a blank art canvas, there will be a suitable method for you to follow, depending on what you are trying to create.
Preparing To Embroider On Canvas
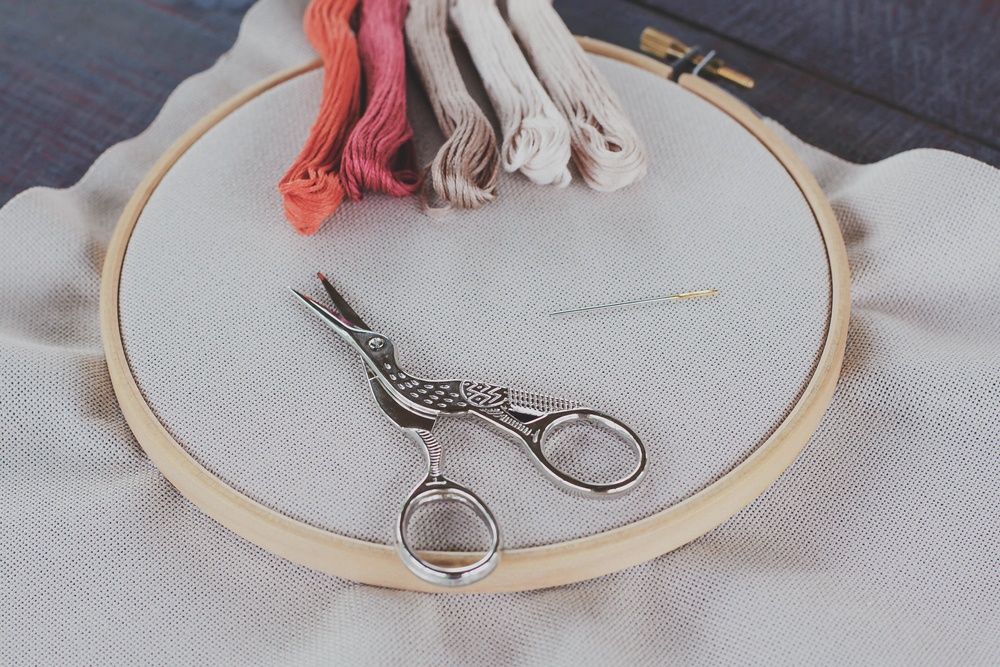
It doesn’t matter if you have never tried out this method before, as we are going to explain everything that you need below. The first thing that you need to do is gather all of your supplies ready to use. This will include things like a needle, your canvas, embroidery floss, a pencil, and of course your design.
Transferring Your Design Onto Canvas
Once you have all of the above supplies as well as anything else you might need ready to go, you can go ahead and transfer your design onto the canvas. You can trace the drawing by using tracing paper, and then turn it over onto the canvas.
Now, simply brush your finger over the design, and this will leave behind a pencil mark on the fabric. If the outline that you are left with when you remove the paper is very faint, then you may want to go over it in pencil again, to create a stronger outline.
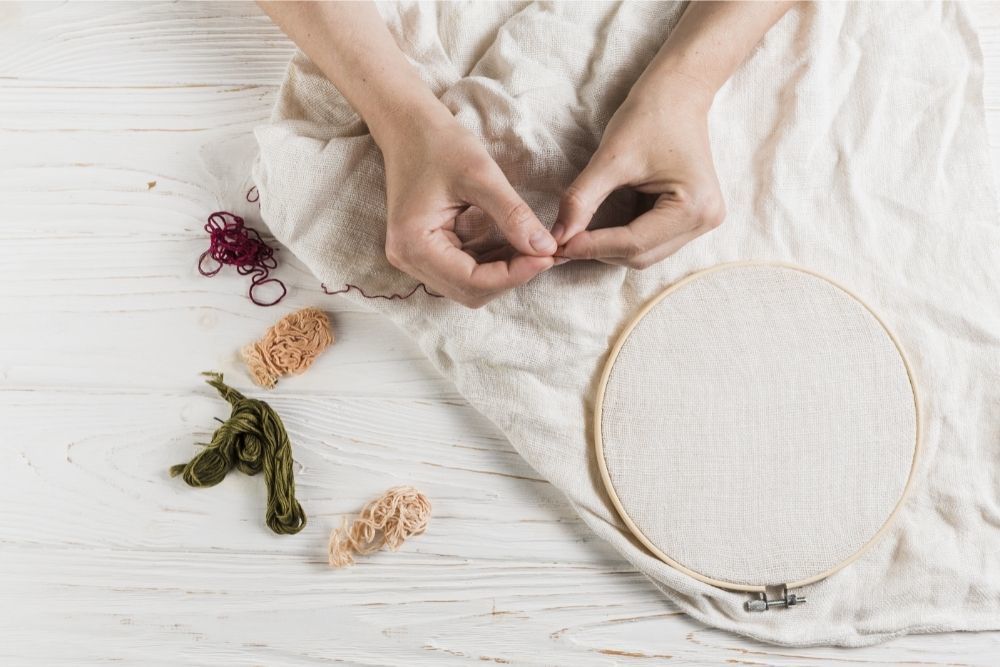
Thread The Needle
The next thing that you will need to do is thread your needle and get ready to start embroidering. You should not yet secure the knot, but you can create a double thread by pulling the needle up to the mid-length.
Start Stitching
Now you will be ready to start your first stitch, all the way through to the end. Once you have done this, you can tie a knot. You can then keep stitching, following along with the outline of your chosen design.
Don’t Be Afraid to Use Pins
Something to keep in mind is that you can use a small pin to make holes on every stitch that you are going to make.
This is a great technique to use if you want to complete your task a bit quicker and easier. Alternatively, you could use your pin to highlight where you are going to need to insert the needle in a fixated area.
Flip Your Fabric
As soon as you have finished sewing all of your outline, you can flip over the fabric. If you notice that there are any slack threads on the back of your design, then you can carefully pull at them to ensure that the stitches are tight enough. Otherwise, your design can appear to be too loose.
The Finishing Touches
All that is left to do is to tie up the final knot and remove any excess thread.
Types Of Canvas Embroidery Stitches
There are lots of different stitch types that you can use when you want to embroider canvas, and we are going to talk about some of the most popular options below.
Satin Stitches
Satin stitches will leave behind a smooth effect that you can create either from right to left or the other way around. To do this, you will need to bring the thread to the surface, and count the number of holes there are to cover.
Next, take your thread vertically to the underside and bring it back up to the surface where you started your stitch. You will be able to use these stitches to frame a small part of your design or to form an entire outline on bigger pieces of work.
Brick Stitches
If you didn’t already know, brick stitches are always equal in length, which means that the first rows will have half the length of the second row. The stitches will remain parallel to one another, and this works to create a pattern as you go.
When you are creating the first row, you should create a row that alternates between full-length and half-length stitches, all the way across your material. When you create the second row, you should move over to the left while creating full-length stitches.
Florentine Stitches
Florentine stitches are those that are made using multi-colored thread. When you use closely hued threads, you will be able to create a flame like design. The pattern will display itself in a zigzag, which will work to create a wave effect.
The stitches will run parallel, and you can use either an odd or even number of threads in order to complete this type of stitch.
Cross Stitches
If cross stitching is something that you are interested in, then you can do this by bringing the thread to the surface of the fabric and taking it diagonally to a corner. You can then move underneath the fabric to come back to the surface underneath your first stitch.
Once you have done this, you can do the same thing again, but this time taking the thread diagonally to the left of the fabric to come back to the first point. The exact number of threads or holes that you cross will determine the overall size of this stitch.
However, you should know that the size of the stitch will be proportional to the number of threads or holes.
Three Dimensional Stitches
The final type of stitch that we are going to talk about is the three dimensional stitch, which is the perfect way to add texture to any canvas.
Some of the most commonly used types are oblong and square crosses. For this method of stitching, you will need to bring the thread to the surface, and move it diagonally over your preferred thread number on your piece.
Once you have done this, you can take the thread underneath the canvas, then back up to the surface again. Next, you can go back diagonally to your canvas, and you will do this by entering from a thread from below the earlier stitch.
The stitch will continue to rotate until each hole around either the oblong or the square is filled.
How Can You Embroider A Canvas Bag?
If you have decided that you want to try your hand at embroidering on a canvas bag, then you might be interested to learn how you can do this, which we are going to explain to you below. Keep in mind that if you have never tried this before, then you might want to stick to a simpler design for your first try.
Create Your Design
The first thing that you will need to do is draw your design on a sheet of drawing paper. Make sure that you are creating a design that is going to fit on the bag that you have chosen, and that it isn’t too big or too small for the bag.
You should also consider your level of experience when it comes to choosing the design that you want to use.
Once you have got a design that you are happy with, you can cover up your design with tracing paper and draw around it, so you will have your design on a piece of tracing paper. You don’t need to worry about all the intricate details like shading, as this will all come later.
All you need is the outline of your chosen design to start with. Make sure that you are using a pencil to do this.
Transfer Your Design
The next thing that you will need to do is to take your design outline and transfer it to a type of water soluble paper that is designed for the purpose of embroidery. This is a type of paper that will usually come with an adhesive backing that will keep your design in place on the canvas bag.
You could also draw your design directly onto the water soluble paper if you are good at drawing, or simply use a printer to print out your chosen outline. You can then cut away any extra paper that you may be left with around the design, but be sure to leave around an inch along the edge of your design.
After you have done this, you can simply remove the backing and gently place your design over the top of the bag. Then, gently press down on the paper and use a ruler or credit card to smoothen out the design and get rid of any air bubbles.
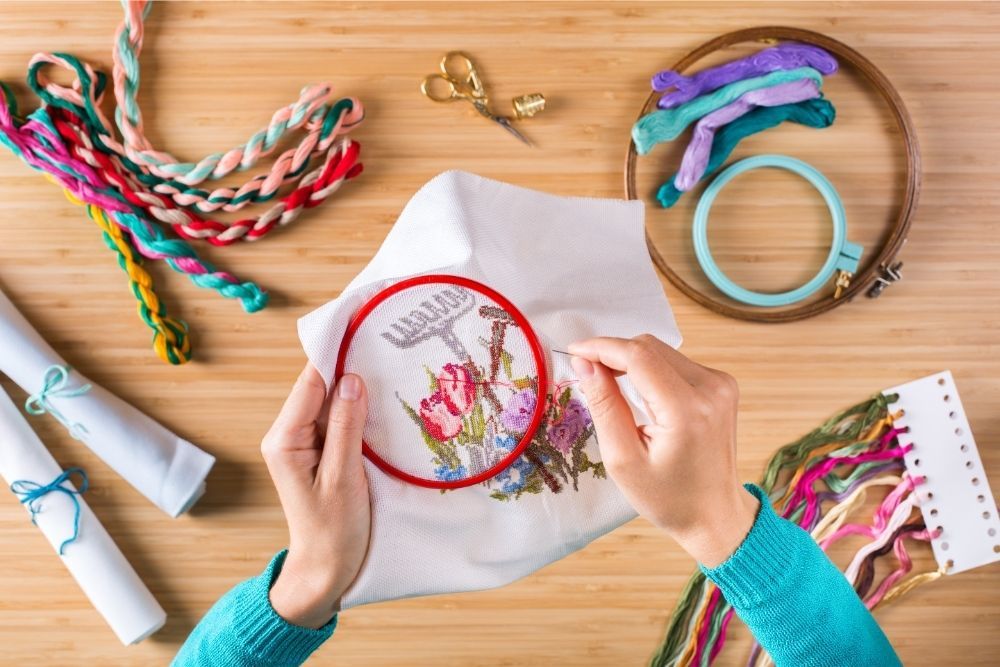
Get Stitching
Now that your design is ready to go, the next thing to do is to start stitching. You will need to ensure that your design is routed in place. If it starts to move around as you stitch, then your end result is not going to look the best.
If you do find that you need to move the paper, then you should pull on it gently without disrupting the fabric. All high quality embroidery papers will be removable, but the sticky glue can sometimes remain behind.
You can put an embroidery hoop around your design if you are planning on hand stitching it, but you will need to make sure that you choose a hoop that is the right size for the design that you are using.
It is usually a good idea to select a goop that leaves around 2 inches around your design. Once you have the right hoop, you can then tighten it to create a taut surface that will make the process of embroidering much easier.
The Final Touches
Once you have secured your final stitch with a small knot on the back of your design, you should be left with a final design that looks almost like a colorful painting. You can soak your bag in lukewarm water in order to dissolve the embroidery paper that you have used, and you will be left with a great design.
You shouldn’t put your canvas bag in the washing machine straight away, and you should instead wait for it to air dry first. Once it is dry, you can put it in the washing machine. The last step is to iron out any wrinkles that are in your bag, and your task is complete.
How Do You Mount Embroidery On Canvas?
If you want to mount embroidery on a canvas material, then you will need to decide if you want to take the canvas off the frame or leave it on there. You will need to consider how well the canvas has been stable to its frame, as you might need to cover up creases with other materials in some cases.
You can find out exactly how to mount your embroidery piece on canvas below.
Line Up Your Work
The first step to mounting your embroidery on canvas is to live up your embroidered art to the center of the frame and use your hands to smooth the fabric. You will need to ensure that the design resides at the center of the frame.
Once you have done this, you can fold any extra fabric around to the frame and flip it over with the fabric still on it.
Tack the Edges of Your Frame
Once you have flipped over your frame, you should tack down around 2 or 3 points on each side of the back of the frame. You can then turn over the frame to test if everything stays in its place.
Also check at this point that everything is central, as this is your last chance to make any last minute adjustments before you get started.
You might also want to tack down the sides if you are working on a larger piece. Once you are happy with the positioning of your piece after tacking, you can tighten each side by adding in more thumb tacks.
You should start with tacking down the longer sides before moving on to the shorter sides, and make sure that you complete all opposing sides before moving onto the other sides. This will ensure that the fabric is straightened evenly in all directions.
You will also need to make sure that the fabric does not look to be distorted at the front, so keep checking on this as you go.
Tack The Edges Of The Fabric
Tacking down the edges of the fabric can be a bit of a fiddly process. You can fold in the fabric to prevent it from bulking up, but softer fabrics can be a bit tricky to handle during this stage. Stiffer fabrics are much better at holding their shape as you go.
Things To Remember When You Are Embroidering On Canvas
If this is your first time attempting to embroider on canvas, then there are some things that you can keep in mind that will help you along the way. You can read about our tips for embroidering on canvas below.
Start With A Rough Draft
Something that a lot of people find really helpful is to first start with creating a rough draft of their design. Creating a rough design before you go ahead and polish it to perfection will help you to ensure that your design has the right sizing and spacing.
It will also allow you to modify certain aspects of your design if you feel that you need to.
Watch Your Spacing
Canvas is not like the average fabric that you might work with for embroidery as it is both durable and tearable. This is why it is really important to keep an eye on your hole spacing.
Making them too adjacent could lead to you tearing your canvas due to bigger holes. The holes can be close together but it might take some practice to get this right.
It is also not recommended to put multiple threads into one hole because it will put stress on the material and can result in tears. You calso can’t pull the needle out once you have created a hole, as it will never return back to its original shape, which is something else to keep in mind.
Use A Stabilizer
Although canvas is a sturdy material, it is not actually designed for the purpose of embroidering. This is why it can be really helpful to use a stabilizer to create the results that you are hoping for. You can attach it to the back of the fabric, or you could even use spray adhesive too.
This is particularly useful if you are embroidering with a machine. You can also use things like tape and clips if you are working with more than one layer, as this will help to keep the fabric in the right place.
Don’t Pull Too Hard On the Thread
You should also be careful not to pull the threat too hard, as this is something else that can cause damage to your canvas. Try to keep your thread straight to prevent it from getting knotted up or tangled. The longer that your thread is, the higher the chances are of this happening.
Don’t Skip On The Finishing Touches
Giving your fabric a quick spritz with water and allowing it to soak in for a few seconds will help to smooth out any little folds or creases. You can also iron out your fabric, but keep moving the iron so it doesn’t burn or warp the fabric.
You should also keep your work rolled up when you are storing it instead of folding it. Otherwise, you will be left with various folds in the fabric that are difficult to remove.
For more tips on embroidery on canvas, check out this useful video!