
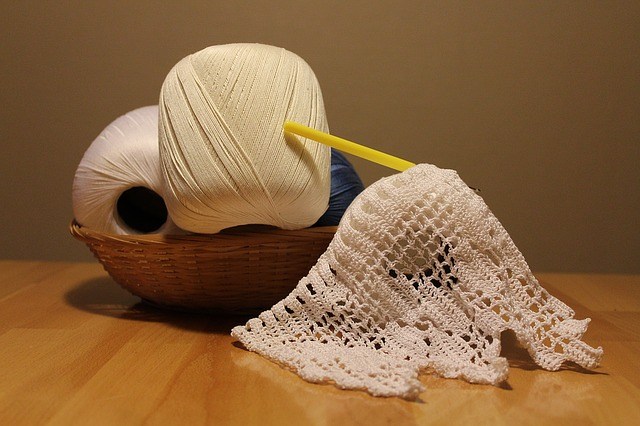
Ah, crocheting. There are few things more relaxing than allocating yourself some quiet downtime and being able to crochet yourself or a loved one a soft project they are sure to enjoy for years to come.
That is… until you finally work your way to that pesky border! Crochet borders are some of the most difficult aspects of the project to get just right, as some will strongly attest to.
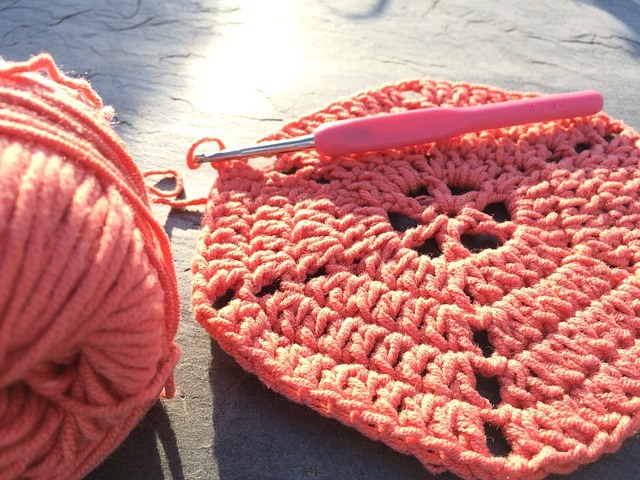
Of course, you can simply finish off your crochet project without one, but it is a nice, polished border that can really make or break your end product, so learning crochet edging can be a very valuable skill indeed.
What is Crochet Edging?
Crochet edging is simply when you finish off your crochet projects with a final border.
This can be especially difficult because you need to work the edge directly over your crochet project instead of simply attaching it after it’s finished like you would with a trim.
A crochet border can also hide any minor imperfections you have in your project by redirecting a person’s attention towards the sides, rather than to the potential mistakes you made while crocheting. So, really, this border is a win-win for everyone (though mostly for you).
You can also add a crochet border to the end of pretty much any cloth-like material. Crochet edging can spruce up a boring, monotone pillow, add extra comfort to an old blanket or pair of socks, and breathe some new life into a towel.
Really, the possibility for crochet edging is practically limitless!
Crochet Edging Patterns
There are a variety of different crochet edge patterns out there. The type of border that you choose may be perfect for one project, but will not work out at all for another.
Of course, some borders will be more difficult to crochet than others, but we have some tips and patterns to share with you that can help get you started.
Keep in mind that these patterns work well after you have already added a single crochet border to your projects. This will help produce a much cleaner-looking edge no matter the crochet edging pattern you choose to utilize.
Knowing how to crochet the single crochet stitch, abbreviated “sc” in any crochet pattern guide, is essential to the art of crochet in general, so if you are a beginner, we suggest that you master this stitch pattern before delving into these more complicated patterns.
Blanket Edging
Also known as the spike stitch, this crochet blanket border is, as its name suggests, perfect for blankets of all shapes and sizes.
While it is a less conspicuous stitch compared to some of the other edge patterns, this also makes it that much simpler to crochet as well. It is also the ideal edge pattern for any project.
Basically, these blanket edges look very similar to the single crochet stitch, but instead of being a smooth line across the edge, it will occasionally spike into the crochet project itself.
You would do this by dropping down and working the thread into the row or rows below the edge that you are currently working on.
You would then loop it back up to continue creating the edge, then dip down again whenever you feel like creating a spike. Feel free to experiment with this edging pattern, adding as many spikes in whatever length you wish for your project.
This type of border is perfect for baby blankets, since your little ones will not be able to grab at it and rip it apart.
Typically, crochet edging for baby blankets should not have open loops because they may get themselves caught in the thread, increasing a chance of injury or accidental strangulation.
You may also use this edging pattern for simple afghans, throws, linens, scarves, or any other project where you do not want the edging to be too conspicuous.
This edging pattern typically looks best with rectangular or square projects as opposed to rounder ones, but really, it is so versatile that you may just apply it to any shape and have it look great!
Block Edging
While this crochet edge pattern looks pretty complicated and fancy, it is actually quite simple to utilize. It uses triple crochet (abbreviated as “tr” crochet) to give the blocks an airy, spaced-out look in between them.
Once you create one block, you will want to skip a few rows before starting on the next one. The blocks you crochet should all be attached to each other by their corners, too, with their bottom corners being a few stitches apart from one another.
The Crochet Spot has an in-depth tutorial on how to crochet this edging pattern here.
This pattern looks best on doilies, cuffs, or even as their own form of crochet jewelry. You may also choose to use it on crochet quilts, afghans, or throws, but just be sure that you do not give these types of open-looped blankets to your baby or toddler!

No matter how cute they might look playing or sleeping on it, the risk of strangulation is far too great to ignore. Save using this edging pattern for blankets or quilts that you plan to give to your older children instead.
Picot Crochet
Typically, you would use this edging pattern if you do not want the edging to overshadow any complicated patterns in your crochet piece.
The picots (or bumps) along the edge are small and unobtrusive, while also providing extra warmth due to the folded hem of the picots being twice as thick as other edging patterns.
Your picots can be as round or pointed as you want them to be, and you can even combine them with other edging patterns to create a unique look to any crochet project you may want to undertake.
Here is one tutorial that teaches you how to combine a lacy V edging pattern with picots at the end of them, which creates a unique look to any crochet project.
Typically, though, this edging pattern uses only single crochet (sc), slip stitch (slst), and chains (ch).
You would treat the edge like a single crochet, but, after the first stitch, you would then chain as many as 5 before slip stitching it back into the first chain.
Work a couple stitches before making another picot, so they are more properly spaced out from one another.
You may use this edging pattern for scarves with bold patterns on them, fun pillowcases, bright socks, all kinds of crochet hats, and bold-colored blankets!
The picot edge does not stick out of the cloth, making it safe to use for baby blankets as well.
Crab Stitch
This stitch is perhaps one of the easiest borders to learn. It looks like an elegant cord stitched all around your project, lending a somewhat classy look to the overall end design.
This stitch is also called the reverse single crochet, because it is essentially the same as a typical single crochet – just worked in reverse.
Basically, you would insert your hook into the stitch to the right instead of the left and create a single crochet there. It may feel strange at first, but it will not take long for you to get used to this new, albeit strange, rhythm.
You would then end it with a slip stitch in the turning chain of the previous row you had just crocheted.
This edge pattern is excellent for baby blankets, afghans, and any other type of blanket you can think of! You can also use this stitch to edge some elegant pillowcases, scarves, cuffs, or socks.
If you want this crochet border to be really eye-catching, try using a complementary color or another color that starkly contrasts against the initial piece; this will make your final product really pop!
Here’s a video showing an example of how to crochet the crab stitch.
Shell Stitch
There are many different variations of this edge pattern, but ultimately, the crochet border will look almost like small waves or shells rolling along the edge of your crochet project.
The little shell designs are also sometimes referred to as scallops because most shell designs are rounded much like scallops are. However, there are some shell stitch edge patterns that are quite narrow and even pointed.
Here is a tutorial detailing how to make these nuanced shell stitch shapes.
This edging pattern is very basic, so crochet enthusiasts of all experience levels should have no trouble whatsoever in creating this pattern.
You will first want to crochet one row of contrasting single crochet before working on the shell itself. It is a sequence of 4 + 1 stitches, though you can cheat this pattern around corners to adjust for any off numbers this might cause you.
This edging pattern is perfect for baby blankets, afghans, pillow cases, regular blankets, and really any garments you want to give a cute little flair to!
It is such an easy and fun pattern, in that it works for pretty much every crochet project you can think of, making the shell stitch one of the most popular crochet edging patterns to date.
Where to Find Free Crochet Edging Patterns
There are many sewing and crocheting blogs online that offer their own tips and spins on these edge patterns. They also offer helpful advice for both beginners and more seasoned artists alike.
The Spruce Crafts is a crafting hobby site that provides many step-by-step tutorials and project ideas for all sorts of different artistic interests.
They have a section purely dedicated to needlework, and their own separate subsection for crocheting.
Their site is also very easy to navigate and use. Each article is sorted by their relative difficulty level, so crochet fans of all experience levels can learn at their own speed.
Heart Hook Home is the personal blog of Ashlea Konecny, a mother of two and a self-proclaimed yarn enthusiast. She writes about many fun crafting and do-it-yourself ideas, some financial tips, tips for helping you navigate all sorts of technology, and other fun content that you are sure to love.
She also teaches people of all experience levels different crochet methods, offering her own patterns for you to try out yourself.
Bluprint is another crafting hobby website that you can try out. While it does cost some money to become a full member of the site, you can also access member articles for free.
There are many crafty members on the site offering their own tips, tricks, and even tutorial videos for varying levels of crocheting expertise. Like The Spruce Crafts, this site also categorizes their tutorials based on difficulty level, so navigating through the collection should be a breeze!
For those who are more visual learners, there are also several crochet YouTube channels that offer numerous free tutorials you can watch. Again, like the previously mentioned sites, each channel will teach different techniques or offer multiple project ideas based on experience level.
The Crochet Crowd is a fun, upbeat channel that offers both beginner tips as well as full-on project ideas for you to try out. With over 750,000 subscribers, they are sure to offer some quality crochet content for you to enjoy!
They often team up with fabric stores like JOANN to crochet some fantastic projects. Because they use products that you can find in JOANN or other fabric retailers, you can easily follow right along with whatever projects they undertake in their Stitch Along series. No need to fudge it!
They also have their own website where they offer even more free patterns and project tutorials. They even provide a unique Crochet Cruise experience, where you can meet fellow crocheters and experience a once-in-a-lifetime vacation, letting you explore new patterns, stitches, project ideas, and high-sea friendships!
Here’s a Crochet Crowd video explaining how to crochet a picot border.
Conclusion
Crochet edging may seem a bit daunting to undertake, but it is a necessary evil if you want your crochet projects to really shine.
Hopefully, this short guide of crochet edging patterns has helped get you started. Feel free to check out those other links for even more crochet project ideas as well!
What’s your favorite crochet edging pattern?