
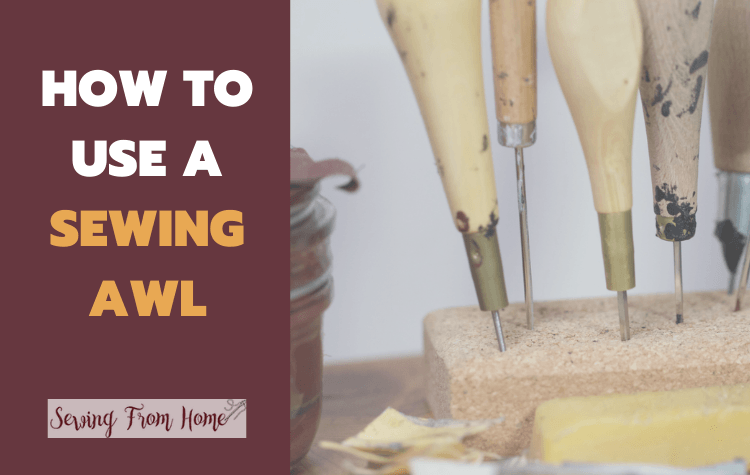
A sewing awl is a little tool that is so small and multifunctional that you’ll be captivated after just one use. Many people have started using them, and with good reason. So, what is a sewing awl, and how does one use it?
How to use a sewing awl:
- Prepare it by inserting the needle and threading your thread through the needle’s eye.
- Punch holes in, insert the needle, gently pull it but not all the way out, insert the end of the thread through the loop created and pull out the needle.
- Repeat this process for every hole.
While sewing with a machine saves time, you don’t have as much flexibility over the sewing process as you do with an awl.
A sewing awl allows you to have perfect control over each and every stitch, resulting in a gorgeous stitch pattern. Here is all you need to know about a sewing awl and how to use it.
What Is A Sewing Awl?
A sewing awl is a simple instrument that can be used to pierce holes in a range of materials or to widen existing holes. It’s also used to sew thick fabrics like leather. It’s a narrow, tapered metal shaft with a sharp tip on one end, which can be straight or slightly curved.
Sewing awls typically have an eye piercing on the sharp edge.
This helps to draw threading through openings for manual lockstitch sewing. Straight and curved needles are the two types of needles commonly used for sewing awls.
There are several reasons why people like sewing awls. Some of those reasons are that it allows you to have excellent control over the sewing, and the sewing is even more precise.
What Does A Sewing Awl Look like?
To help you understand what a sewing awl looks like, here is a brief description of the four sections of a sewing awl.
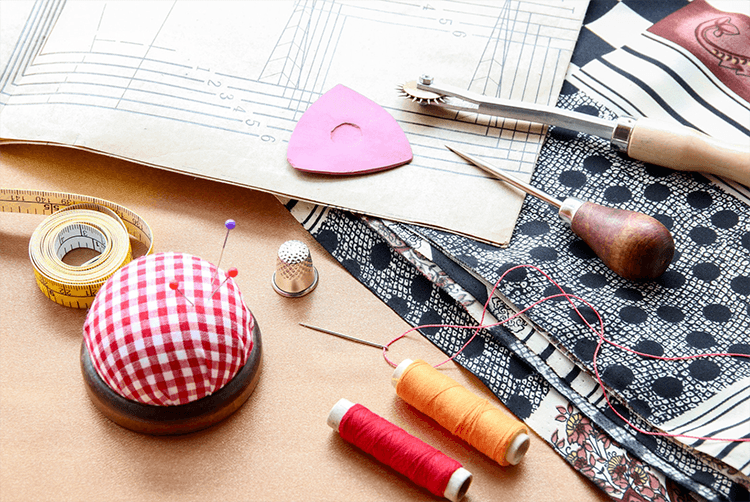
A sewing awl consists of a handle, bobbin, chuck, and needle.
A bobbin is a little spool with a thread on it. This thread is used to sew things together. The bobbin is positioned inside the handle on some sewing awls. There is also a tension post to hold the thread under tension while sewing.
A needle is a sharp tool used to make the holes and sew. It has an eye at the bottom, through which the thread is passed through.
The chuck is a cap that goes over the opening and is screwed on. It is responsible for feeding the thread from the bobbin to the needle. The needles and thread that come with a sewing awl are accessible by unscrewing the chuck lock.
The handle is where you grip the sewing awl, and it usually has a storage box where you may keep a little wrench for the bobbin bolt. There is a hole in it, so the thread passes through and a bobbin end covering.
Are There Different Sewing Awl Shapes?
Yes, sewing awls tend to have different shapes.
Each shape has a purpose and creates a different look. A flat blade is a typical one used to pierce leather. There is the diamond shape, which is a well-known grind.
The next shape is a flat hexagon with an edge that falls between a flat blade and a diamond. An oval is a different popular shape. When a form has a thinner profile than a flat hexagon, it is referred to by this name.
The diamond profile is the most popular. With four different surfaces that may be ground or polished, it has the convenience of being very easy to service.
Because of their smaller cross-sections, the flat blade, oval, and hexagon all have a slight difference from the diamond cross-section in that they displace less material when creating holes.
These tools aren’t found in the typical sewing project kit, but they are certainly a worthwhile investment if you are working with heavy duty materials.
What Is The Purpose Of A Sewing Awl?
Shoemakers and other people who sew leather are generally the ones that regularly utilize sewing awls.
As sewing awls have heavy-duty shafts, the craftsman can punch through thick materials while simultaneously forcing thread through the hole.
Sewing awls have many uses.
They can be used when repairing broken tarps, making leather crafts, mending climbing and camping gear, repairing shoes, bookbinding repair, sewing awnings, handbags, tents, sails, upholstery, saddles, auto tops, and a variety of other sporting equipment.
When it comes to sewing with the sewing awl, the sky is the limit.
How To Use A Sewing Awl
Now that you know what a sewing awl is, what it looks like, and its uses, it is time to find out how you use it.
If you want to follow along with images, here is an excellent guide.
A sewing awl needs to be prepared before it can be used.
Therefore the very first thing that needs to be done is to take off the wrench by unscrewing the cap from the handle. This is important so you can get ahold of the bobbin inside. Take out the bobbin.
Next, unscrew the top, and you’ll notice two needles inside, one curved and the other straight. Most people use a straight need and therefore pull the curve needle out.
Depending on which one you want to use, remove the needle that you are not using and put it to the side. There is a grooved end and a round end on the needle. Ensure that the grooved end is facing the line on the handle.
Now, insert the needle into the chuck’s end.
Find the end of the handle and stick thread through the hole on the front of the handle.
Pull on the thread sticking through the hole and wrap it around the required part to keep tension.
Once that is done, follow the groove and stick the thread upwards through the chuck to the third hole directly above. Now, insert the line into the eye of the needle and pull it through. Once done, you will put the bobbin back inside and cap it off.
Make sure to screw the chuck back on. Also, ensure the thread runs down the needle’s groove. The thread will then be used to rewind the bobbin. Viola, your sewing awl is ready for use.
When starting a stitch, it is always easier to prepare the area by first punching the holes using the sewing awl, especially when working with leather, so that once you begin sewing, you already have the holes to put the needle through.
Next, push the sewing awl’s needle through the first hole prepared until about half of it protrudes from the rear.
Pull the sewing awl slightly back out of the same hole where you entered it. Ensure that you do this gently.
The sewing awl is slightly pulled out to create a loop with the thread. This is important as you need to find the side of the needle with the groove and pull a piece of thread from the underside through that loop.
Ensure the thread is fed all the way to the end.
Pull the needle back out of the hole completely and repeat the process. To do this, move on to the next hole and push the needle through again. This time, press the needle in all the way through, then pull it back like you did the first time, so the loop gets generated.
You’ll notice that pulling out the needle once you’ve created the loop forms a tie that will secure the stitch when you remove the sewing awl from the second hole. Now it is just a matter of repeating the process for all the holes you made.
This may be daunting, and stitching the first couple of holes may take time and be tricky.
However, as you get used to it, the process will go faster, and you’ll become more confident in your work.
Sewing Awl Tips To Keep In Mind
- Ensure that you produce a tight lock stitch on the back of each hole you make
- Before beginning the stitching procedure, you should inspect the condition of your sewing awl. Awls for sewing can last an extended period. Using a sewing awl might cause your needle to get dull over time. A blunt needle can simply be replaced with a fresh compatible one. At the same time, you should periodically inspect the bobbin and other components before beginning to stitch.
- Waxed linen thread is generally a favorite. The linen appears to fill in the awl’s hole better. Due to the touch between the linen and the edges of the hole, it may not slip around as much. The wax appears to act as a lubricant and a binder.
- Backstitching is the technique of stitching from the final hole to the first hole backward. Once you’ve reached the last spot, double-check that the stitch is entirely secure. Backstitching will allow you to accomplish this.