If there is one universal truth for crafters, it’s this: sewing machines know when you’re on a deadline, and they can smell fear. Why is it sewing machines always seem to have issues mid-project?
Well, it could be that it simply needs to be cleaned! The number one way to keep your machine running smoothly is to clean out the lint.
A clean machine will be a quieter machine too, so if it starts making noise, it’s usually a good indication that it’s time.

How often should you really clean your machine? That depends on how often you use it. A good rule of thumb is to clean after at least every ten hours of use, but more often is fine.
A lot of quilters go by the rule of cleaning the bobbin case after every two to three bobbin changes. If your machine starts acting up, take a peek inside the bobbin case. If you see lint beginning to build up, then it’s probably time.
So how do you clean a sewing machine?
How To Clean a Sewing Machine
Step One: Find Your Instruction Manual
First and foremost, every machine is different, so finding the instruction manual is going to be the best reference for you.
Every machine comes apart differently, and takes different maintenance. But what if you no longer have your instruction manual?
The good news is, most of them are available online now. Go to the manufacturer’s website with your make and model number, and you should be able to search it.
If for whatever reason you cannot find it online, you can contact the manufacturer directly and request one, but make sure you have the machine name, model, and serial number handy to help them find the right one for you.
Your local dealer or repair shop may also be able to help you obtain a copy, or even sewing forums if you know other people with the same machine.
Step Two: Gather Your Tools
Got your instruction manual? Great! Most machines also come with a lint brush. If you don’t have one, you can buy one at a fabric and crafting store, or from your local dealer or repair shop.
If you’re in a pinch, you can use a small makeup brush, but make sure that it’s clean—you don’t want any residue in your machine.
You can also use a camel hair artist’s brush with long bristles that are rounded at the end. The lint clings to the bristles in a lot of the smaller spaces, but make sure that you are purchasing a quality brush, not the kid’s quality ones that come in a lot of art kits.
Some people also use the tiny disposable mascara brushes or pipe cleaners to get into the crevices. Whatever you use, make sure that it is clean!
Be sure to have a stock of new needles on hand. You should replace the needle each time you clean the machine, and it’s a good idea to have a new needle for each new project too, even if you’re not changing the type of material.
Also have a soft cloth handy—muslin is a good choice, and it’s cheap.

If you choose, you can also have some small-scale vacuum attachments to help pull lint out of small hiding spots. These should be the same sort of attachment you would use to clean out your computer keyboard.
Some people also like to use canned air because it really blows out the lint, but use with caution.
Canned air can put moisture into your machine’s interior, and cause a lot of problems later on. To avoid this, hold the nozzle at least four inches away, and spray so the air is at an angle to the parts you’re cleaning.
Make sure to always blow the lint out of the machine rather than into it. Never use your breath to blow out the lint—this actually carries more moisture than the canned air.
Step Three: Get the Lint Out!
Now that you have all of your tools, it’s time to clean.
Unplug your machine first, to make sure that you do not accidentally set off any sparks. This is very important.
Remove and discard the needle, and make sure that you note the direction of the flat side of the needle.
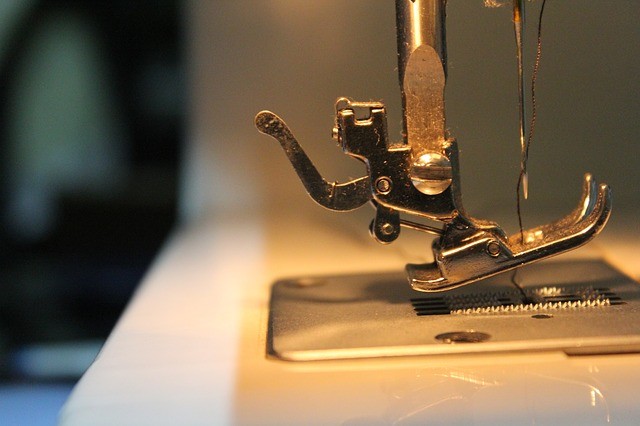
From here, follow your instruction manual to remove the presser foot, the bobbin, the needle plate, and the bobbin case. Then, using your lint brush, canned air, or vacuum, remove the lint and gunk from each of these pieces.
Remember to exercise extra caution if you’re using canned air. Your manual may also show how to remove the “race area,” or where the bobbin case sits.
This area is tricky to put back in, so if you don’t feel confident, don’t worry about removing it. Your local dealer or repair shop can clean this area.

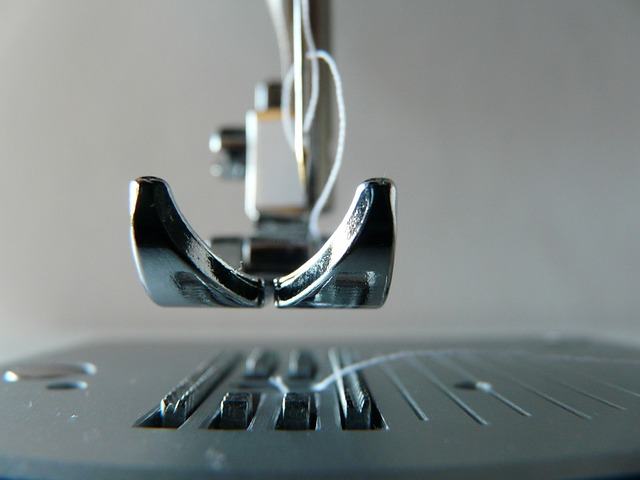
Start by brushing the lint out of the feed dogs, then brush or blow the lint collected in the race area and under the feed dogs. Reassemble the race if you took it apart.
If your machine has a side cover, open that to clean out the thread path. If it doesn’t have a side cover, blow air down through the thread paths to clean out the tension disks.
You can also clean the tension disks by raising your pressure foot to disengage them, then run a length of thick cotton thread or dental floss along the thread channel a few times.
Clean the exterior of the machine with your soft cloth. Then, plug your machine back in and turn it on. Try running it without the needle, needle plate, pressure foot, bobbin and bobbin case for a few seconds, just to make sure it is working smoothly.
Turn the machine back off, and make sure there are no other bits of lint left. If you are satisfied, replace the bobbin case, bobbin, needle plate, and pressure foot all according to your manual.
Insert a new needle, and double-check to make sure that the flat side is facing correctly. If you’re not sure, consult your manual.
Here’s a video showing how to clean the bobbin area of a sewing machine.
Sew Good!
A clean machine is a happy machine, and should be running smooth and quiet.
To help keep it cleaner for longer, consider putting it inside a sewing cabinet or in a machine case when not in use.
Brush lint and dust away from around the machine after each use, and change needles often. With a bit of simple maintenance, your machine will stand by you project after project.
Do you have any tips on how to clean a sewing machine?
