Learning how to use a sewing pattern is an important skill to master for beginner sewists.
When you first start sewing, you may be able to easily sew things like pillows and curtains and simple skirts, but if you want to start making more complicated clothing, you’ll have to buy patterns — or find them for free.
If you just look at the pattern with no knowledge, you’ll probably get overwhelmed and worried you can’t finish it.
Never fear! With just a bit of knowledge, you’ll be sewing patterns in no time.
Here’s everything you need to know about sewing and adapting patterns.
How to Use a Sewing Pattern

The way you choose sewing patterns is just as important as the way you sew the garment.
Here are some steps to choose your pattern correctly before you ever actually start cutting out the pieces!
Measuring
You’re going to want to take all the necessary measurements before you actually choose a pattern, to make sure you get a pattern that has a size for the person you’re sewing it for.
If you’re sewing the clothing for yourself, get someone else to take your measurements — the way you bend over and move your arms is going to change your measurements if you’re the one taking them.
You might be tempted to just make the size that you usually get at the store, but sizes can vary widely on patterns, so be sure to actually take the measurements!
If the measurements end up being all over the chart, don’t worry; most people don’t match up exactly. Generally, for sewing tops or dresses, use the bust measurement, for pants, use the widest measurement around the hips, and for skirts, use the natural waist.
These are just guidelines, though, so if you’re more comfortable using whatever measurement is the highest size and making it looser rather than tighter, it may work better for you.
Choose the Pattern
Obviously, style is important here.
Choose a pattern that looks like something you’d actually wear so you end up using it!
Also important, though, is the difficulty level and the fabric type. Patterns will tell you the suggested difficulty, usually somewhere on the packet, the PDF, or the website where you get the pattern, and for your first time, you’re going to want to choose something that advertises itself as easy.
You may be tempted to reach for the stars and choose a pattern with a medium or hard difficulty, but there’s nothing wrong with choosing an easy pattern! You’ll be able to move up when you get comfortable with easy patterns.

Gather Your Materials
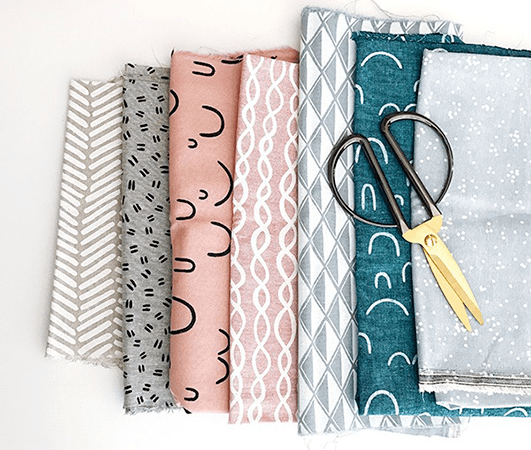
The materials you’ll need for all projects are fabric, fabric scissors, straight pins, and a sewing machine.
For very simple projects, you can occasionally get by without a sewing machine, but if you’re serious about making clothes, a new sewing machine will be a great investment, as it’ll cut down radically on the time it takes.
The pattern will tell you how much fabric you’ll need and what type of fabric you’ll want to get; as you get better at understanding patterns, you’ll be able to experiment with different fabric types, but for your first few, stick with the types they recommend, and be generous with the yardage, as it’s better to have too much fabric than too little.
There will also be a section on your pattern, generally marked “notions,” that will list the pattern-specific items you’ll need — for example, a zipper, fusible tape, or buttons.
Sewing the Pattern
The sewing pattern will have instructions inside, but it can still be a little confusing if you’re not used to patterns yet. These are a few tips you can use to make it easier for you.
Read the Instructions
It sounds silly, but before you even start cutting, read the instructions all the way through.
This will give you an idea of where the pattern is going and what you’re going to be doing, which will make it easier when it comes time to actually do it.
The key and glossary will be very helpful; they tend to be at the back of the instructions, and they’ll help you decipher the often-confusing markings on the patterns, which will sometimes vary from manufacturer to manufacturer.
Here’s a great video on how to read a sewing pattern:
Cut the Fabric
Cut out the pattern pieces according to the sizing you figured out earlier and pin them to your fabric, making sure to follow the grain and fold markers, as they’ll tell you what direction your pieces should be facing so the finished product looks professional.
First, cut loosely around the entire piece – usually large squares work best – then go back and make sure the shapes are correct. Patterns already include a little bit of extra space for fit, so you’ll want to cut as close to the pattern as you’re able.
Also, be sure to check the cutting chart, as sometimes the manufacturer will exclude simple rectangular shapes that can be cut from measurements only, and you will have to account for those yourself.
Sew the Clothing
The pattern will explain step-by-step what to do and how to do it; this is why it’s important to get an easy pattern for your first few, as the instructions will be much more clear and extensive in an easy pattern, making it much less likely you’ll get stuck.
If you’re really worried about not being able to follow the steps, try searching the internet for patterns labeled “beginner.”
They can often be even more in-depth than easy patterns you would find in a store, and if all else fails, you can often ask the person who made the pattern directly!

How to Get Better At Sewing Patterns
Sewing patterns can look confusing and complicated when you look at them for the first time, but if you start at the bottom and work your way up, they’re very simple!
If you take it slow and make sure you pay attention to detail, you’ll be making professional-looking clothing in no time.
Now you know how to use a sewing pattern — any questions?

Do I need to wash the fabric before I cut my pattern?
It helps to wash it first so if the fabric shrinks, the fabric will shrink before you sew it.