
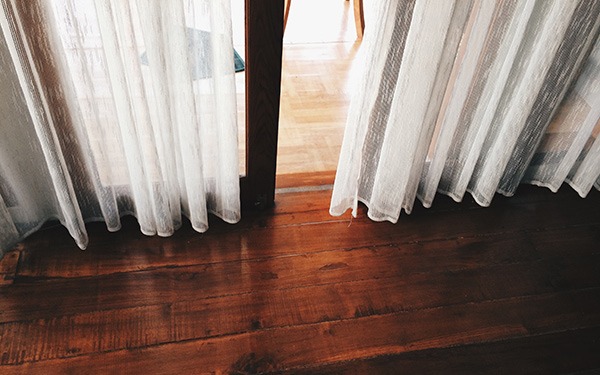
A question we get a lot is beginner sewists wondering how to sew curtains.
Curtains are one of the easiest and most useful things to make: it can be very difficult to find just the right curtains for your windows, and making them yourself means you can make them exactly to your own personal preference.

Sewing them is simple and fun, and hanging up something that you’ve created can make you feel proud of your own skills.
You can make curtains with a sewing machine or without one, making them a great first-time project, and you can even make them with no sewing whatsoever!
Here’s an easy step-by-step guide to sewing curtains with or without a sewing machine.
How to Sew Curtains
Materials
Before you start, you’ll need to make sure you have everything — the last thing you want is to get halfway through and realize you don’t have an essential piece of the puzzle! There are only a few materials you’re going to need – here’s the list.
Panel of Fabric
Obviously, you’re going to need a panel of fabric for your curtains.
You can find fabric at special stores that specifically sell hundreds of types of fabric, or you may have fabric already in your home; even old bedsheets can be used if they’re big enough!
Your fabric should be at least four inches wider and about eight inches longer than the window you’re looking to cover with the curtains.
See our guide: the best fabrics for making curtains
Scissors
Scissors specifically for sewing are significantly different than general-use scissors; a good pair of sewing scissors will last you your entire life if you take care of them.
Your scissors should be able to cut through fabric without any struggle, so at the very least they need to be sharp and comfortable.
Drapery Weights
Weights will keep your curtains from blowing in the wind or moving around too much.
The weights you’re going to want to use are specifically called drapery weights, and you can find them at craft stores.
It’s important to get drapery weights instead of using magnets or pennies because they’re specifically made to reduce any flaring at the seams, so your curtains will look more professional.
Yardstick
A yardstick is a must for anyone looking to do a lot of sewing.
The ideal yardstick for sewing, especially for this project, is a thick wooden yardstick, which you can find at most craft stores or order online.
The only important thing for this project is that it measures inches, but a good yardstick should measure inches and centimeters.
Straight Pins
Straight pins are used for most sewing projects, as they keep your fabric in place while you sew.
They’re very cheap, and you can find them at department stores as well as craft stores: they’re also very thin, which means you don’t have to worry about them leaving noticeable holes in your fabric.
Needle and Thread
Even if you’re using a sewing machine, you’re still going to need a handheld needle and thread. Handheld needles let you make very precise stitches, which is a must in almost every sewing project, including this one!
There’s no specific gauge you’re going to need for this project, so whatever needle is most comfortable for you is fine.
Iron and Ironing Board
An iron and ironing board are great additions to anyone’s sewing closet, and in this project in particular, it’s good to make sure the fabric isn’t wrinkled, as it’ll be more noticeable than some other projects.
In addition, you’ll be able to make sure the edges of the hems are sharp, helping with the sewing itself.
Clip Rings
The curtains in this project don’t have a spot at the top to put a curtain rod through, so if you’re planning on actually hanging the curtains up, you should get clip-on curtain rings to clip to the top of the curtains.
These are easy to find in many different styles, so you can find curtain rings that match whatever style you’re planning on making the curtains in.
Now that you have all your materials, let’s get started!
Sewing Curtains: Method
If you have a sewing machine, especially if you’ve just bought it, making curtains is a great project.
With a sewing machine, your stitches will be much more even, and it’ll take much less time to finish the curtains.
However, a sewing machine isn’t essential; you can sew a beautiful pair of curtains with a handheld needle and thread too.
Step One: Prepare the Fabric
Before you even start sewing, you’re going to want to make sure the fabric is ready.
As mentioned above, you want fabric that’s at least eight inches longer and four inches wider than the window. If you’re using fabric you bought from a fabric store, trim the selvedge first, which is the parts of the fabric at the edge that have the manufacturer information; they’re there to make sure the actual fabric doesn’t fray, but you’re not going to need it.
Cut the fabric in half, cutting top to bottom, so you can make two curtain panels.
Wash and dry your fabric, regardless of if it’s from a fabric store, and then iron it to remove wrinkles and give you a smooth base.
Step Two: Side Hems
Turn your fabric so the wrong side is facing you, then fold your side hem to the back by one inch, ironing the edge to make sure it’s sharp.
Fold the side in again over the top of the hem and iron the edge again before putting in straight pins to keep it held together.
At this point, you should have a double-folded hem one inch thick, with straight pins down the edge to make sure it stays together while sewing.
Sew as close as you can to the folded-in edge of the hem, about an inch in from the edge of the fabric; if you’re not using a sewing machine, make sure you’re using a backstitch and not a running stitch to anchor the hem and remove potential issues with the stitching later.
Remove the straight pins and repeat with the other side hems — one on this curtain panel, and two on the other.
Step Three: Top Hems
With the wrong side still facing you, fold your top hem down by two inches, iron, then fold down another two inches and iron again, repeating what you did with the side hems but with a longer length.
Pin the fabric and sew as close as you can to the folded-in edge of the hem, this time two inches from the edge of the fabric, and make sure to use a backstitch for this hem as well if you’re using a handheld needle. Repeat for the other panel.
Step Four: Bottom Hems
Fold the bottom hem up by two inches into the wrong side and iron, the same as with the top hem.
Attach the drapery weights to the inside of the hem approximately every 18 inches, placing them as close to the top edge of the hem as possible.
Sew the weights to the fabric using a handheld needle and thread and fold the hem for the second time, ironing once more. At this point, you should have a double-folded hem with drapery weights at the bottom of the curtains.
Again, pin the fabric and sew as close as possible to the folded-in edge, two inches from the edge of the fabric, using a backstitch if using a handheld needle. Repeat for the other panel.
Step Five: Finishing the Curtains
Snip any loose threads that may be lingering, then clip the curtain rings to the top of both panels, spacing them evenly, and hang them on a curtain rod.
No Sew Curtains
Sewing curtains is definitely an easy project, but you may have difficulty using sewing machines or needles and still be interested in homemade curtains!
No worries — you can still make curtains without sewing.
New Materials
Obviously, you won’t be needing a needle and thread for this way of making curtains.
However, you’ll need to replace it with fusible fabric tape, a type of adhesive that bonds fabric together permanently when ironed: there are many brands of fusible tape, and any that you prefer will work so long as they’re able to bond fabric.
Differences in Instructions
For the most part, the instructions remain the same as above.
The only real difference is that when the instructions say to sew, you should instead cut the fusible tape to stretch the length of the hem, place it between the folded-up edge and the wrong side of the fabric, and iron it to bond the pieces together.
If you’re still using drapery weights, place a small piece of tape between the weight and the fabric and iron.
Different fusible tape may have different instructions, so make sure to follow the ironing instructions that came with your tape.
Here’s a good video tutorial to follow for no-sew curtains:
Conclusion
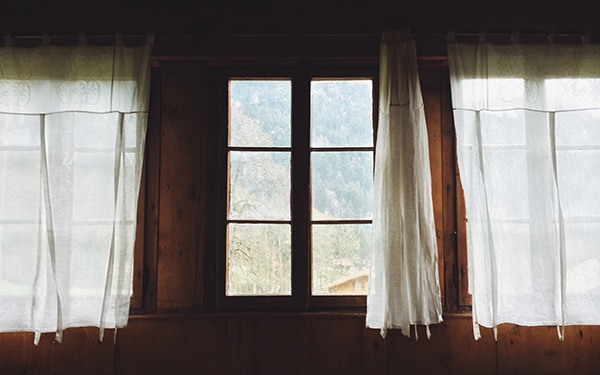
You can make all kinds of curtains by at home, no matter your level of sewing experience. Depending on the fabric you use and the length you decide to make them, your curtains can be fun and childlike, elegant and formal, or anywhere in between.
Have fun with your curtain making!
Now you know everything about how to sew curtains. Have you tried making no sew curtains yet?