
While sewing can be fun, some techniques can be harder than others, especially when what you want to make requires sewing more than just a straight line.
If you ever looked closely at a napkin, a tablecloth, curtains, or a quilt, and wondered how they got the corners so perfect, you were looking at mitered corners.
This technique is mainly used to decrease the bulk that can accumulate when multiple layers of fabric overlap each other. It may look difficult, but the process is quite easy.
With a few simple steps, the right tools, and a little bit of time, you too can achieve mitered corners on your next sewing project.
Let’s get started! There are two ways to create mitered corners and we are going to go through each one together.
Topstitch Method
Step One
Fold one raw edge in towards the wrong side of the fabric, anywhere from 1/4 inch to 3/8 inch (this is your hem allowance and it will depend on your project). Then press that fold with an iron.
Repeat this process on the adjacent raw edge.
This folded edge will overlap your first at the corner and be a bit bulky. You may need to iron the overlapping corner longer than you did with the first fold.
Step Two
Go back to your first fold and fold it in again towards the wrong side of the fabric.
The usual measurement for this fold is one inch but if your project requires less or more of a fold, that is fine. The measurement of your first fold in step one should account for that i.e. a bigger first fold if you want more of a border and, a smaller first fold for less.
Press this fold and then repeat on the adjacent hem. Just like before, the hems will overlap at the corner and need to be pressed.
You see where we’re going here?
Step Three
Now unfold everything. You will have two crease lines on each side made by the folds. Don’t worry, this is what we want.
Step Four
Look for the middle square that is formed by the intersecting creases of the two adjacent sides.
Mark a line using a pencil or a fabric pen/chalk through the corners of this middle square, and extend the line all the way across the fabric.
The line and the two edges of your fabric will make a triangle.
Step Five
Use your scissors and trim along the line (cut off that triangle you just formed).
Step Six
Fold your new angled edge in (the one you just cut), towards the wrong side of the fabric enough that the creases meet up.
You may not want to press this fold with your iron because you don’t want the other creases to be smoothed out. A firm finger press should do.
If you are going to use an iron, be very careful.
Step Seven
Refold the edges in along the first fold you made and press with an iron.
Then fold along your second crease and press, just like we did in the second step. You will see that your corner folds into a point.
Are you getting excited? It’s time to pin and sew. You’re almost done!
Step Eight
Pin the edges and the corner down and take your work over to your sewing machine.
Sew around the inner fold (make sure to leave room for the seam allowance. ¼-inch should be enough), pivoting your fabric when you get to a corner and carefully sewing your two folded sides together into one seamless fold.
Guess what?! You created a mitered edge! Whoop, whoop!
Here’s another way you might like better.
Sewn and Topstitched Method
This way of creating a mitered corner is stronger and will take more wear.
If what your working on is going to be used every day, this might be the method you want to go with.
Step One
Start by dividing your hem allowance in two parts.
You can divide it evenly, or, for a wider finished hem, divide it into a smaller and bigger portion (if your hem allowance is one inch, you can divide it into ½-inch and ½-inch, or ¼-inch and ¾-inch).
Step Two
Fold and press (with your iron again) half of your hem allowance (½-inch in the example) down towards the wrong side of the fabric along both edges that create your corner.
If you divided your hem unevenly, press the smaller portion first.
Step Three
Fold and press half your hem allowance again (another ½-inch in the example) towards the wrong side of the fabric.
This time, if you divided your hem unevenly, fold and press the larger measurement.
Step Four
Unfold the second fold ONLY, and then fold the corner in toward the wrong side of the fabric so that the creases on the corner line up with the creases made by the second fold.
Press this fold and then unfold it. You may want to mark this crease with a pencil or some fabric chalk to make this process easier.
Step Five
Fold your piece of fabric in half with the wrong sides out and so the outer edges line up. Also make sure that the most recent crease you made (the one you may have marked) is lined up with itself through all these layers.
Pin at the corner and then take your work over to your sewing machine and stitch across the crease (across the line you marked), backstitching at the beginning and the end to lock the stitch in place.
Step Six
Cut off the excess on the other side of the stitch, leaving about ¼-inch allowance. Slightly clip the top corner as well.
Turn the corner right side out and use a point turner or a seam ripper to carefully push it out.
Step Seven
Topstitch around the inner fold, pivoting around the corners.
And that’s it for this method. Easier than you thought, right?
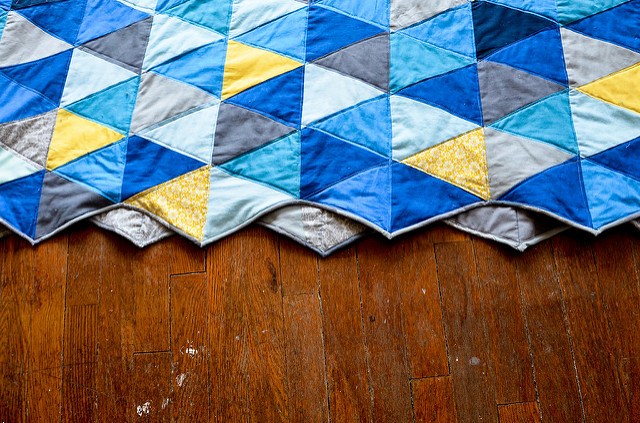
The process is a little different for quilts, but still just as simple. Take a look.
How To Sew Mitered Corners On a Quilt
Step One
Start by using an equation that is similar to the one we used in the Sewn and Topstitched method, but with some slight variation.
Measure the quilt’s side-length. Measure the width of the border you want to add to your quilt, and multiply that number by two.
Then add six inches to account for the extra fabric that is needed for the mitered corner. So the equation will look something like this:
L (length of the side of the quilt) + (W (width of the border) x2) + 6 inches = the length of the border needed for each side of the quilt
The equation will help you figure out how long to cut the fabric you want for your border.
Step Two
Fold both the border and quilt top in half, marking their centers. Line the centers up and pin together.
Begin by putting the ends of the quilt and the border together, and then proceed lining up the rest of the quilt and the border, pinning as you go.
Step Three
Take your work over to your sewing machine and stitch the border to the quilt top, making sure your stitch stays about ¼-inch away from the edge of the quilt top.
Don’t forget to backstitch at the start and the end to secure the stitch.
Repeat this process with all four borders.
Step Four
Fold the quilt in half diagonally with right sides facing each other. This will make it look like a triangle.
Line up two adjacent borders (like the top and the border on the right side for example) on top of each other with the fold of the quilt top running at a 45-degree angle between the two borders.
When the borders are lined up, grab a pencil/fabric chalk and a ruler. Place the ruler along the 45-degree angle created by the quilt top and extend it over the borders.
Trace the angle onto the border, and pin the two borders it goes over in place. Now it’s time to sew!
Step Six
Once you get to your sewing machine, find the line of stitches you made when you sewed the border to the quilt top, and begin sewing right there. This will make sure that there are no gaps on the front.
Sew from that line of stitches out to the end of the border, directly on the pencil line. This may take some maneuvering. Take your time if you need to.
Backstitch at the beginning and end and then unfold your quilt top.
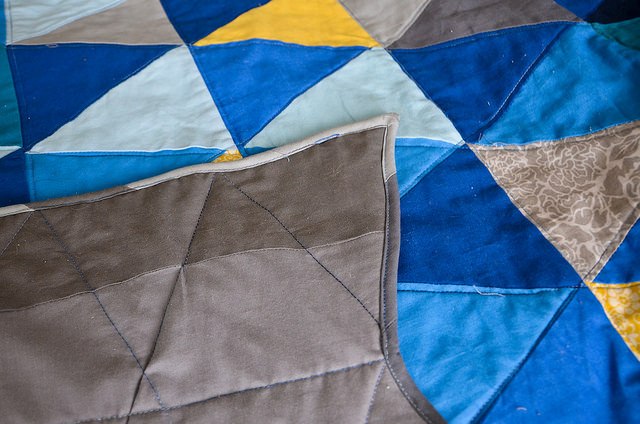
Look for gaps and that your border lays flat. If they do, you are ready to move on to the next step
Step Seven
Trim any excess off the border to 1/4″ and press the seam. Repeat these steps with the other three corners – and then celebrate. You did it!
The video below shows how to sew miltered corners on napkins!
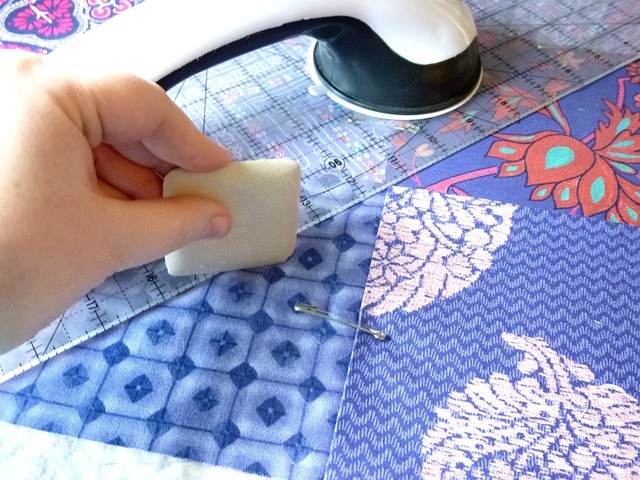
No matter which method you’re using, or what you’re putting mitered edges on, pressing the folds and hems is very important (you could probably tell).
Those fold lines need to be visible throughout this process for you to know where to mark and where to sew.
Mark all of your folds with a pencil or fabric chalk if you feel like you might make a mistake. But try to have fun. That is what all of this is about in the first place.
Happy sewing!
Do you have any tips on how to sew miltered corners?