
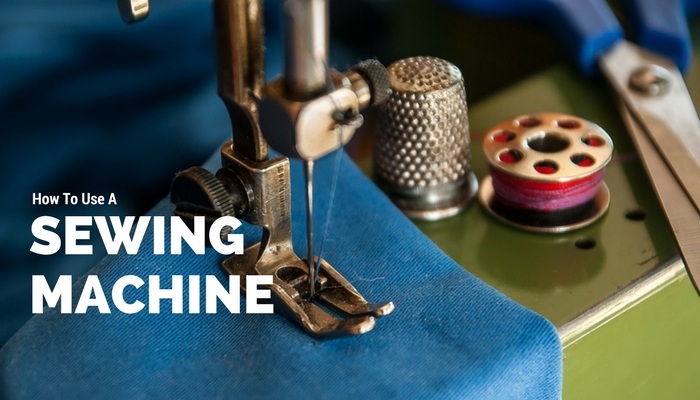
Are you wondering how to use a sewing machine?
Don’t worry — you’re not the only one.
Sewing machines look complicated, but they’re really not. It’s simply a matter of knowing the basic functions and understanding the core purpose of those more intricate features.
Here we’ll break it down, so you can feel confident and fluent with your machine.
How to Use a Sewing Machine
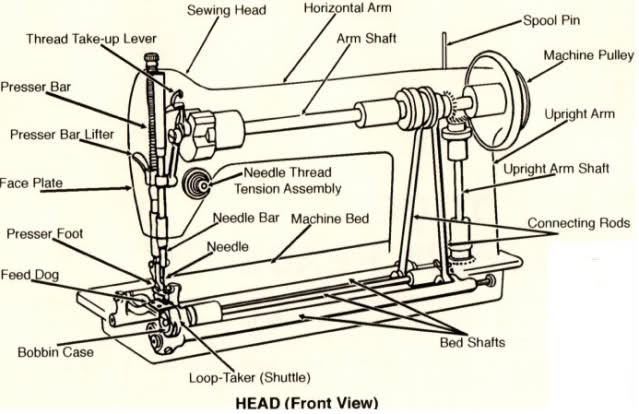
Sewing Machine Parts
There are thirteen parts you should make sure you’re familiar with. That seems like a lot, but we’ll go one at a time:
- Power switch. Different machines have different locations for the power switch. Make sure you know where yours is.
- Spool pin. This is just a pin that sticks out from the top of the machine and holds the thread.
- Thread guide. It is a piece of metal sticking out from the top of the left side of the machine. It guides the thread from the spool pin to the bobbin.
- Thread take-up lever. This is where you pull the thread through when threading a needle.
- Bobbin winder. This is the machinery that winds thread onto the bobbin.
- Stitch adjustment buttons. They’re usually on a wheel on the side of the machine, but not always. This is how you change what stitch you are sewing with.
- Tension dial. This is also a wheel and is usually placed near the take-up lever. This controls the tension of the threat you are sewing with. Too tight and the thread might break; too loose and the thread may get tangled.
- Needle clamp screw. This makes sure that the sewing needle is secure and usable. Once you insert the needle into the needle clamp, you use the needle clamp screw to secure it.
- Needle plate. It’s the metal plate right under the needle. Super simple.
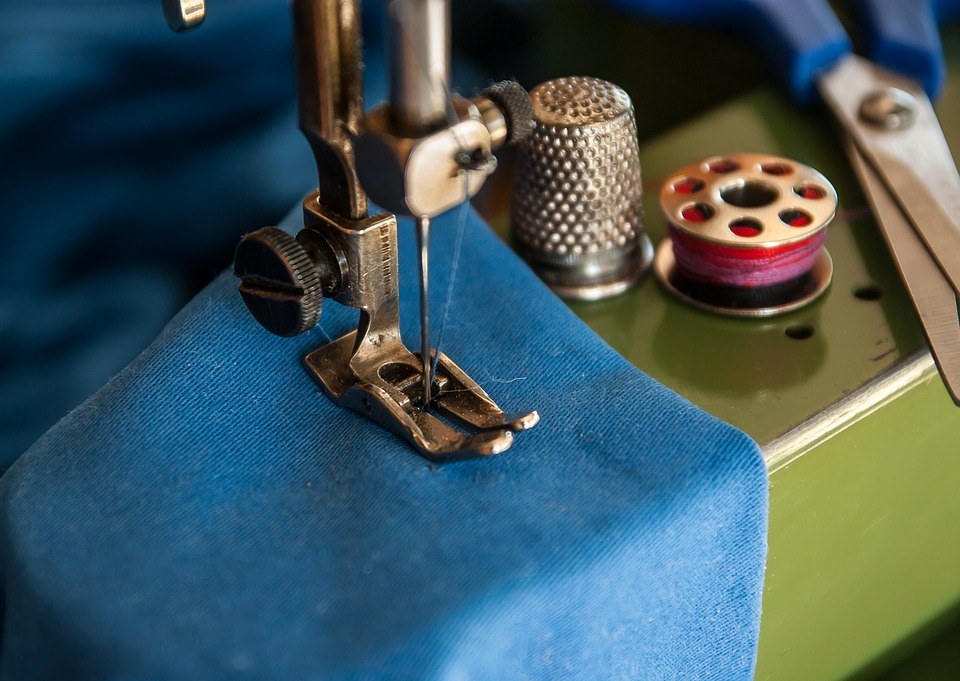
- Presser foot. This is the tiny metal foot under the needle clamp screw that holds the fabric in place.
- Presser foot lever. This is a metal switch, usually on the side of the machine, that moves the presser foot up and down. This allows you to place your fabric under the needle.
- Feed dog. This is machinery under the presser foot that moves the fabric as you sew.
- Bobbin cover and release. This is usually located under the needle plate. Once the bobbin is spooled, you place it here to provide the thread used for backing.
How to Setup Your Sewing Machine
Before you start, make sure the sewing machine is on a stable surface and at a height where you can use the machine comfortably. Do not plug in the machine yet. If you’re sitting, the machine should be at a height where you are not hunching over to use it. The needle should be on your left hand side.
Install a Needle
Insert the needle into the needle clamp post and then screw it tightly. It is important to make sure that it is securely attached, so that the needle doesn’t break or fly out and injure you once the machine is in motion. After you have securely installed the needle, plug in the machine.
Wind the Bobbin
Place the spool on the bobbin winder. Wrap the thread around the guide and the bobbin. Start it; it will automatically start when it is full of thread. Since some sewing machines have different machinery for the bobbins, you might need more detail than is provided here. For more detailed instructions, consult your machine’s manual.
Thread the Needle
Put the spool of thread on the spool pin. Take one loose end of the thread and pull it through the thread guide, and then down and around the thread take-up lever. There should be guides printed on your machine.
Choose your Stitch
The stitch you use is of course dependent on what you’re making. However, as a rule of thumb, a straight stitch will work for most seams and patterns. A zigzag stitch is used to prevent edges from fraying. If you’re unsure what stitch to use, consult your sewing pattern.
Start to Sew
The foot pedal starts the machine sewing.
The harder you press on the foot pedal, the faster the machine will sew.
Line the fabric up under the needle.
Hold on to the loose end of the thread for the first few stitches so that it doesn’t get tangled.
After that, it is fine to let it hand from the back of the machine.
The machine will sew whatever fabric is put to it, so if you want straight stitches, you need to move your fabric in a straight line.
Have the fabric bunch on your left so you have more space to move the fabric around if you aren’t sewing in a straight line.
How to Use a Hand Held Sewing Machine
Hand held sewing machines use the same principles as a normal sewing machine.
You use a rotary wheel to move and change the needle, and you still need to thread the needle.
To sew, hold the fabric in your left hand and the machine in your right (though it is less important than with an actual machine).
Guide the fabric through the machine.
Do note that while hand held sewing machines are very convenient, they are more limited than regular machines. They can comfortably sew a smaller range of materials; polyester, cotton, silk, and nylon. They are also limited in variety of stitches they can sew.
And that’s how to use a handheld sewing machine!
So now you know everything about how to use a sewing machine!
Any questions?
My wife has been talking about sewing for a long time and I think it’s time I get her a machine. She’s never had one before and I want to get her one to learn on before investing in a new one. Showing this post to her could be very helpful so she knows some of the basics of operating the machine and what it does. This could also help her know if it needs to be repaired since we’re looking at used ones that might be broken in some way.
Comment Text*Am using a handy sewing machine but it’s not sewing tight at the back side and it can loose after sewing