
One of ballet’s most cherished—and most tedious—rituals is sewing on your ribbons.
Some schools require ribbons on technique shoes for exams, and some require students to wear shankless, or pre-pointe, shoes.
Most pointe shoe ribbons are made of nylon or polyester satin, and they come in either a shiny or a matte finish.
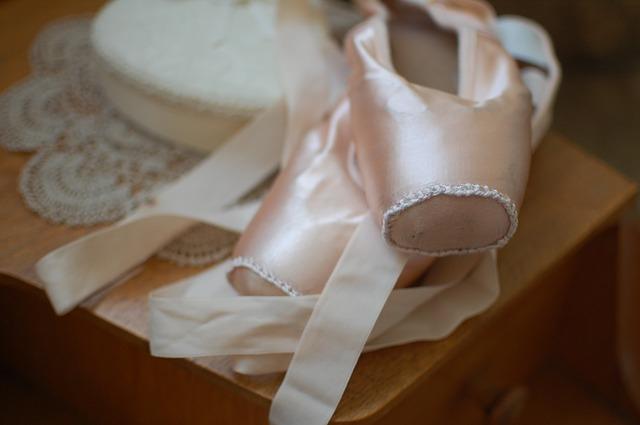
They should be seven-eighths to one inch wide, and about twenty-two inches long. To keep the ends from fraying, some dancers may singe the tips.
As you dance more, you will become more particular about how and where to sew the ribbons on your shoes.
Their location and angle determine how effective they are in keeping the shoe attached to your foot, not to mention how attractive it looks while it works.
Every foot is different, so every dancer must determine what position is right for them, and once they learn how to do it, most dancers insist on sewing their own ribbons.
Soon you may even find yourself making a personal good luck number of stitches per side. Although you’ll fine-tune it the more you do it, here is how to get started.
Sewing Ribbons on Pointe Shoes
First, let’s determine where the ribbons should be placed.
Fold the heel down towards the toe, and draw a line with a pencil on the inside of the shoe along the crease. This line will be the back edge of the ribbon, and ensure that the ribbon is angled.
Now that you have your guiding line, it’s time to get to work. Remember that ribbons are attached to secure the whole heel of the shoe against the foot, not just the sides of the shoe.
With this in mind, the ribbons should be stitched from low inside the shoe, at least one inch, and attached only to the lining.
Be careful not to sew through the satin, or catch the drawstring. If your lining is bonded to the outer satin and you cannot stitch through it separately, sew all the way through and use running stitches throughout.
Using a strong needle and a strong, color-matching thread (some dancers even use dental floss!), sew the ribbon securely to the shoe, using whip stitches and running stitches in a square pattern. This is the same technique you use for sewing elastics.
It is helpful to pin the ribbon in place as you sew, and if you want a stronger and neater finish, fold the bottom end of the ribbon under the rough edge so that it doesn’t show, and stitch through this new double-thickness of ribbon.
When you are finished, the whole ribbon should be angled slightly diagonally forward for comfort and support as the ankle flexes.
Once you get more experienced with sewing ribbons, you may want to adjust how the ribbons sit to provide the best fit to your foot.
Sewing Elastics on Pointe Shoes
Although many teachers prefer that beginners do not sew elastics on the heel of their shoe until they determine it is necessary, you may need it to keep your shoe from slipping.
If the elastic is sewn too tightly, there is a chance you could hurt the soft tissue around your ankle, so take care.
If you find you do need elastics, choose one about three-quarters of an inch wide.
Some dancers sew elastics inside their shoe near the ribbon to conceal them once the ribbons are tied, but others sew them on the outside of the heel to prevent chafing of the Achilles tendon.
They should be sewn on about a centimeter away from the back seam and angled slightly away from the seam. It may be best to sew this one on with the supervision of your teacher.
Here’s a video showing another example of how to sew ribbons and elastics on pointe shoes.
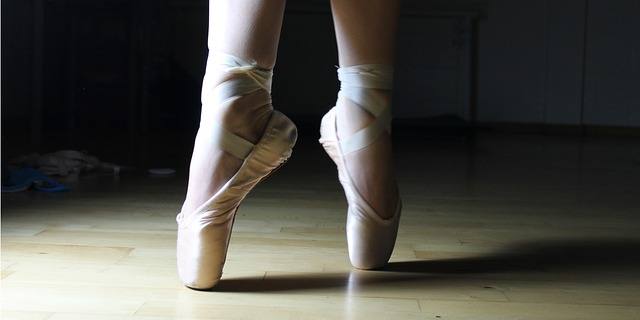
Tying the Ribbons
The tied ribbons add support, but should never be so tight as to hurt your Achilles tendon or restrict the movement of your ankle.
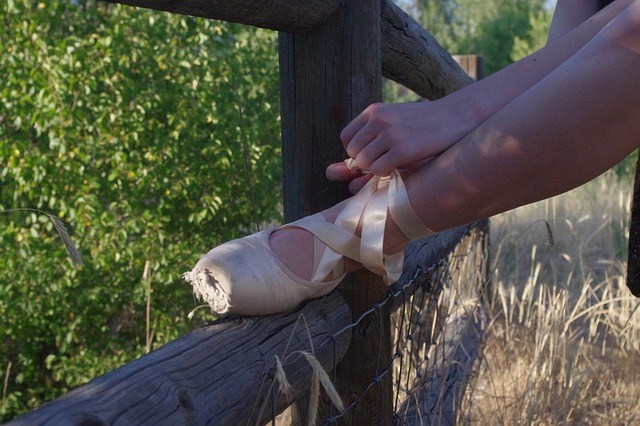
While there are many different techniques to tie ribbons, the basics are as follows:
Put your foot flat on the floor, take the inside ribbon, and wrap it over your foot and around the back of your ankle.
Continue to wrap the ribbon around to the front of your ankle, then back around again, stopping at the inside of your ankle.
Then, wrap the outer ribbon over your foot and around the back of your ankle, bringing it around to the front to meet the first ribbon at the inside of the ankle. They should meet just between the bone and the Achilles tendon.
This is where you will tie the knot—but take care not to be directly on the tendon. Tie the ribbons in a secure double knot, not a bow, and tuck in the knot and the loose ends.
The knot should not be visible—if it makes a bulge when you tuck it in, trim the ribbons down.
Voila!
With a little bit of practice, you will never have to struggle with how to sew ribbons on ballet shoes.
Remember to consult your teacher with any questions, and if you find yourself in discomfort or pain, see if it can be remedied with a few adjustments.
Have you tried sewing pointe shoe ribbons?