
Your bed is a space for relaxation and luxury, so why not turn it into something fit for royalty? A bed canopy is a great way to add flair and drama to any bedroom, but it can be functional too. This design can create privacy, especially for light sleepers who are easily awakened by early-risers or that dawning sun.
So, is a bed canopy difficult to create? Can you make one at home? And what elements are absolutely necessary to make a bed canopy?
We’re here to answer all those questions and more. By the end, you’ll be able to create your very own canopy, personalized just for you. Let’s dive in!
What is a Bed Canopy?
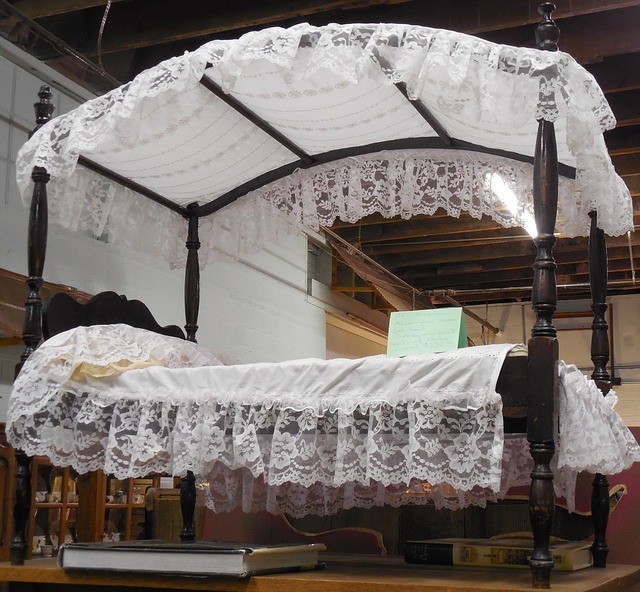
A bed canopy, simply put, is anything that covers a bed. Historically, it was made of thick, ornate material, hung from the four corners of the bed.
It originated from the nobility of medieval Europe, as noblemen often slept in the same room as their attendants. The canopy offered both warmth and privacy. In the 16th century, canopy beds became more ornate and decadent, serving as an indicator of a nobleman’s station.
Those who could afford it eventually followed the nobility, adding ornate canopies to their beds. In the modern day, canopy beds are a symbol of elegance, but they don’t have to be expensive. A DIY bed canopy is a great way to enjoy that luxury—without having to spend a fortune.
How to Make a Canopy: Fabrics and Embellishments
What’s the value of a bed canopy if it’s not beautiful? The first step will be choosing your fabric and embellishments.
Fabric Choices
There are many ways to create a DIY canopy and countless interesting designs to pick. However, the most important element will always be the fabric you choose.
Sheer Fabrics
When you think of bed canopies, you may first envision sheer fabrics. Tulle is often used in modern-day canopies because it’s lightweight, wavy, and very inexpensive. Since you’re using a great deal of it, this can be very appealing.
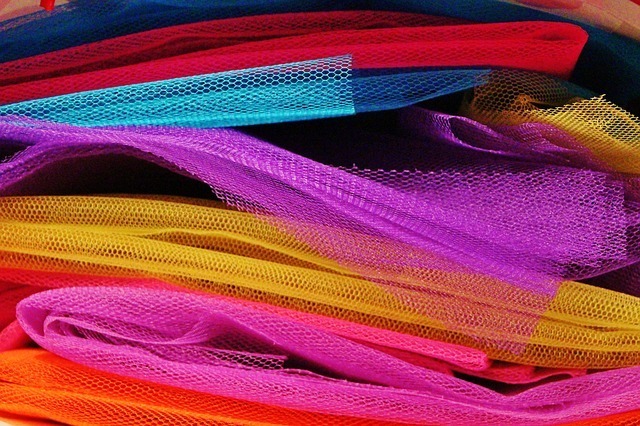
If you want a canopy that looks dainty and light on the eyes, pick sheer fabric. It will also promote air flow to keep you comfortable throughout the night.
This type of material is ill suited for creating voluminous layers, but it makes up for this with a natural, elegant drape. As a plus, it’s very easy to hang, cut, sew, and manage.
Heavy-Weight Fabrics
Alternatively, you can use heavy-weight fabrics. These can easily provide the look of luxury, but with added functionality. Heavy-weight fabrics block out light, contain heat, and give added privacy.
However, this material type may also be expensive and difficult to handle. After all, thick fabric requires different sewing needles and may strain any fixtures you use to hang it.
Upcycled Fabric
As with most DIY projects, upcycled fabric is a great choice for a DIY canopy. Old curtains can be effortlessly converted, old blankets can find new life in your bedroom, and bedsheets that don’t suit your needs can enjoy a better purpose.
When choosing your upcycled fabric, be sure it has the thickness, color, and opacity you’re seeking.
Additional Decor
Embellishments can truly make a canopy shine – and give it a more-expensive look, without harming your budget!
Lighting
String lights and fairy lights are a great addition to canopies made of lighter fabrics. They can give off a delicate, feminine vibe and are very easy to attach. As a bonus, they’re functional too; just pick a brand that can double as a night-light or reading light.

You can also mix and match fairy lights with small lanterns for a unique style. If you want a DIY bed canopy with lights, check out this list from Architecture Art Designs.
Garlands
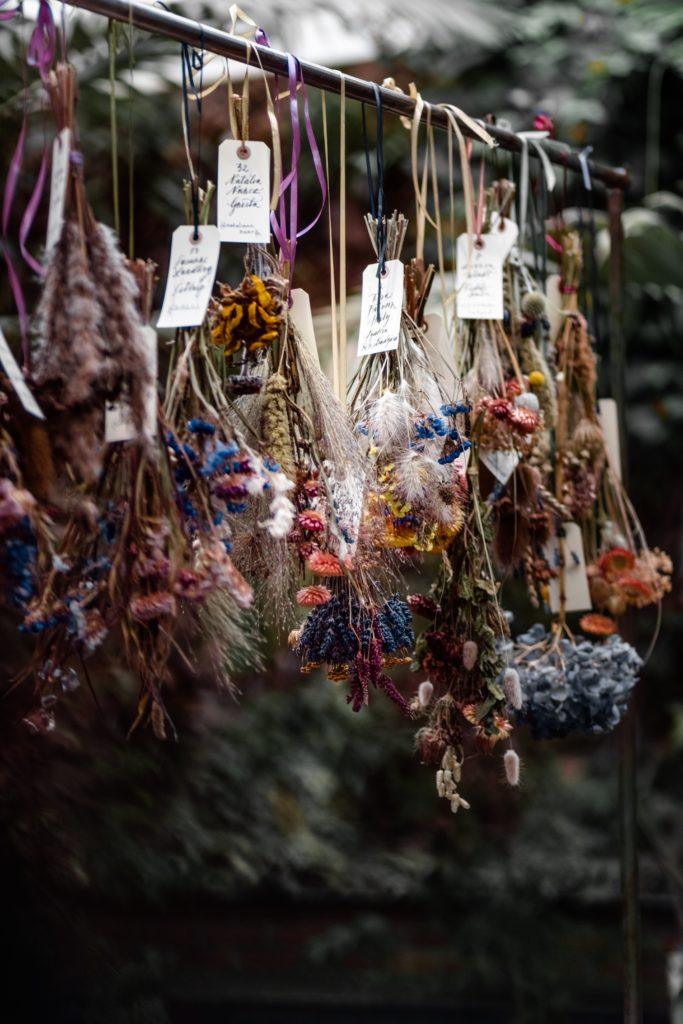
Garlands made of plastic or paper flowers are an easy way to spice up your canopy. They can be found in most craft stores, or, if you’re in the mood, they can be created personally. For an extra-fancy vibe, you can use dried flowers from your own yard or park.
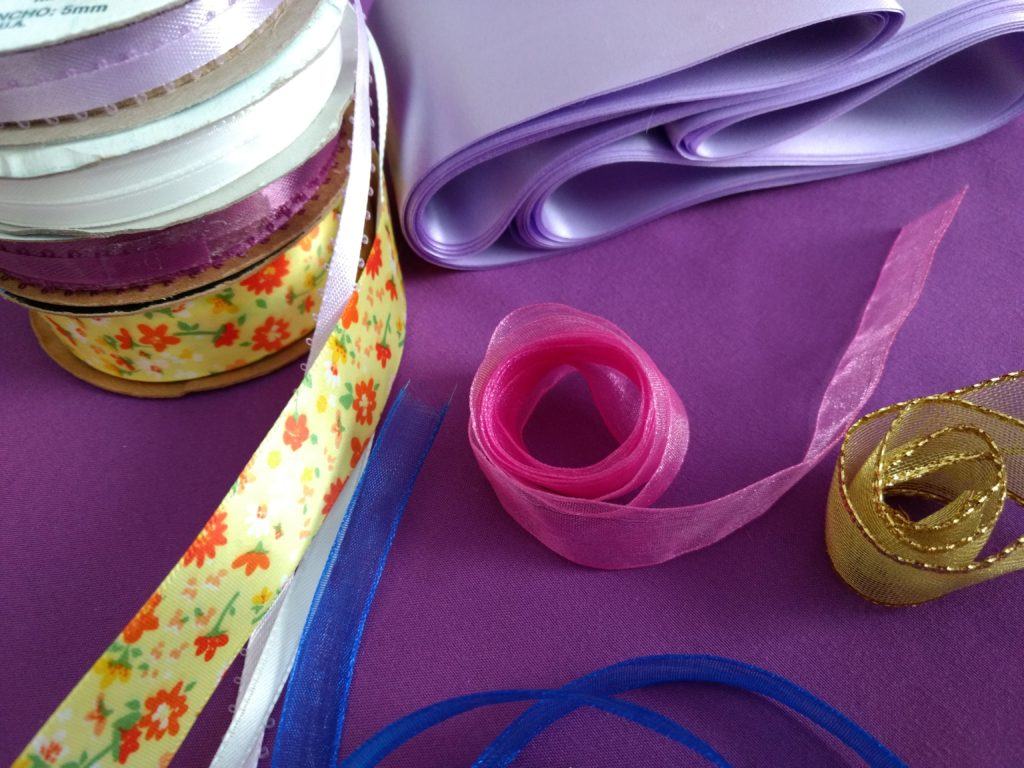
Ribbons and Trim
For those who prefer heavier fabrics, lights and garlands may get lost in the mix. To give you an extra splash of color and style, instead, you can accent your fabric with ribbons and trim!
If your canopy parts in the middle, you can also use ribbon to hold back the edges during the day.
How to Make a Bed Canopy: Design Ideas
Making a bed canopy is just a matter of adding support and attaching fabric. After that, you can mix and match techniques and embellish each design with lights and other décor.
Here are some great styles and ideas to get you started.
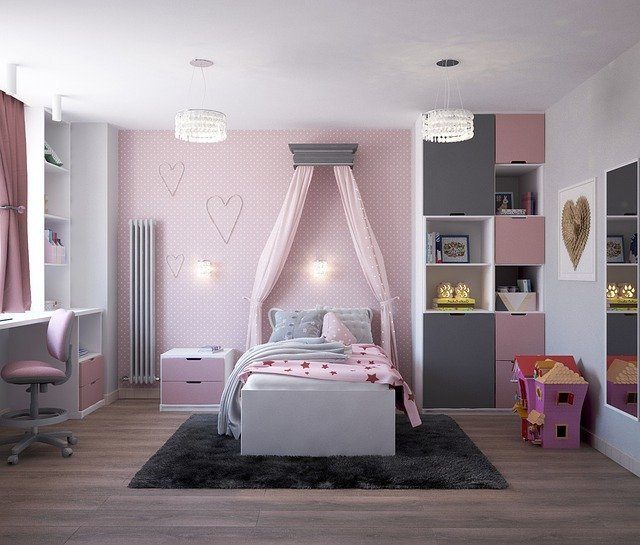
Bed Canopies for Kids
Kids might enjoy canopies most of all. If they share a room, this design can provide privacy or help customize the room to their tastes. Here are two different styles to consider.
Camping Tent Bed
For kids adventurous and itching to explore, this tent bed is the perfect way to bring the outdoors into their bedroom. It uses wooden dowels, some mounts, and a bit of fabric to turn a bed into a tent.
Materials
- 3 flagpole mounts.
- 3 wood dowels, 1 1/8 inch.
- Rope (as thin as possible).
- Canvas drop cloth.
- Piece of cardboard, or something to use as a wedge.
- 12 drywall mounts.
- 12 screws.
- Electric screwdriver.
- 3/16-inch drill bit
- Hot glue gun.
- A miter box/miter saw.
Procedure
- Estimate where your canopy should be. It should be positioned on a wall beside a bed (preferably to one of the sides) and should be just a bit taller than your child.
- Cut the dowels depending on how deep you want your tent to be. Alternatively, you can have your dowels pre-cut when buying them.
- Attach a metal flagpole bracket to the end of each dowel.
- With some help, hold the dowels against the wall, forming the tent shape. Drape the fabric, letting about a foot hang downwards towards the front. Mark where the dowel ends meet with the fabric.
- Pull the canvas behind the dowels, so they remain secure. Beginning with the center dowel, pull the canvas taut, and attach the dowels to the wall.
- Wrap and tuck excess fabric.
- Screw the canvas to where it meets the dowel ends.
- Gather the fabric at the side dowels and cut a hole. Thread a rope on each end and tie a knot. Do the same for the spot midway between the side dowels and the center dowel.
- Cut off the excess length of fabric.
Flower Canopy
For an adorable and incredibly simple canopy, this flower design is perfect. This style comes in the shape of a flower, and is fun, colorful, and downright delightful.
Materials
- An old lampshade.
- Glue gun (or anything that can glue fabric to the material of your canopy).
- Green felt (you will need about ½ yard of 36-inch-wide felt).
- Any colored felt for your flower (at least 1/3 yard of 60-inch-wide felt, more if you want extra petals).
- Cording.
- Large paperclip.
- Canopy fabric (length and width depending on how much coverage you want).
- Ceiling hook.
Procedure
- For each piece of canopy fabric, finish off three edges. Then, attach the non-finished edge to the wider end of your lampshade. At this point, you can adjust placement if you want layers, pleats, or openings.
- Cut out the petals. You can make them as large or small as you want, and any shape, but make sure the size is consistent for every layer. Be sure that they’re long enough to cover the shade, and wide enough to overlap with each other just slightly.
- Attach the petals to the shade.
- Find a bowl with a diameter slightly larger than the narrow end of your shade. Trace it around your green felt to get a circular piece of felt.
- Cut out a template for the leaves. Trace the bottom half of your leaf template over the edge of the green felt and cut out the leaves.
- Pierce the center of the green felt and make a small hole.
- Remove the shade and set it aside. Attach your cording to the inside of the shade, ensuring it’s tied to remain balanced. Braid the cording so that it forms a chain in the center. Tie a knot at the end and attach the paperclip.
- Cut out green felt for the stem, depending on how low you want you canopy to be. Turn this green felt into a tube by folding it in half and sewing the edge.
- Thread the cord inside the stem, using the paperclip to pull it through. Remember to include the leaf piece as you go.
- Attach the hook to your ceiling and attach the paperclip to the hook.
Bed Canopies for Adults
Canopies come in many shapes and sizes. These two canopy ideas are easy to make and simple to adjust. Switch up the fabrics, add embellishments, and find fun color combinations. Tie it all together by coordinating the color with the rest of your bedroom.
Simple Straight Canopy
This design proves that you don’t need a bulky, hard-to-attach frame to make yourself a canopy. It’s cheap, easy, and requires little time.
Materials
- Wooden dowels (the total length should be equal to or more than the width of your bed).
- Two fabric panels, equally sized (total width should equal the width of your bed, plus some extra inches for gathering; length will depend on how long you want it to be).
- Thin ribbons (in the same color as the fabric) or tape.
Procedure
- Measure the width of your bed.
- Assemble your dowels on the floor, overlapping each slightly to account for tying. Do not tie them yet.
- Estimate the center of your dowels and adjust so there aren’t any ties in the center. If your dowels are longer than the width of your bed, cut off the excess.
- Tie the first two dowels together.
- Insert the dowels inside the fabric panel casing. Gather and attach more dowels as you go.
- Attach your canopy to your ceiling, about a foot and a half from the bedframe.
Dreamy Canopy
This canopy is made by hanging drapes from the corners of your bed, creating the illusion of a four-poster frame. Unlike some four-posters, this canopy is elegant, unobtrusive, and incredibly stylish. For the best results, use a lightweight fabric with a bit of opacity, in a color that matches your bed sheets.
Materials
- Four 36 x ¾ inch wooden dowels.
- Twelve 1-inch, copper, U-shape brackets.
- Four ¾-inch copper elbows.
- Four ¾-inch copper pressure tees.
- Eight ¾-inch copper caps.
- Eight pre-made drapes.
- Hand saw.
- Gorilla glue.
- Screws and anchors.
Procedure
- Begin by cutting all your wooden dowels in half with a hand saw. You will end up with eight 18-inch dowels. Set them aside.
- On each cut-end of the dowel, glue a copper cap.
- Take one of the dowels. On the uncut end, glue the larger end of the copper elbow.
- Glue a pressure tee to each of the smaller ends of the copper elbow.
- Glue a second dowel to the ends of the copper elbow (the ones now with a pressure tee), making sure to attach the cut side.
- Once your glue dries, feed the curtains on each part of the L-shape you just made.
- Mark the position of the L-shapes on the ceiling.
- Attach the first piece using the U-shape brackets. There should be a bracket in the corner of the L-shape (where the two dowels meet), and two more brackets should be at each end of the dowel.
- Do the same for the rest of the pieces.
Conclusion
As fancy as they may look, canopies don’t have to be expensive or hard to make. There are plenty of designs out there for you to try, mix up, and embellish! With a bit of work, you’ll have the perfect canopy in no time.