
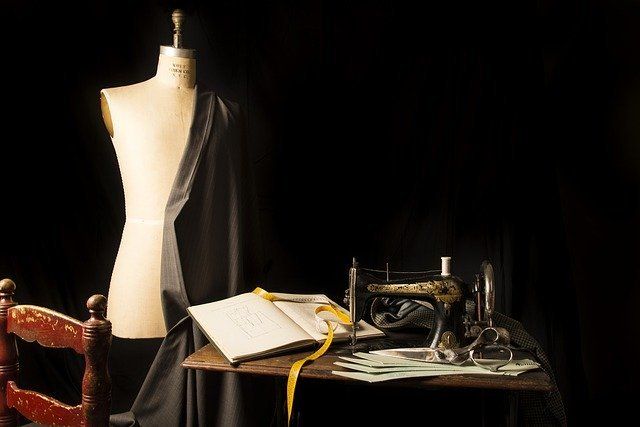
Corsets are one of the most popular — albeit misunderstood – pieces of period clothing around. Developing your own may be complicated, but it can help you make leaps and bounds with your sewing skills. Should you tackle this project?
From hobbyists creating modern-day equivalents, to critics who state that corsets are a health hazard, these stylish creations may be controversial – but they’re undoubtedly beautiful. In this guide, we’ll discuss how to sew a corset, as well as how to create a more historically accurate design.
Ready? Let’s dive in!
What is a Corset?
In technical terms, corsets refer to a type of garment that is ‘worn to hold and train the torso into a desired shape.’ Corsets are a type of support wear, similar to the bra and girdles of the modern-day.
They were commonly worn for both aesthetic and medicinal purposes. Their design allowed them to look aesthetically pleasing, while, at the same time, providing invaluable back support for the manual, domestic labor that women often had to engage in during their popular era.
Corset Myths
In the modern-day, corsets don’t have the best reputation. Like most inventions from times long ago, we often think of corsets as tools of torture, being so tight and unwieldy that women constantly fainted from lack of air – or experienced permanent organ damage.
However, many historians say that the truth is quite the opposite. Corsets recreated to be historically accurate may be a little awkward at first, but are far from confining—and are certainly not dangerous.
In fact, boning was less prevalent in corsets than most people think; coding was used just as much as boning, alongside other methods. When corsets did have boning, it was rarely as rigid as we assume.
For example, whalebone is perhaps the most rigid and well-known boning method of the era. Despite its name, it’s not made out of actual bone, but of keratin, which is the same material that makes up our nails. Like our nails, it becomes more pliable under heat and moisture. When placed inside corsets (which are right beside warm skin), this material naturally follows the shape of the body, regardless of the wearer’s body type.
Back in the day, advertisements for corsets placed a great emphasis on comfort, and extant corsets backed up that claim. Despite their comfort, evidence also points to corsets being effective support clothing. They were able to reinforce the back, which was invaluable in an era where middle-class women were tasked with back-breaking domestic labor.
Of course, in the modern-day, corsets are made for aesthetic rather than utilitarian purposes. Their quirky and whimsical appearance is perfect as both formal and casual wear, making them a great project for sewing enthusiasts.
How to Make a Corset
Making your own corset can be a hassle, since it possesses several components and requires a degree of accuracy. However, this project can help you learn many new sewing techniques. As a plus, you’ll receive a cute accessory to wear in both formal and casual gatherings.
Corset Boning
When it comes to making corsets, the first thing you will need to be concerned with is boning. Boning refers to rigid rods or strips that are sewn inside a bodice. Boning creates structure, form, and rigidity. It’s common in corsets, but other pieces of clothing you would also find boning are hoop skirts. Modern boning is often made out of plastic and nylon, but higher-quality corsets are often made out of steel.
Which Boning Should You Use?
Cheap, plastic boning is great for those who want to develop a corset for one-time use.
However, for those who want to develop corsets that last, it’s best to choose steel boning. Steel boning may be available in both rigid and spiral boning. Both have their uses; spiral boning is often for curved seams, while rigid boning is for straight seams. However, spiral boning will work well for any type of seam.
Despite being cheaper, plastic boning will twist and buckle, making it unsuitable for casual wear. Steel boning, on the other hand, will be more rigid and reliable.
Where to Buy Boning
You can find steel boning in specialty craft stores, and stores that carry materials specifically for corset design. If you’re seeking plastic versions, you can locate these in most craft or sewing supply stores.

How to Determine Boning Length
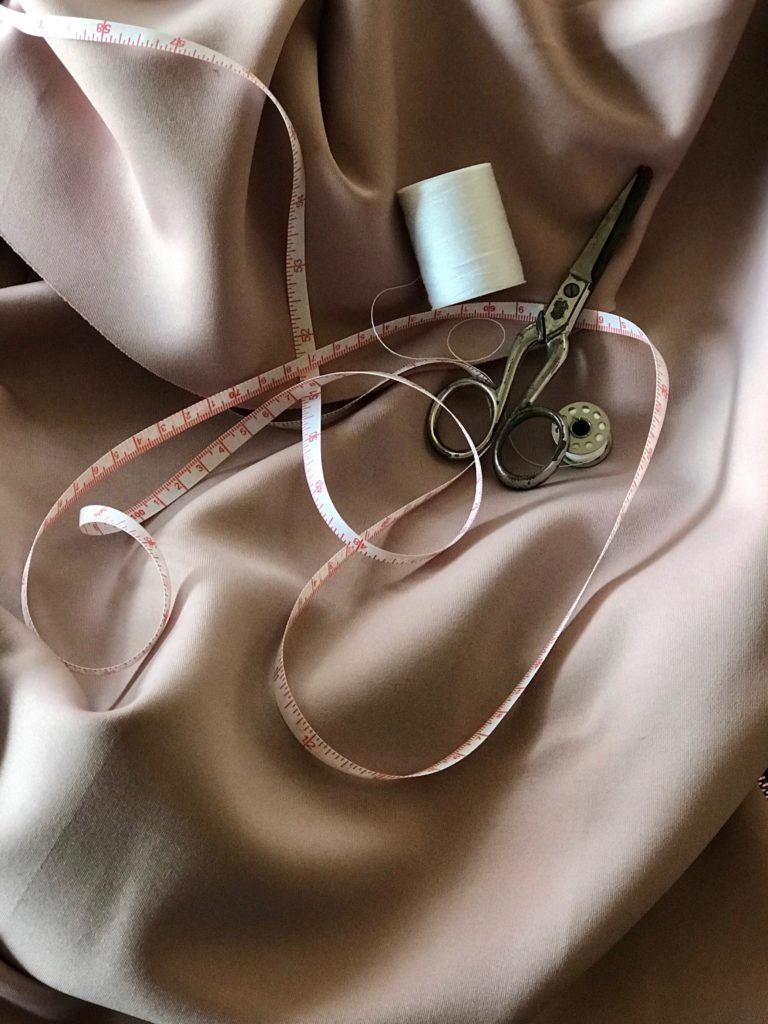
When it comes to length, stores will often cut your boning down to size. Determine the length that you need by measuring your seams and removing about a ¾ inch. You can also cut and cap your own steel boning; here’s a handy guide for doing just that.
Modern Day Corset/Bodice
Most modern-day corset patterns aren’t historically accurate. Rather, they are a simplified boned bodice – which is lovely, but won’t provide the support that historically accurate corsets can.
They’re also much easier to create than historically-accurate corsets, letting you save time, money, and effort. For those who don’t need accuracy, this corset pattern is perfect. It’ll be a fun piece for a night out, a costume, or a good starter for those freshly diving into corset-making.
Materials
- Outer fabric. This should be thick enough to keep the bones from popping through.
- Lining fabric. You can use any type of non-stretch fabric, but corsets are traditionally made out of coutil, a type of cotton made specifically for them.
- Interfacing.
- Spiral or steel boning; 20 pieces.
- Eyelets.
- Lacing.
Tools
- Eyelet tool or hammer.
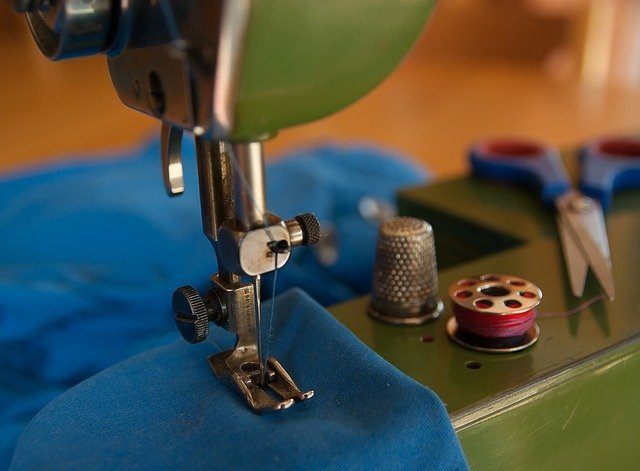
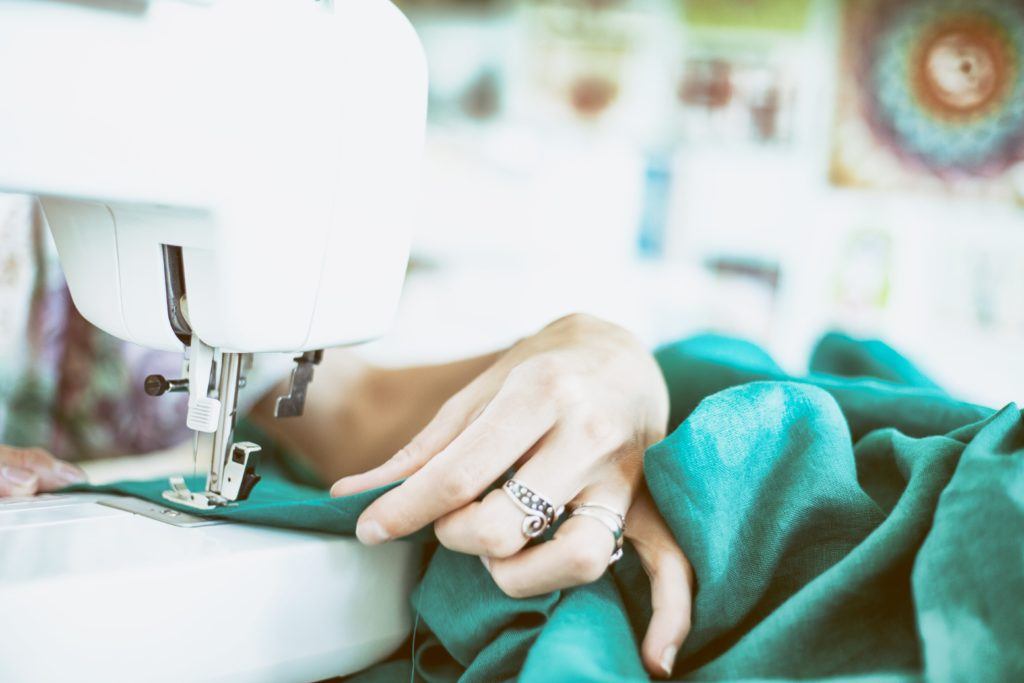
- Sewing machine.
- Rotary cutter and mat.
- Fabric or leather punch.
Procedure
- Find a pattern or create your own.
- Before starting out, sew a muslin mock-up. Sewing a mock-up is especially important for those who are new to making corsets, since they’re composed of many parts and will be hard to adjust. A mock-up will let you get a feel for the pattern and apply the necessary adjustments.
- Cut out your outer fabric pieces. These pieces should be mirrored, allowing you to double the fabric and cut two pieces at once. Keep a generous seam allowance for the boning; ½ inches is best.
- Cut out matching pieces in the lining fabric.
- Cut out the interfacing. You will need two pieces, which go at the back, supporting the eyelets for lacing. Iron the interfacing to these two pieces.
- Connect the panels. Sew the panels, beginning from the center panel and going outward. Clip the seams as necessary, and iron flat. You will need to iron out all the wrinkles, so that the outer and inner pieces line up with each other.
- Lay the inner and outer pieces, facing right-side together. Sew the two pieces along the back, turn right-side out, and press.
- Pin the seams, so that they are aligned.
- When sewing the seams, begin with the middle of the corset, and work outwards from both sides, circling toward the back. This will lessen the chances of the channels failing to line up.
- Starting with the middle seam, sew a seam on either side of the seam line, as close to the line as possible. When sewing these first seams, be sure to proceed slowly, ensuring that each portion is properly aligned.
- Now, it’s time to sew the two seams beside the main seam line. Create a 3/8 inch channel for the bones, ensuring they have enough room.
- Trim the edges and smooth out the fabric.
- If your pattern has straps, now is the time to attach them. Cut out strips with a width an inch wider than the finished strap. Fold both sides inward, then in half (to hide the edges). Sew a seam on both sides.
- Now it’s time to add the facing or bias binding to your top edges.
- Insert the boning between the fabric layers. You should insert these bones between the two outer fabric layers and the two inner fabric layers. Make sure that the boning is pushed inwards as far as possible, so there aren’t spare gaps.
- Sew the facing or bias binding on the bottom edge.
- Create holes for your eyelets, using either a cutter or puncher. Insert the eyelets using an eyelet tool or a hammer.
- If desired, you can add a modesty panel. This is a strip of fabric that goes on the back, between the laces. This covers up the exposed skin under the laces. Sew on the panel on either side of the corset’s back.
- At this point, attach the laces. Insert them into the facing, and lace them up. Trim the excess.
And you’re done! Time to try it on for size and enjoy the look.
Historically Accurate Corsets
When it comes to historical clothing, it’s easy to fall down the rabbit hole. Corsets, in particular, are a versatile clothing option. They’ve seen many renditions throughout the ages, as each generation improved upon the last version.
Creating your own is a rewarding hobby, letting you gain new sewing skills, practice crafting techniques, and also acquire an intimate and comprehensive understanding of history.
If you want to create historically accurate corsets, what should you keep in mind?
Different Corsets for Different Eras
Every beginner to historical clothing realizes one primary truth: you need to specify the era of your clothes.
Like any type of clothing, corsets have been through many evolutions throughout history. From the stays of the Regency era, to the hourglass waistline of the Victorian era, to even the boyish silhouette of the 1920s, the design of your corset depends heavily on the era it was worn.
Understanding their differences is the first step in choosing the type of corset you should make. With that knowledge, you can then mix-match eras for a unique look or remain true to the period.
Corsets Change Depending on Their Purpose
Much like the clothes of today, different types of corsets were worn for different types of activities. The design would likely depend on the social class of the woman wearing it.
Middle-class women were likely to engage in heavy, domestic labor. As such, they were likely to wear corsets that were less rigid, all while making sure that it had adequate support to keep the back straight. This would lessen back problems, especially when it came to lifting heavy objects.
Women of higher class would often wear corsets geared more toward aesthetics, since they didn’t need to engage in excessive manual labor. These corsets would have a great deal of lacing, and would often be less utilitarian than their domestic counterparts.
Additionally, much like in the modern-day, women wore multiple corsets, depending on the activities they faced each day. For example, corsets that were made for sports tended to be simpler and less rigid, thus allowing for greater movement. Corsets made to be worn in the summer were often created with less fabric, allowing for better airflow.
Resources for Historically Accurate Corsets
Books that dive deep into the history of corsetry can be invaluable for period clothing beginners. Keep an eye out for opportunities to view extant garments (historical clothing that has survived to the modern-day), whether they be from museum viewings or from displays from clothing collections.
Videos depicting modern-day renditions of historical clothing can provide great insight into how corsets would have functioned in their own eras. For example, Bernadette Banner and Karolina Zebrowska often record their progress and wear their finished products to show how the garments would have behaved.
For those seeking historically-accurate corset sewing patterns, there are many companies that include period accurate designs. Stephani Miller of Threads.com includes some examples and explains the specialties of each company. She also includes other sources for patterns, such as books, websites, and blogs.
Conclusion
Sewing a corset may seem hard, but there’s much to be learned from developing a complex garment. On top of that, you can enjoy a piece of clothing to wear at nearly any occasion—and, like any good fashion piece, it’s a great conversation starter.
Just gather together the materials, choose a design, and get to sewing!