
Shopping for the right clothes is difficult, but it’s even harder with swimsuits. Whether it’s too revealing, too small, too big, or just plain ugly, shopping for swimsuits can be a whole ordeal.
Thankfully, swimsuits are an item you can make yourself!

Admittedly, sewing your own swimwear is more difficult than sewing other types of garment. However, with enough perseverance, you can end up with the perfect beach- or pool-friendly outfit you can cherish for years.
Where to Find Swimsuit Patterns
Swimsuit patterns can be found just about everywhere! Bathing suit patterns are best located in clothing catalogs, both online and in brick-and-mortar stores.
Since they’re more complicated than other types of clothing, most swimsuit patterns will need to be purchased.
However, if you’re just learning how to make a swimsuit, there are a few downloadable swimsuit patterns free of charge that you can find online.
We have included one of those patterns in the tutorial discussed below.
Choosing the Right DIY Swimsuit Fabric
Choosing the right fabric is key in any project, but even more so when it comes to swimsuits. When swimwear mistakes occur, they are often disastrous.
Combined with the effects of saltwater or chlorine, your fabric can have unintended side-effects when chosen poorly.
Where to Buy Fabric
When buying swimsuit fabric, online fabric stores should be your last resort.
Unless you know that a fabric will work properly with swimwear, it’s best to stick with brick-and-mortar stores where you can personally feel the material in your hands.
Before picking out fabric for your swimwear, test the material to ensure it will handle the water properly. It’s recommended that you test your fabric in four different ways:
- Color Bleeding: If you soak your fabric in water, does the water stay clear, or does the fabric bleed?
- Stretching: Does the fabric stretch two-way, or four-way? Four-way stretching is much better for swimwear.
- Prints: Does the print crack or distort when stretched? If yes, chances are, your fabric’s design will flake off when submerged in saltwater or chlorine for long periods.
- Opacity: Does the fabric become more opaque when stretched? If yes, this fabric will be see-through when wet.
As a rule of thumb, always choose a fabric that is composed of 100% man-made fibers. Natural fibers absorb too much water, weighing them down and lessening their ability to stretch.
Fabrics composed of nylon, about 80% to 90%, while also composed of Lycra and spandex, are good choices.
Stretching
The stretch of your fabric is a crucial element in your project. Two-way stretch fabric will expand either lengthwise or crosswise, making it great for bikinis.
Four-way stretch fabric, where the stretch is both lengthwise and crosswise, is the best material for full, one-piece swimsuits – though it also suits bikinis.
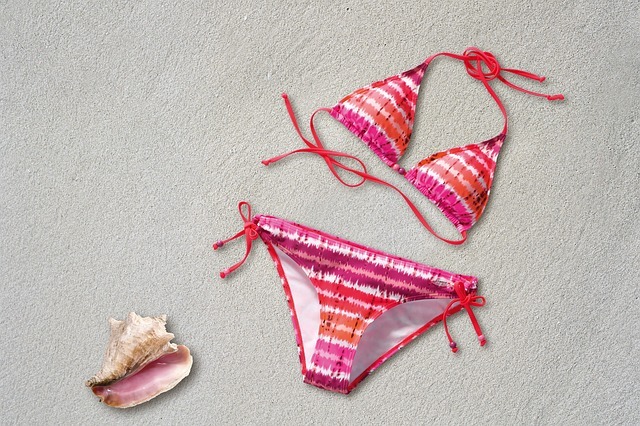
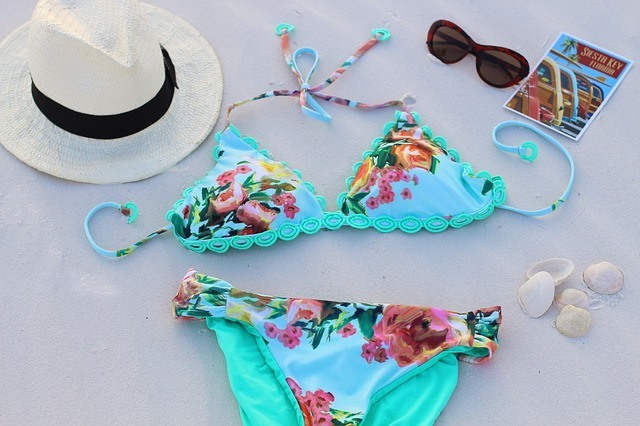
How to Make a Bikini: Free Bikini Pattern
This tutorial comes with a free two-piece bikini sewing pattern that you can easily download from the Sew Mama Sew website.
For those who have yet to create their own swimsuits, this is a great project to start with. From here, you can upgrade to paid patterns, or even tweak this pattern to make your own unique design.
Materials
- Lycra: cca. 0.6 yd.
- Lining: 0.6 yd.
- Rubber elastic 5/16 in wide: 4.4-6.5 yd.
- Elastic 1/8 in wide: cca. 8 in.
- Plastic sew-in boning ¼ in wide: 8 in.
- Organza/organza ribbon 5/16 in wide: 4-12 in.
- Clasp closure.
Instructions
Bottom
- Lay pattern pieces on the fabric and lining, then cut appropriately. Place the lining, wrong sides together, and retrace the elastic placement marks on lining. Mark the organza placement on the lining.
- On the bottom front, cut 3 1/8 inches of length from the rubber elastic. Mark two lines, depending on the size of your swimsuit. Sizes should be included in the pattern download.
- Align the marks on the lining and elastic, and then pin together both ends.
- Using a zigzag stitch (1/8 inch wide and 1/16 inch long), stitch the elastic on the top edge for about 3/8 inch without stretching. Then, stretch the elastic on both ends, and stitch to the second mark. Secure the seam, and trim the extra elastic on both sides.
- On the top front, cut the elastic 1 5/8 inches longer than your A to I measurement. Mark A and I apart. Align the marks on the lining and elastic, and then pin.
- Stitch the elastic and lining the same way you did in step 4.
- Stitch the side seams of the bottom, right sides together. You can use a wide zig-zag stitch or an overlock stitch.
- Without the inner lining, pin the crotch area, right sides together. Then, turn the lining inwards, pinning it to the already pinned crotch. Stitch there.
- Measure the total waist, and cut out a length of rubber elastic that is a ¾ inch shorter.
- Stretch the elastic evenly, and pin it to the wrong side of the waist. Put the overlap somewhere on the back of the waist. Fold the side seam allowances to the back.
- Stitch elastic with a wide zig-zag stitch, making sure to stretch it evenly while stitching.
- Fold over and restitch with a zig-zag stitch.
- Measure the leg opening. Cut out rubber elastic ¼ inch shorter in length. Pin the elastic to the wrong side of the leg opening. Do not stretch the elastic on the back leg line. The overlap should be placed in the lined part of the crotch. Stitch elastic with a wide zig-zag stitch, stretching it evenly – except for the front leg line. Fold over and restitch with a zig-zag stitch.
- Repeat for the other leg opening.
Top
- Let’s start with the straps. Fold them lengthwise, right sides together. Stitch a tube with one open end, the other end closed. With a knitting needle, turn the tube inside out. Do this for the other neck strap.
- Now onto the top. Stitch side seams with a wide zig-zag stitch or an overlock stitch, right sides together.
- Create stays from plastic sew-in boning. Cut two 3 5/8 in long boning. Cut one end of each stay at an angle. Melt these tips so that they don’t tear your fabric.
- Place these stays on the side seam allowances, beginning from the lower edge. Sew with a wide zig-zag stitch, and fold the seam allowances to the front.
- Cut out oroganza ribbon. Its length should be twice your measurement A to J. Pin the ribbon to the lower edge of the top, starting from mark J. Be careful not to wrinkle the fabric under the ribbon. Stitch using a zig-zag stitch.
- Measure the lower edge of the top and cut elastic of that length. Pin it to the wrong side and stitch. Fold, and restitch.
- Measure the upper edge and cut elastic 2 inches shorter. Cut in half, and pin one half to the back. Stop at the side seam. Pin the other end of the elastic near the center of the front top; repeat for the second half.
- Stitch the elastic with a zig-zag stitch, stretching evenly as you go.
- Pin the straps 1 5/8 inches away from the side seams. Put on the top and adjust as necessary. When you’re happy with the placement, stitch them with a wide zig-zag stitch near the edge, and a narrow zig-zag about 5/16 inch away from the edge, right sides together.
- Fold over the upper edge of the top and restitch using a zig-zag stitch.
- Add the clasp closure. Try on the top and adjust if necessary. When you’re happy with the placement, stitch with a straight zig-zag, then a narrow zigzag 5/8 inch away from the edge.
This video shows an example of another bikini sewing pattern.
How to Make a Swimsuit: Bombshell Swimsuit
This bombshell swimsuit from Closet Case Patterns is a great throwback to the 50s. It is a simple one-piece swimsuit pattern with a shape that can flatter any body type.
It’s fairly easy to make, although it does take a lot of steps.
Materials
- Bombshell Swimsuit pattern.
- Rubber elastic.
- Polyester thread.
- Swimwear bra cups (Optional).
- Scissors.
- Rotary cutter (Optional).
- Water soluble pen.
- Clear ruler.
- Tape.
- Sewing machine stretch needles in size 90/14.
- Pins.
Method
- Cut out the fabric according to the pattern.
- Gather the baste stitches. Start with the longer sides of the back pieces, keeping within the ¼ in the seam allowance. Do the same for the front suit piece.
- Gather the back. Lay one back piece on top of a back lining. The gathered suit should be the same size as the lining piece; adjust the stitches until they match the lining pieces.
- Pin at the top and bottom, even out the gathers, and then pin along the wrong side of the fabric. Sew from the back to the lining using a narrow zig-zag stitch, with a 1/8 inch allowance.
- From the bottom of each back piece, pin the longest edge. Stitch with a narrow zigzag stitch.
- Place two back pieces on top of each other, right sides facing. Pin them along the center back and sew with a ¼ inch seam allowance.
- Now you can begin to assemble the front! Lay the lower front piece on the front lining piece, wrong sides facing. Pin along the front leg edges, and then sew with a zigzag stitch and a ¼ inch seam allowance.
- Add in the bust darts. Fold the baric to line up the dart legs and pin the dart in place. Sew with a long and narrow zigzag stitch to let it stretch.
- Sew the lining to the bottom front using a zigzag stitch. Do the same with the crotch seam.
- With a water soluble marker, draw a line from the center of the bust to the mark on the pattern that says “gather.” Using a long base stitch, stitch along this line so that it is a continuous stitch from top to bottom, then back up the top. Leave long thread tails to gather the fabric with later.
- On the front tab piece, fold right sides together and sew. Pin the tab in place, right side down, on the front piece, just along its center.
- Gather the front to match the seams on the back piece. Adjust so that they will be the same size, then even out the gathers.
- Set the front piece aside for now. Measure around the opening of the legs. Start with the side seam of the back lining, and cut a piece of elastic equal to this length. Pin on the wrong side of the fabric. Measure 3 inches from the side seam; this is where you will stop stitching the elastic. Sew with a wider zigzag stitch. Roll the elastic to put it between the lining, and stitch with a medium zigzag stitch. Repeat on the other leg opening.
- If you want bra cups, now is the time to add them. Create a shelf bra for the cups, and attach it to the front lining, with the wrong side of the bra facing the wrong side of the lining. Stitch in place.
- Fold the front lining attached to the crotch on top of the front’s wrong side, and pin. Sew this in place as you sew along the side seams with a zig-zag stitch.
- Continue the stitches that you stopped earlier on the legs. The pattern calls for elastic in some places, but not in others, so as to account for stretching. Stitch the elastic to both sides.
- Add elastic to the lower front edge of the suit, and finish the lower edge.
- Gather the front, pulling as much as possible. Add in the elastic, and then use a zigzag stitch.
- Finally, add the straps! Fold and stitch along the short end, right sides facing. Stitch with a ¼ in seam allowance. Turn it inside out, and sew the open ends of each strap close.
This video gives more details on how to make a swimsuit.
And there you have it, your very own swimsuit!
Making your own swimsuit can be hard, but the care and attention ensure you have a swimsuit that is absolutely perfect for you.
Now, gather your materials, and say goodbye to the ordeal of swimsuit shopping!
What’s your favorite bikini sewing pattern?