
When you start looking for a “how-to” embroidery guide, you might find yourself overwhelmed by the number of stitches and patterns available to you as a beginning crafter. Never fear, though!
While embroidery does require a broad spectrum of stitches, these stitches build off of one another in order to make the process of embroidery all the easier.
The craft of embroidery originally came to light as a method through which early sewers would mend clothing. Recently, though, the practice has seen a cultural comeback as a hobby as well as an art form.
A trip to the MET, for example, could provide you with the opportunity to see a number of embroidery hoops working with creative designs, in order to transcend the general understanding of what sewing can do.
Alternatively, a visit to your aunt’s craft room may reveal several in-progress, customized projects that she intends to share with the rest of the family for an upcoming holiday.
When learning how to embroider a piece of work by hand, you’ll want to decide what your embroidery’s purpose will be.
Do you want to create a piece of art to hang around your home or gift to a loved one? Do you want to personalize a piece of your own clothing or make a family accessory all the more meaningful?
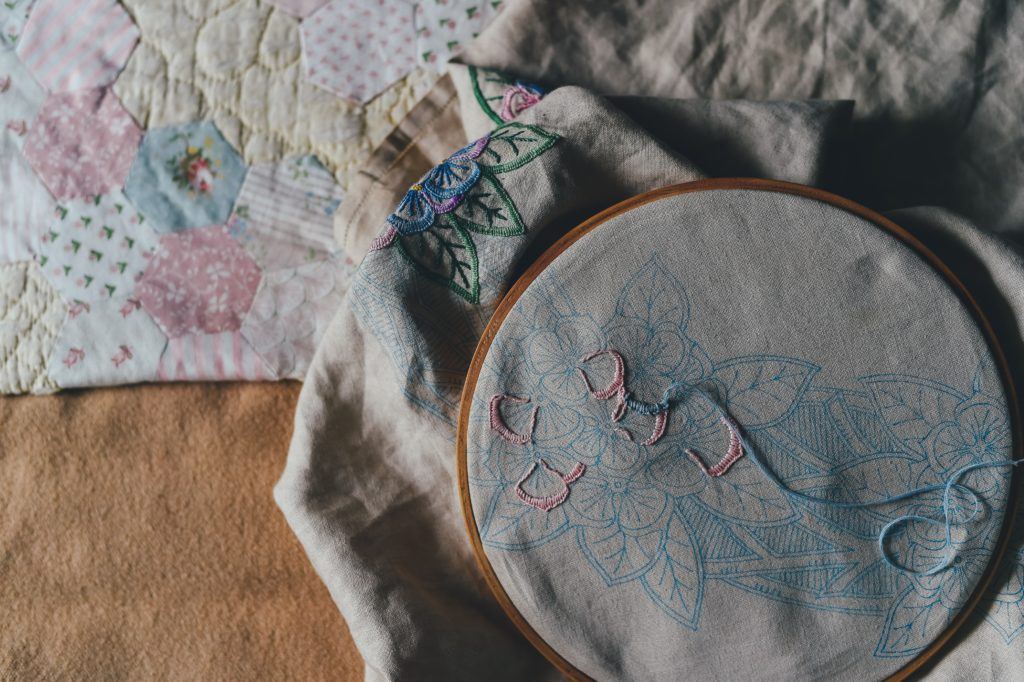
Since embroidery typically takes place either on an embroidery hoop or an article of clothing, your general purpose for the embroidery will help you determine what kind of materials you’ll need, in the long run.
Hand Embroidery Supplies
When preparing to embroider a piece of work by hand, you will need the following materials:
- Thread/floss.
- Scissors.
- Needles.
- Embroidery hoops or workable fabric. (If using an embroidery hoop, make sure you have fabric for the hoop’s background.)
- Bobbins.
You also have the option of seeking out an embroidery kit.
These kits, sold by fabric stores and independent merchants alike, will provide some of the materials you need to work on your project.
Different Kinds of Embroidery Stitches
In order to learn how to embroider by hand, you will need to develop a broad understanding of embroidery’s different types of stitches.
Below are some, but not all, of the stitches you may use when completing a project.
Hand embroidery stitches are not unique to the craft; should you venture into other areas of sewing, you will likely find yourself using these same techniques for different endeavors.
Running Stitch
A running stitch is one of the simplest you can utilize to embroider a piece of work. These stitches, as their name suggests, run together in a straight line, though the stitches themselves do not touch.
Each stitch should be even with those that came before it, but it can take a bit of practice to ensure that level of consistency.
Beginners shouldn’t stress if their running stitches don’t match perfectly; it’s the idea of the stitches (those that do not overlap while running in a straight line) that matters.
Backstitch
A backstitch builds off of the running stitch. Instead of leaving space between each of the stitches, however, you will want to ensure that you thread your needle just barely beyond the end of your first stitch.
That is to say, whereas a line of running stitches should have deliberate spaces throughout, a line of backstitched work should be solid.
Likewise, once you come to the end of a line you would like to backstitch, you reverse your line of stitching.
That is to say: once you’ve reached the end of a particular line, re-sew a stitch parallel to the last stitch you threaded. This method ensures extra security within your work.
Split Stitch
Split stitches are excellent for outlining, and, in some ways, are similar to backstitches. Split stitches, too, form a solid line.
You create a split stitch by first threading a single stitch. Then, take another stitch forward on the line you want to create.
After that, thread your needle back through your original stitch – the first one – in order to braid it and separate the fibers from one another.
This thickens the line of thread you’re creating and, again, creates that braided appearance in your embroidery.
Stem Stitch
You may have noticed, by this point, that these stitches build on one another. As such, the stem stitch takes the split stitch and evolves it, just a little.
Stem stitches are traditionally used to, as their name suggests, create stems for any flowers you may embroider into your work.
In order to create a stem stitch, create a traditional straight stitch. Instead of moving forward with a follow-up stitch, though, create a loop with your thread and sew your second stitch from underneath your fabric.
The end result should be a series of stitches that move in a wave-like pattern, but which still move in a straight line.
Fly Stitch
You can also use a fly stitch to emulate a flower stem. This kind of stitch requires that you first create a straight, long stitch, either horizontally or vertically.
Then, cross your thread back over that original stitch so that the newly threaded stitch is perpendicular to the original.
The end result should look like a “V” or like a hand-drawn chicken’s foot.
Satin Stitch
Satin stitches are ideal for filling in large areas of fabric in between your outlines.
These stitches are relatively simple; you want to move your needle in a back and forth motion across the area you desire to fill, looping your stitches on one end of your outline.
Once you’ve threaded the first stitch, move your needle and thread back to the side you originally stitched from and repeat the process until you’ve filled the desired area.
Padded Satin Stitch
Padded satin stitches see you implementing the aforementioned satin stitch twice over, layering your embroidery to add more body to your work.
Chain Stitch
Chain stitches look like evolved versions of the aforementioned split stitch, but the process of creating them isn’t so similar.
In order to create a chain stitch, start with a relaxed, medium-sized stitch. Start a new stitch and thread your needle through the loop that this original stitch creates.
After you’ve pulled your thread all of the way through, insert your needle into the hole that you started this secondary stitch with. This creates a singular chain stitch.
In order to continue the chain, all you have to do is repeat the process until you are satisfied.
French Knot
French knots are exceptionally difficult embroidery stitches to master, but they’re also aesthetically pleasing.
In order to create a French knot, draw your thread tightly with the hand of yours not clinging to your needle. Then, wrap your thread around the tip of the needle several times over, taking care to leave space between each loop of thread.
After the thread has been properly wound, press the tip of the needle – and only the tip – through your fabric.
With the hand not holding the needle, create a coil of thread on the surface of the fabric with the thread you’ve wrapped around your needle. Once that cluster has been created, you can pierce your fabric completely.
It’s complicated, yes, and it may take you several tries to create a perfect French knot, but take care to ensure that you always keep your thread taut, and you’ll be on the right track.
And there you have it! While these stitches do not make up the entire repertoire of those you will need to know, in the long run, they do provide a strong foundation for you to work with.
Here’s a video showing examples of some embroidery stitches.
How to Hand Embroider
Once you have these hand embroidery stitches down pat, you’ll want to get to work on your patterns.
There are a number of ways to make life easier for yourself while embroidering by hand, including the following:
Tracing
There are a number of ways to get your desired pattern onto fabric, be that part of a coat or on an embroidery hoop.
Iron-on tracing, for example, works in much the same way that ironing patches onto a jean jacket would.
You begin by creating a design on tracing paper. Doodle while you’re at work or base your design off of one you found online – it doesn’t matter, so long as you get your design down on paper.
Make sure that it’s tracing paper you’re using, too; traditional paper won’t respond well to any sort of iron.
Once you’ve got your design settled, you will be able to iron it onto your desired fabric without a problem, and the outline won’t wash out!
While this permanence is handy during the embroidering process, it also means that you should take care to cover all of your ironed-on lines with thread before you declare your project finished.
Projecting
Alternatively, you can use a projector to get the pattern onto your desired fabric. This requires you to create a transparency of your preferred design.
Once the transparency has been adjusted to your liking, you place it into a lightbox and project it onto your fabric. Then, you can trace the design with chalk until it is completed to your satisfaction.
This is another method of tracing, you may believe, but if you don’t have an iron or tracing paper on hand, it works out well.
Embroidery, as a craft, has a long history. If you’re looking to better understand how to embroider a piece of work, you’ll want to start with the basics, as expressed here, and then embrace your own creativity.
Let your embroidery become art, or allow yourself to create personalized creations for your friends and family.
Either way, it will take practice, but before long, you’ll be creating finished pieces with ease.